
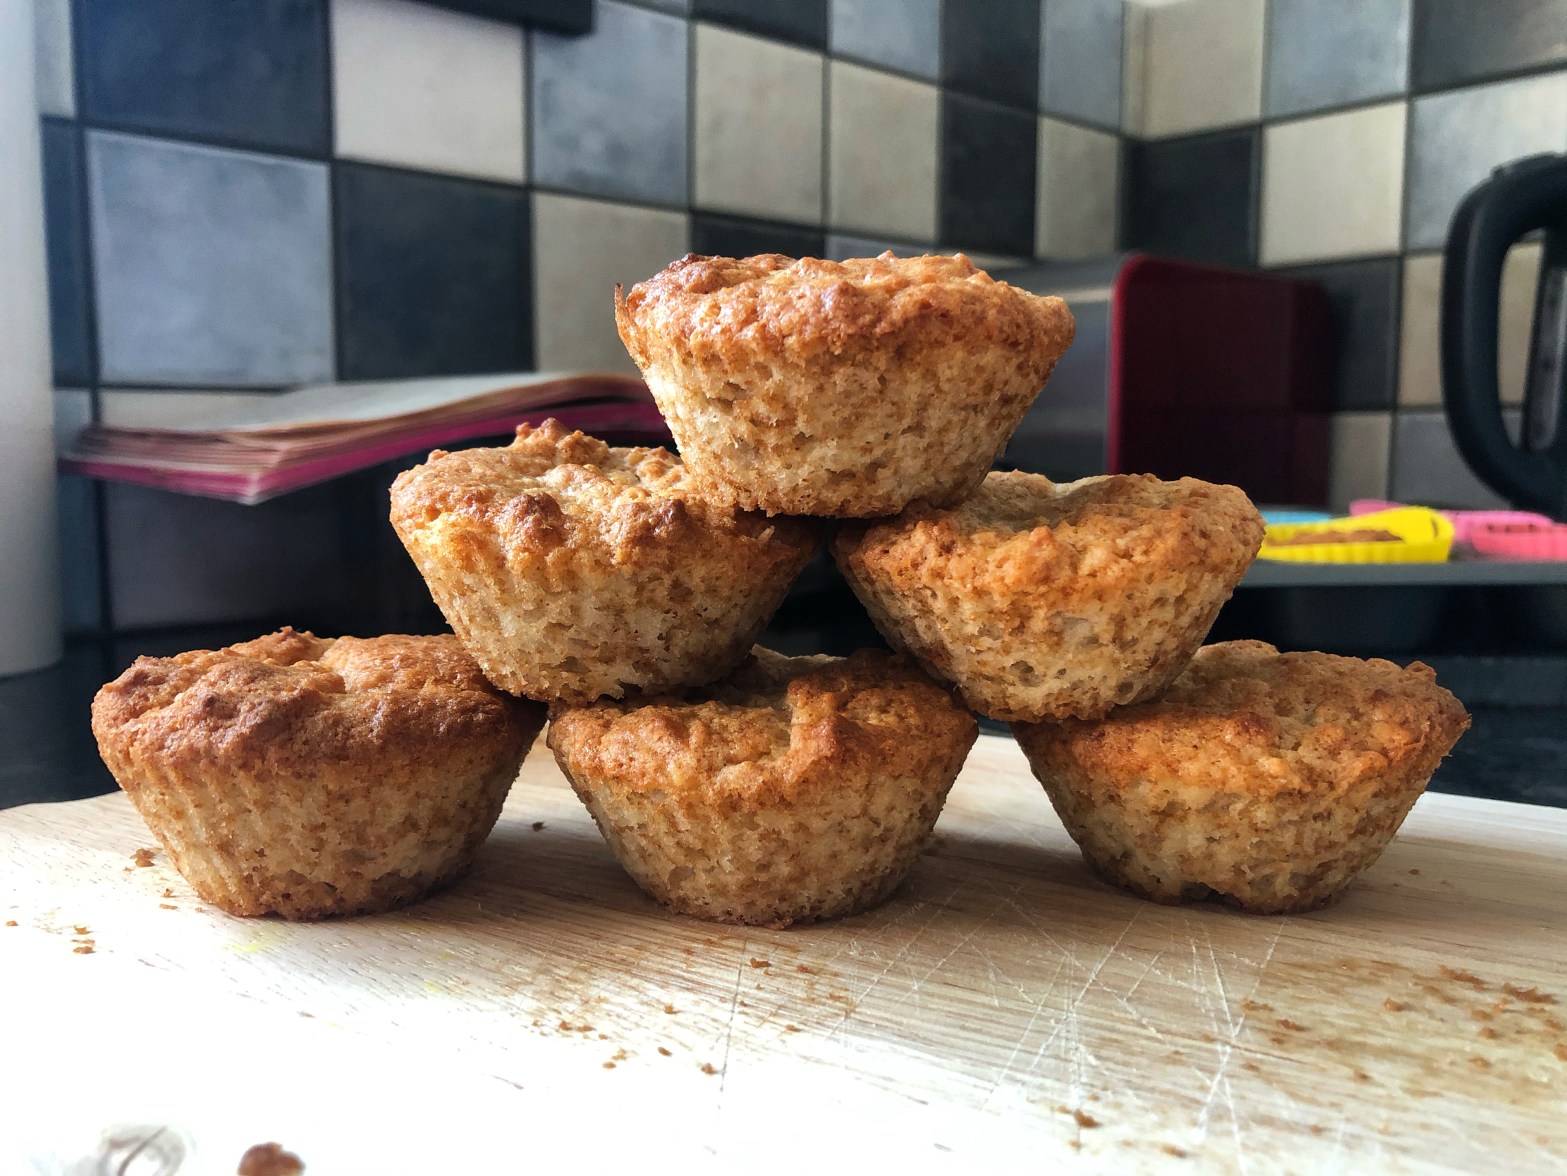
Nobody will believe you if you tell them that these little cupcakes are both gluten-free and vegan! This is a great recipe but part of its success is down to speed. The sooner you can get that mixture in the oven, the better. The raising agents will get to work as soon as the wet ingredients are added to the dry mixture so don’t delay.
Ingredients
- 100ml soya milk
- 50 ml lime juice (approx 2 limes)
- 80g vegan butter (spreadable is fine)
- 80g caster sugar
- 1tsp vanilla extract
- 60g rice flour
- 30g buckwheat flour
- 30g potato starch
- 50g desiccated coconut
- 4g xantham gum (1tsp)
- 6g baking powder (1stp)
- 3g bicarbonate of soda
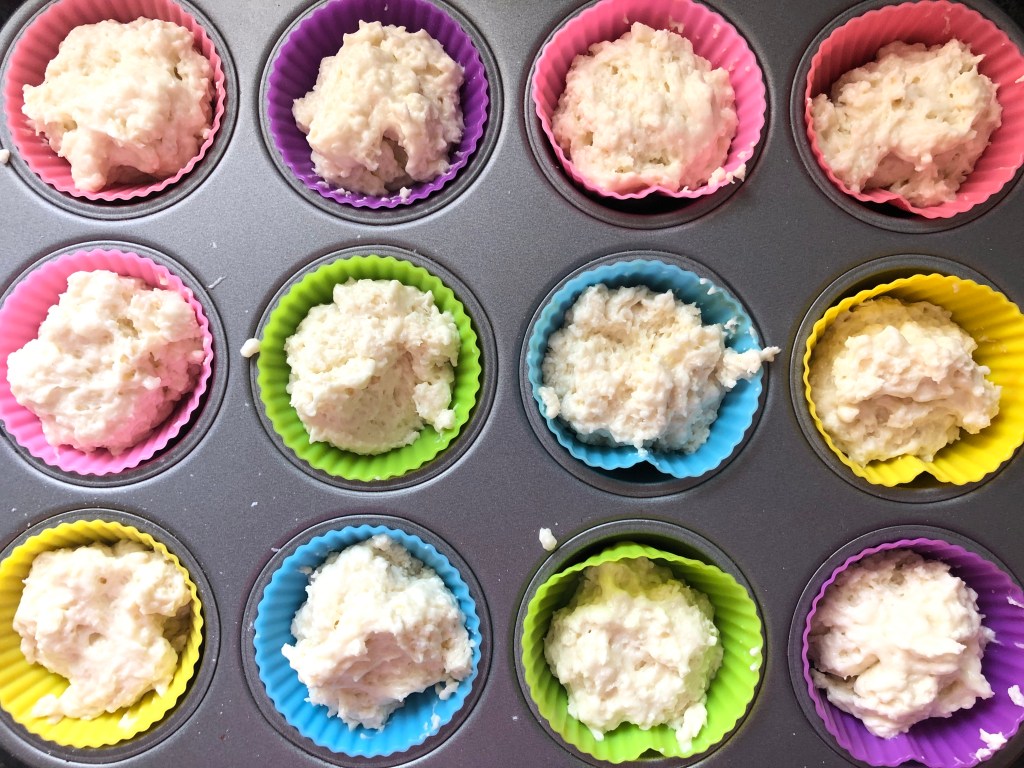
The first thing you need to do is get your oven on and preheating to 180°c. It needs to be ready to go as soon as your cup cake mixture is in the tray! Once that is on, line a 12-hole cupcake tray with cupcake cases. I have some reusable silicone ones which were a lovely gift and make baking cupcakes a little easier and a little more environmentally conscious.
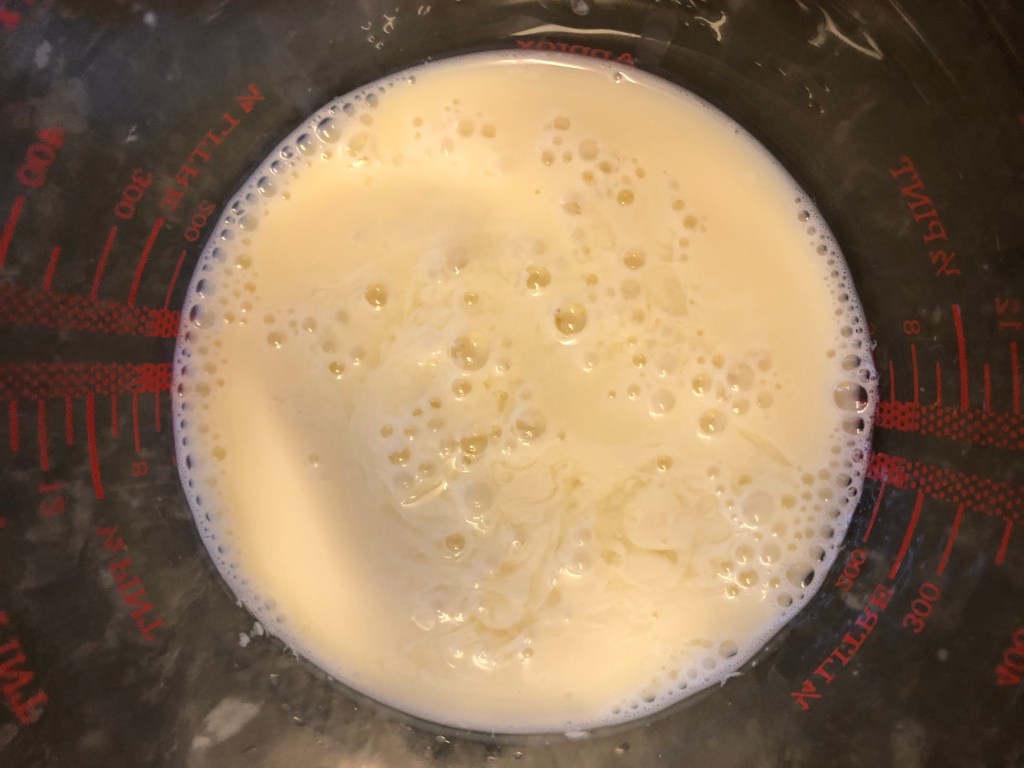
First up, deal with the wet ingredients, measure out the soya milk then add the lime juice. Give it a quick stir and leave it to thicken up.
Next up, add the butter, caster sugar and vanilla extract into a mixing bowl. Whisk them until it is a smooth, pale texture.
In a separate bowl, weigh out the rest of the dry ingredients and stir them together.
Go back to your bowl of sweet, vegan, buttery deliciousness and slowly whisk in the curdled soya milk. If it separates don’t worry. If you are prone to worrying feel free to add a spoonful of flour mixture to the wet ingredients to help keep it together. Once your milk is whisked in, add the flour/coconut mixture to the wet ingredients and bring together with a spatula. Don’t spend too much time on this step…
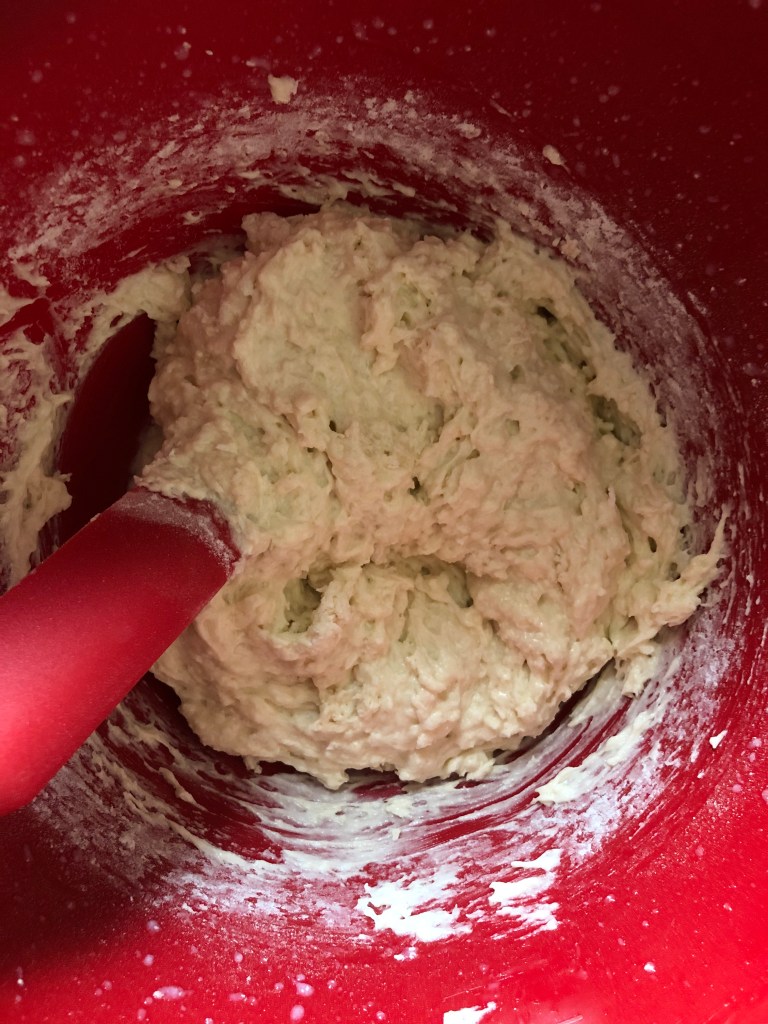
…get a wriggle on. Spoon the mixture into your cupcake cases, they are already waiting for you on the side. Ideally each case will be about two thirds full, but don’t be so precise here. You want that mixture in the oven as soon as possible.
Bake your cupcakes for 20-25 minutes at 180°c, you can use the toothpick method to check and see if they are done but if they have a deep, golden brown colour – then they are spot on.
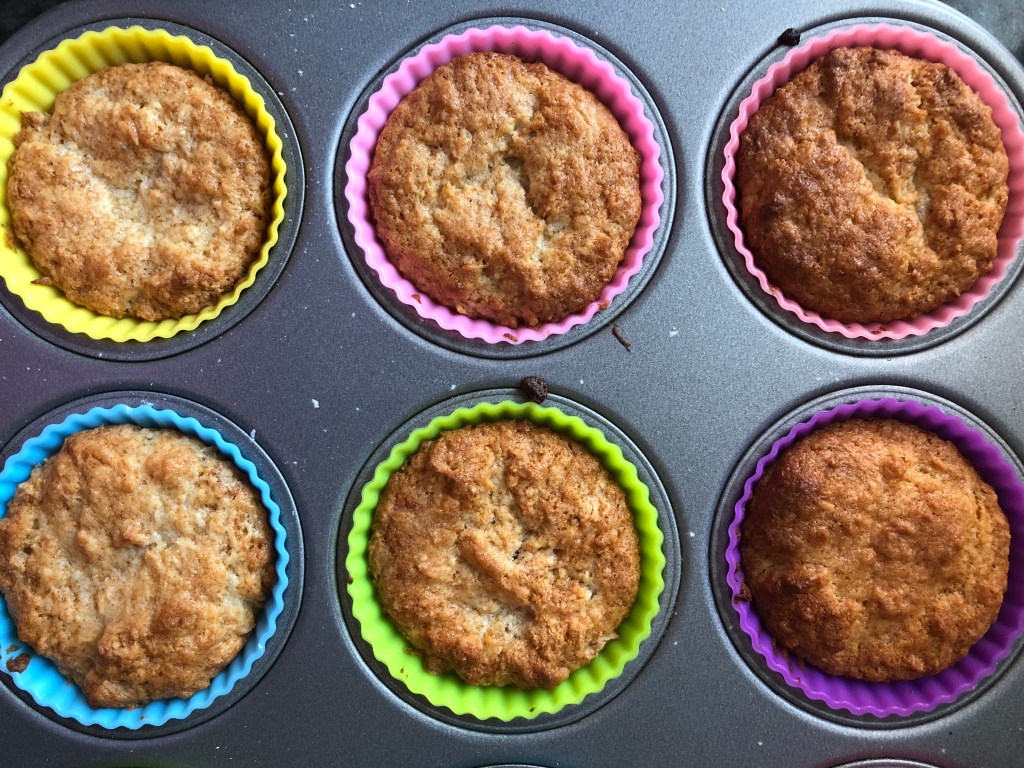
That is it! So simple. As tempting as it might be, do let them cool a little before you eat the entire batch. If you are using paper cases they can go straight onto a wire rack to cool, if you’ve got fancy reusable ones, let them cool enough to handle and then turn them out onto the wire rack. If you leave them to cool completely in your silicone cases, you will end up with soggy bottoms! (There is no way for the steam to escape so it ends up staying in your cake).

The main thing to remember about these cupcakes is, don’t hang about. This is a useful trick for most vegan cakes, the sooner you can get them under the heat, the sooner all those lovely bubbles created by your raising agents get locked into the structure of your bake. Creating a light, airy texture for your cakes.
As always, I would love to see pics of your bakes so do tag me on Instagram or drop me a comment below. Stay tuned for more cakey treats, I think there are some experiments to be had with this batter!
Snackalina out. x
