
Stay tuned for treats…
Cooking well does not mean cooking fancy.
— Julia Child.
This is the first post on my new blog. I’m just getting this new blog going, so stay tuned for more. Subscribe below to get notified when I post new updates.
Cooking well does not mean cooking fancy.
— Julia Child.
This is the first post on my new blog. I’m just getting this new blog going, so stay tuned for more. Subscribe below to get notified when I post new updates.

So, if you need any help with what yeast should look like when it’s proofing you can refer across to my bread roll recipe. For a few other little tips you can also have a look at my little white loaf recipe.
There are two main differences between a traditional loaf and a gluten-free, vegan loaf in terms of baking technique. The first is that you don’t need to knead a gluten-free loaf. Kneading works the gluten in traditional flour in order to make the dough elastic. Gluten-free flour don’t contain any gluten (obviously, otherwise you wouldn’t be here), instead I use a combination of xantham gum and tapioca flour to bind the bread. This means that as long as your dough is properly mixed, it doesn’t need a knead!
The other difference is how much stickier your dough needs to be to rise, you need to use the specified amount of liquid and if you’re working in a dry, hot environment you might need to add a bit more. I like to think of gluten-free flour as being thirsty, it needs more liquid in the mixture to help it rise. The binding ingredients we use can make the dough stiff and a bit gummy which stops the yeast doing it’s job and filling your dough with bubbles.
First things first, as with most recipes using dried yeast, wake it up! Add the dried active yeast (not going to work with nutritional yeast…), the flaxseed and the maple syrup to the tepid water and stir. Then stand to one side.
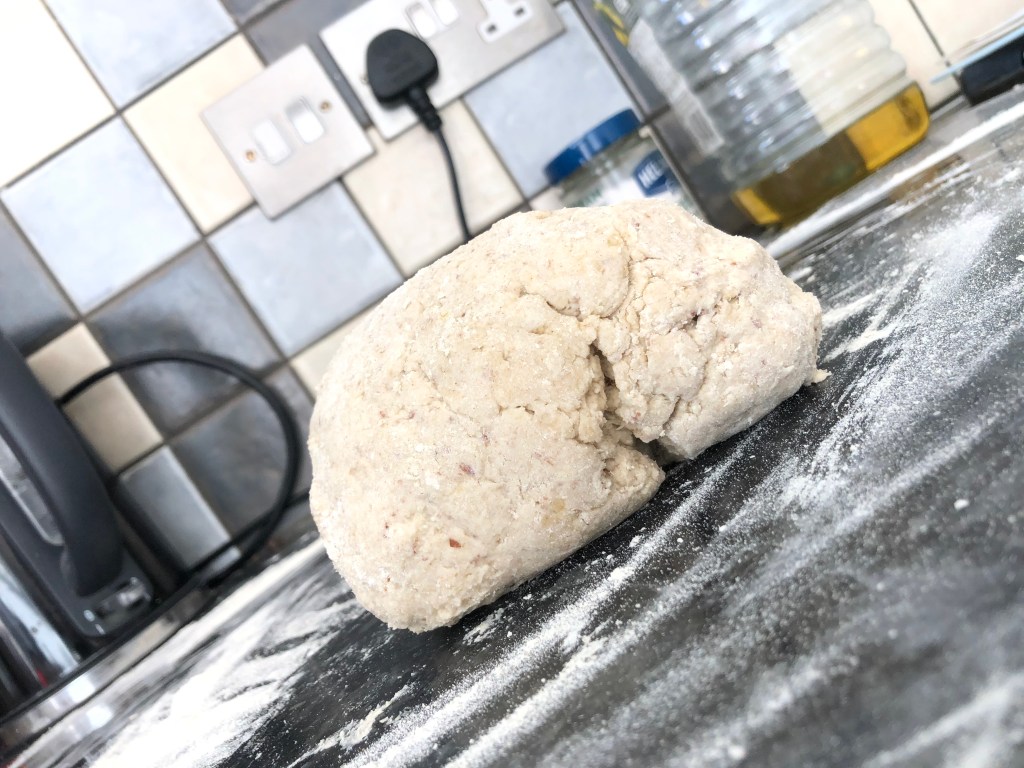
Weigh out all of the dry ingredients in a mixing bowl and stir to combine. Make a well in the middle of your dry ingredients and then pour in the melted butter, stir to combine as best as you can then pour the yeasty liquid into the middle and continue to stir until the dough is combined. (I tend to use a knife or a desert spoon for this as it’s easier to get through the mixture and then wipe off with your fingers than a wooden spoon.) Dust your surface generously with flour and turn out your stick ball of dough.
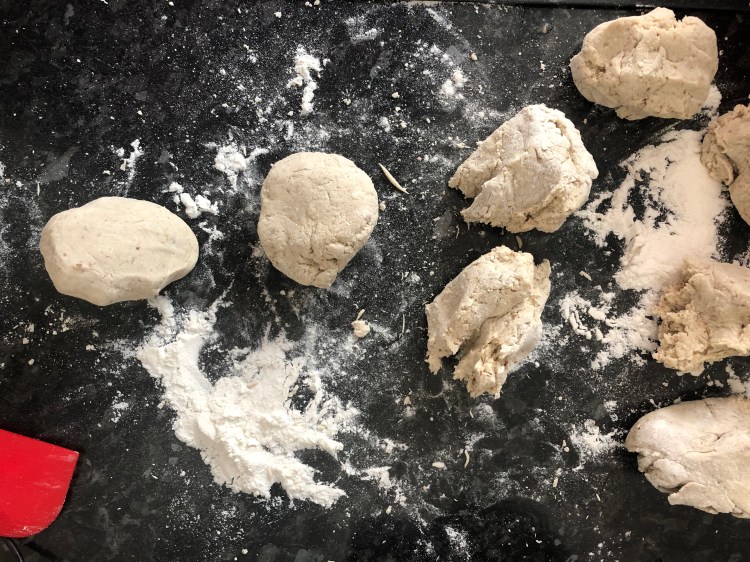
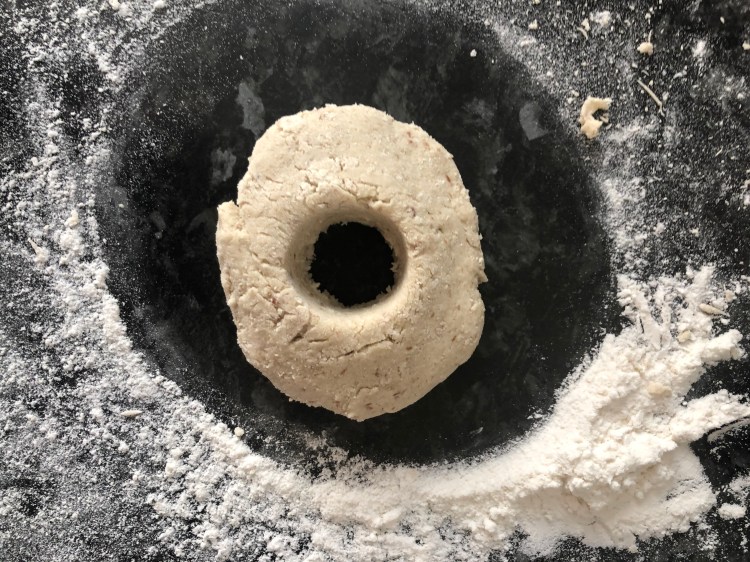
Separate the dough into eight pieces and roll into balls. Push each ball flat, and using the floured end of a wooden spoon make a hole in the middle and spin each dough ball into a bagel shape.

Place your bagels on a tray lined with baking paper.
Leave your bagels somewhere to proof, I like to gently warm my oven and leave a dish of boiled water in the bottom so that the air is nice and moist. This step could take anywhere from forty five minutes to a couple of hours, depending on the environment you’re proofing your bagels in.
Once your bagels have puffed up and doubled in size you are ready for the next step. Set the oven to preheat to 200°c. Then take a pan full of boiling water and add the tablespoon of brown sugar and teaspoon of bicarbonate of soda. Once your water is at a rolling bagel use a slotted spoon to float your bagels. You are going to boil them for thirty seconds each side and then put them back on the baking tray.

I do them two at a time because I have space to do that in my pan but it’s okay if you only have space for one bagel at a time. This step is unique to bagels and helps give them that lovely, chewy texture.
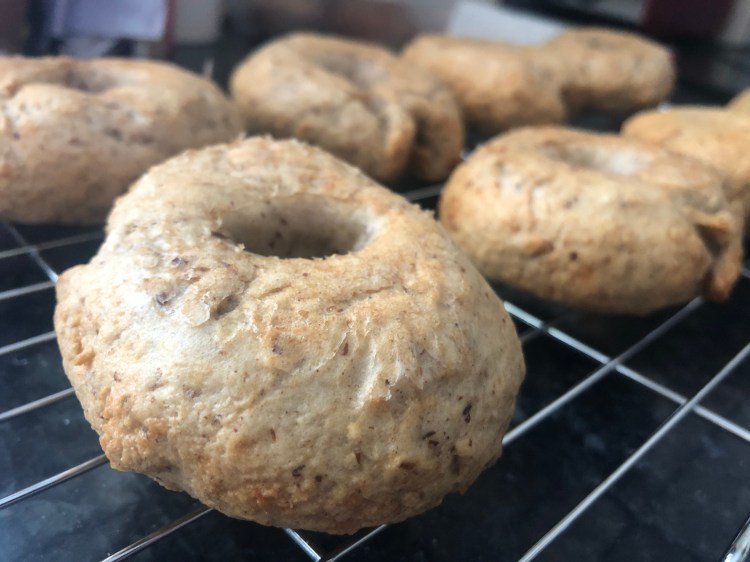
Bake your boiled bagels for about 20 minutes, they should be slightly golden, It’s a fine line with these ones, too long and they end up with a crunchy crust so keep an eye on them.
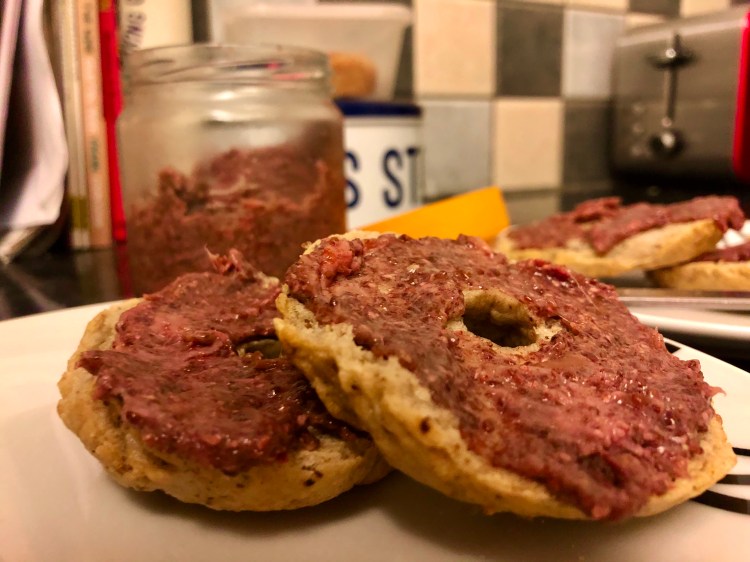
These bagels are great with peanut butter or a good coating of strawberry jam.
As always, I would love to see what you get up to in your kitchen. You can leave a comment or tag me on Instagram.
Happy baking,
Snackalina out. x
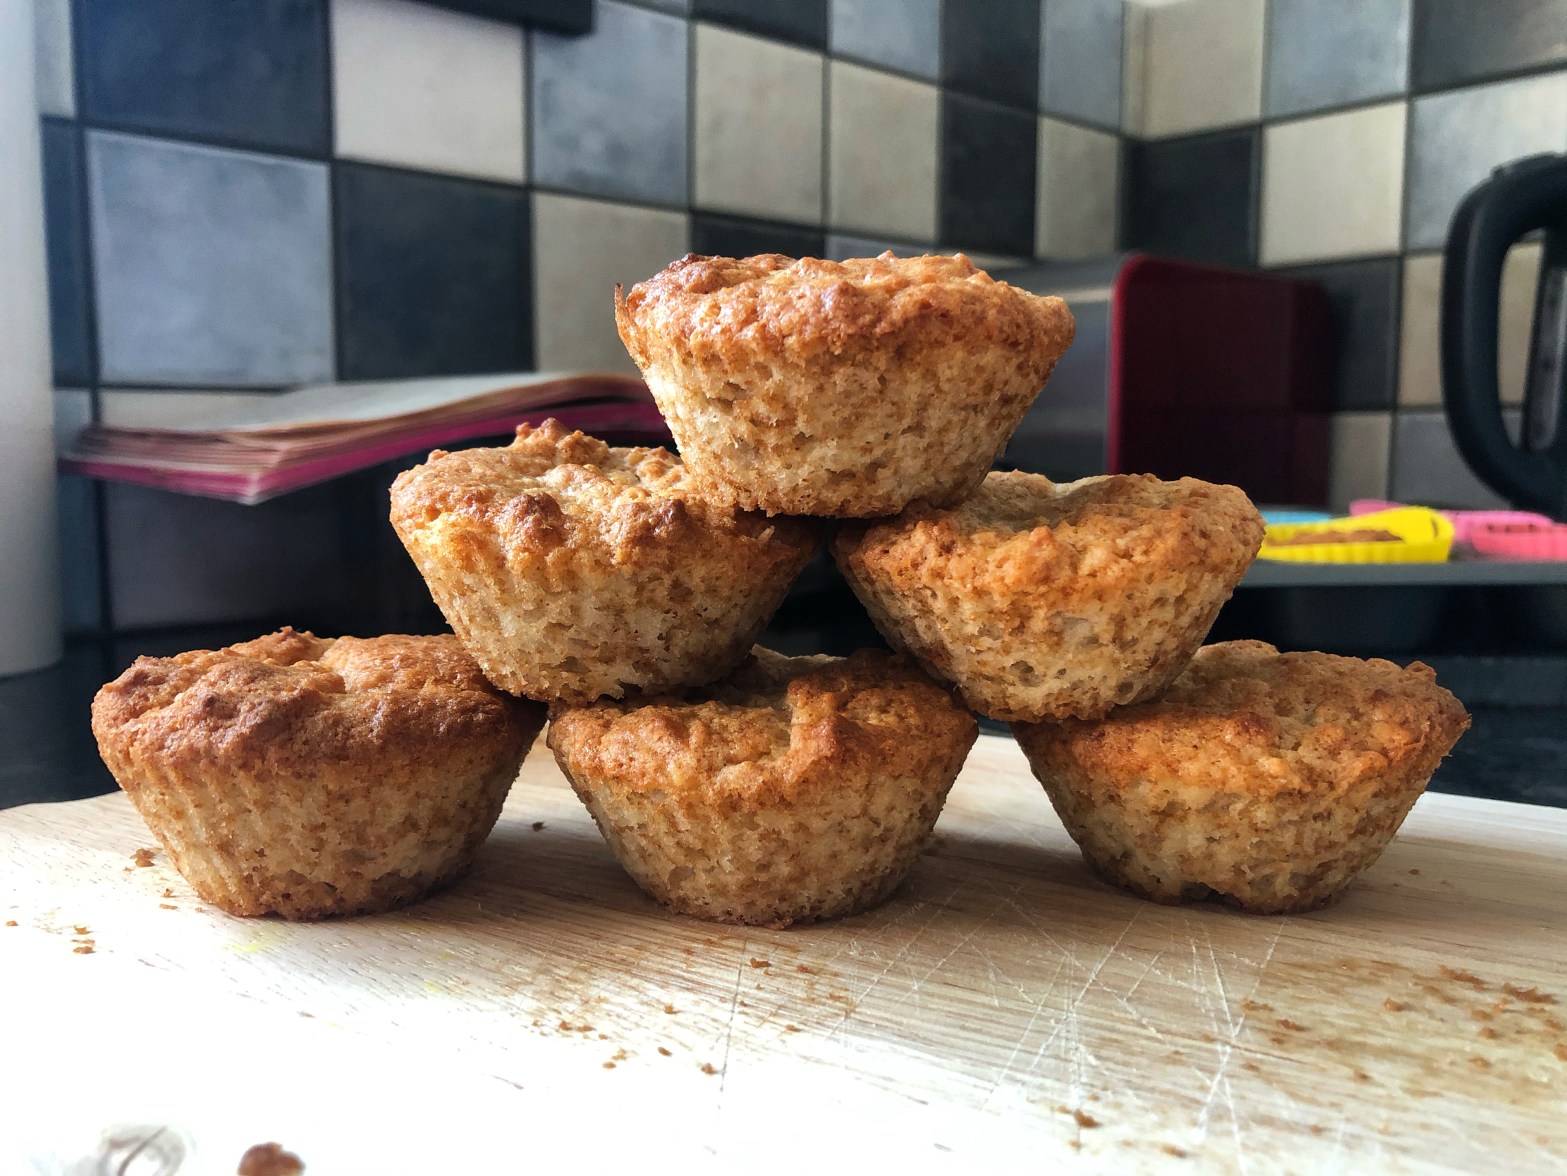
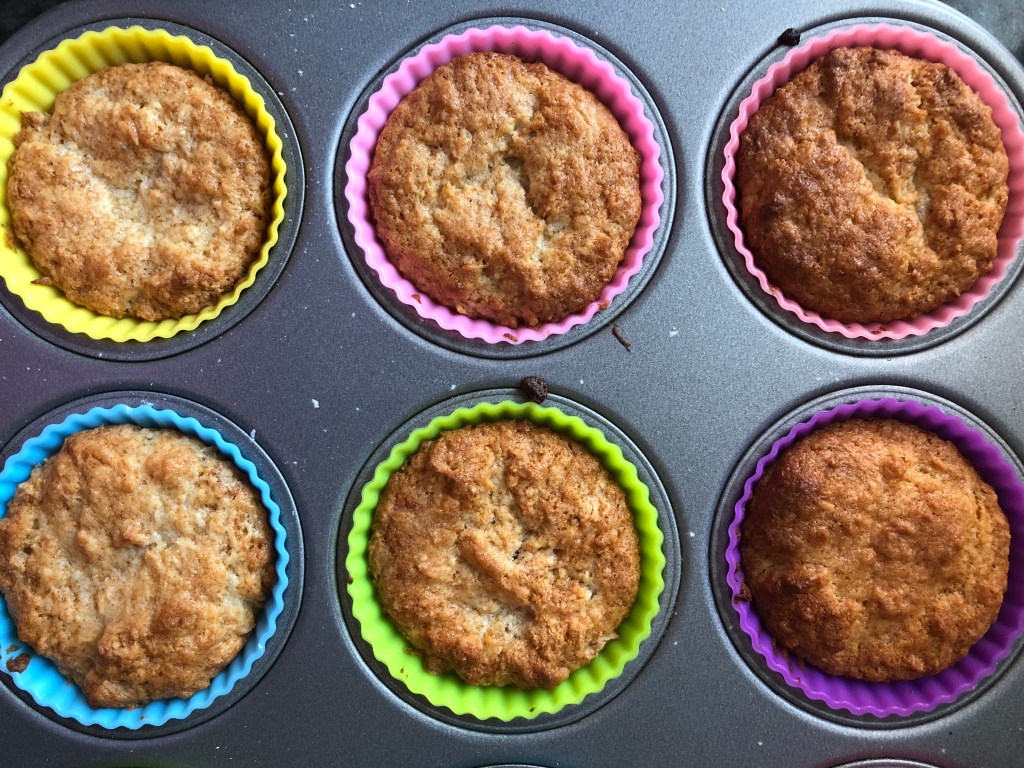
Nobody will believe you if you tell them that these little cupcakes are both gluten-free and vegan! This is a great recipe but part of its success is down to speed. The sooner you can get that mixture in the oven, the better. The raising agents will get to work as soon as the wet ingredients are added to the dry mixture so don’t delay.
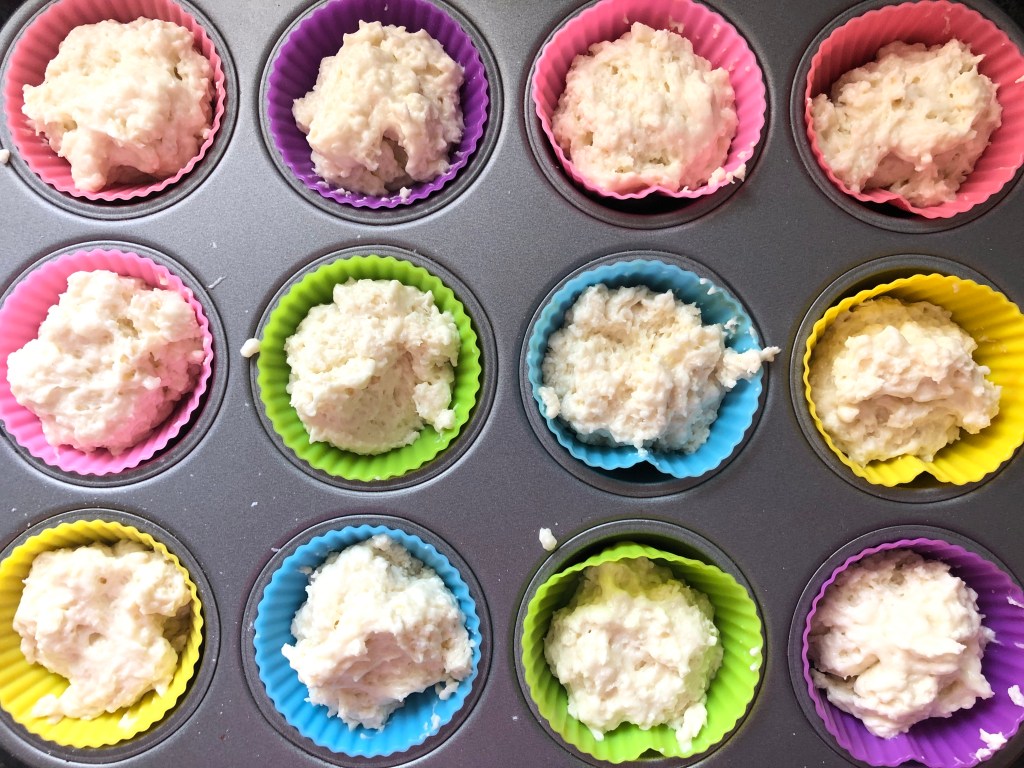
The first thing you need to do is get your oven on and preheating to 180°c. It needs to be ready to go as soon as your cup cake mixture is in the tray! Once that is on, line a 12-hole cupcake tray with cupcake cases. I have some reusable silicone ones which were a lovely gift and make baking cupcakes a little easier and a little more environmentally conscious.
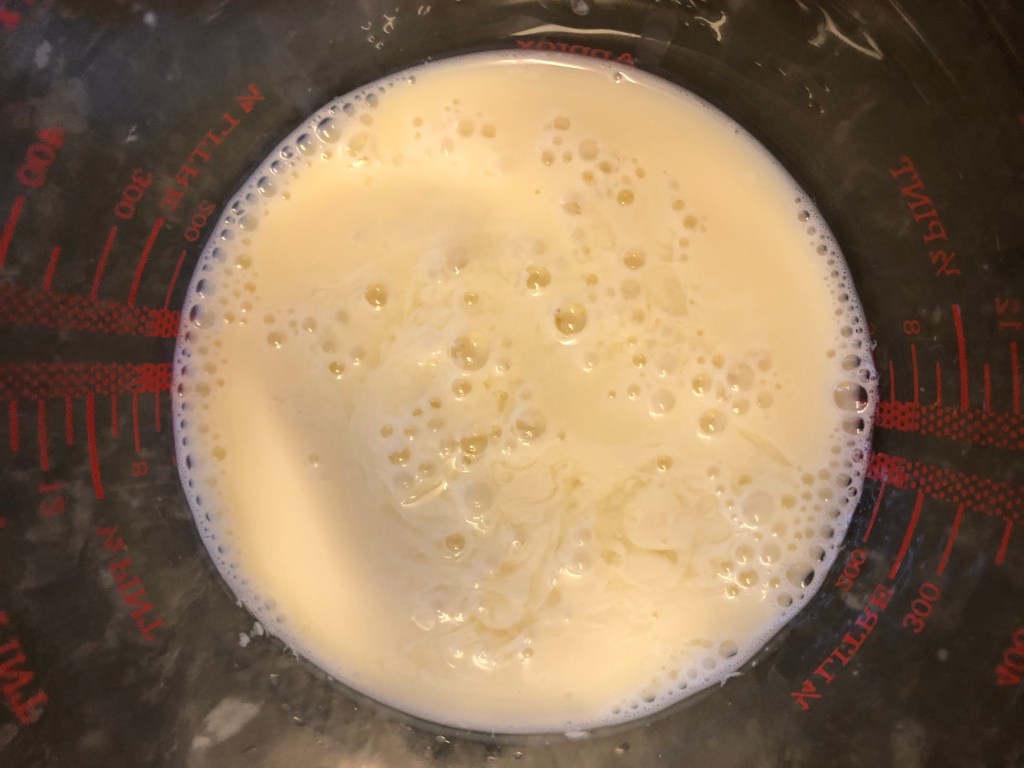
First up, deal with the wet ingredients, measure out the soya milk then add the lime juice. Give it a quick stir and leave it to thicken up.
Next up, add the butter, caster sugar and vanilla extract into a mixing bowl. Whisk them until it is a smooth, pale texture.
In a separate bowl, weigh out the rest of the dry ingredients and stir them together.
Go back to your bowl of sweet, vegan, buttery deliciousness and slowly whisk in the curdled soya milk. If it separates don’t worry. If you are prone to worrying feel free to add a spoonful of flour mixture to the wet ingredients to help keep it together. Once your milk is whisked in, add the flour/coconut mixture to the wet ingredients and bring together with a spatula. Don’t spend too much time on this step…
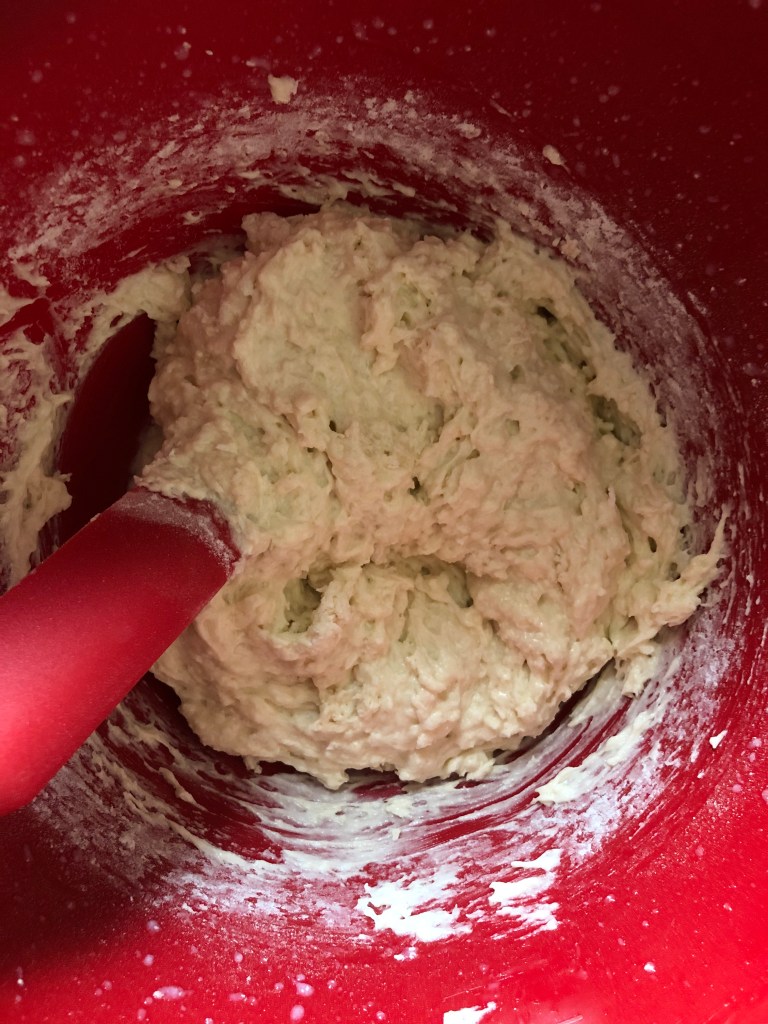
…get a wriggle on. Spoon the mixture into your cupcake cases, they are already waiting for you on the side. Ideally each case will be about two thirds full, but don’t be so precise here. You want that mixture in the oven as soon as possible.
Bake your cupcakes for 20-25 minutes at 180°c, you can use the toothpick method to check and see if they are done but if they have a deep, golden brown colour – then they are spot on.
That is it! So simple. As tempting as it might be, do let them cool a little before you eat the entire batch. If you are using paper cases they can go straight onto a wire rack to cool, if you’ve got fancy reusable ones, let them cool enough to handle and then turn them out onto the wire rack. If you leave them to cool completely in your silicone cases, you will end up with soggy bottoms! (There is no way for the steam to escape so it ends up staying in your cake).

The main thing to remember about these cupcakes is, don’t hang about. This is a useful trick for most vegan cakes, the sooner you can get them under the heat, the sooner all those lovely bubbles created by your raising agents get locked into the structure of your bake. Creating a light, airy texture for your cakes.
As always, I would love to see pics of your bakes so do tag me on Instagram or drop me a comment below. Stay tuned for more cakey treats, I think there are some experiments to be had with this batter!
Snackalina out. x

This recipe is so easy and the strawberries could almost definitely be substituted for another berry, you might need to alter the quantity of dates depending on how sweet your chosen fruit is though. The only downside of this recipe is that it isn’t the prettiest jam in the world, it’s still pretty tasty though.
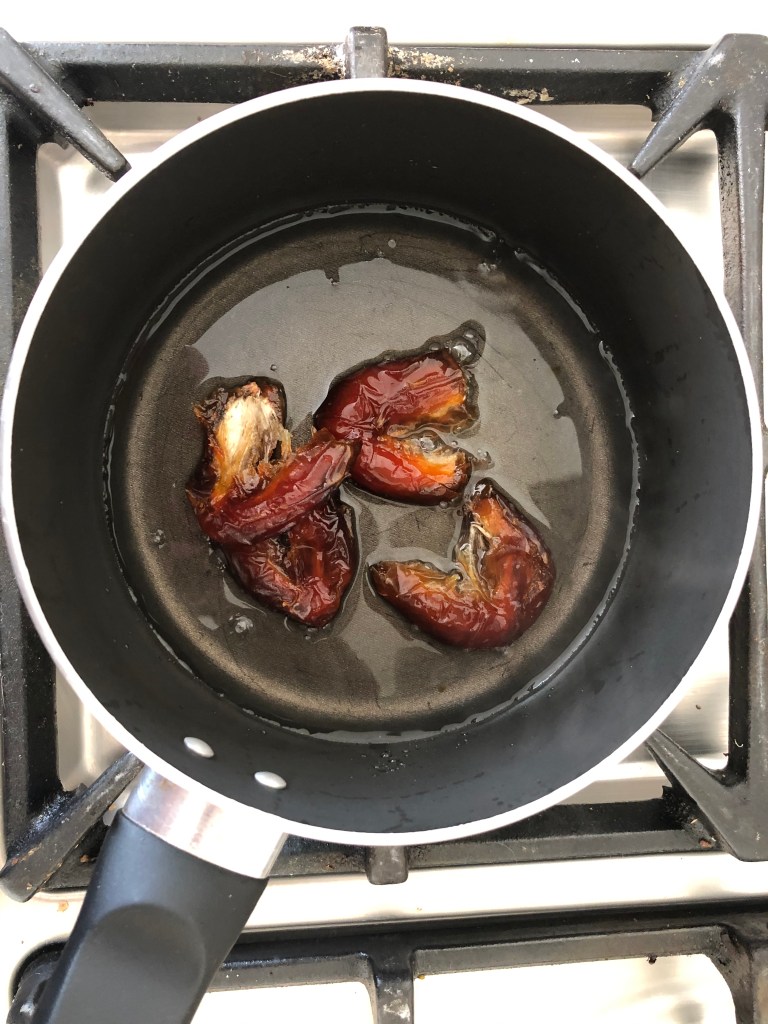
This vegan jam recipe doesn’t use any sugar or pectin! Can you believe it? Chia seeds act as the gelling agent, soaking up any excess fluid and holding the jam together. A few boiled dates substitute the sugar. What you end up with is a vegan, gluten-free jam that takes about twenty minutes to make, and whilst it isn’t super sweet like supermarket jam, it does taste like the actual fruit that it contains. This makes it a super option for adding to porridge, rice pudding or smearing across a bagel when you want something that is healthy but still a sweet treat.
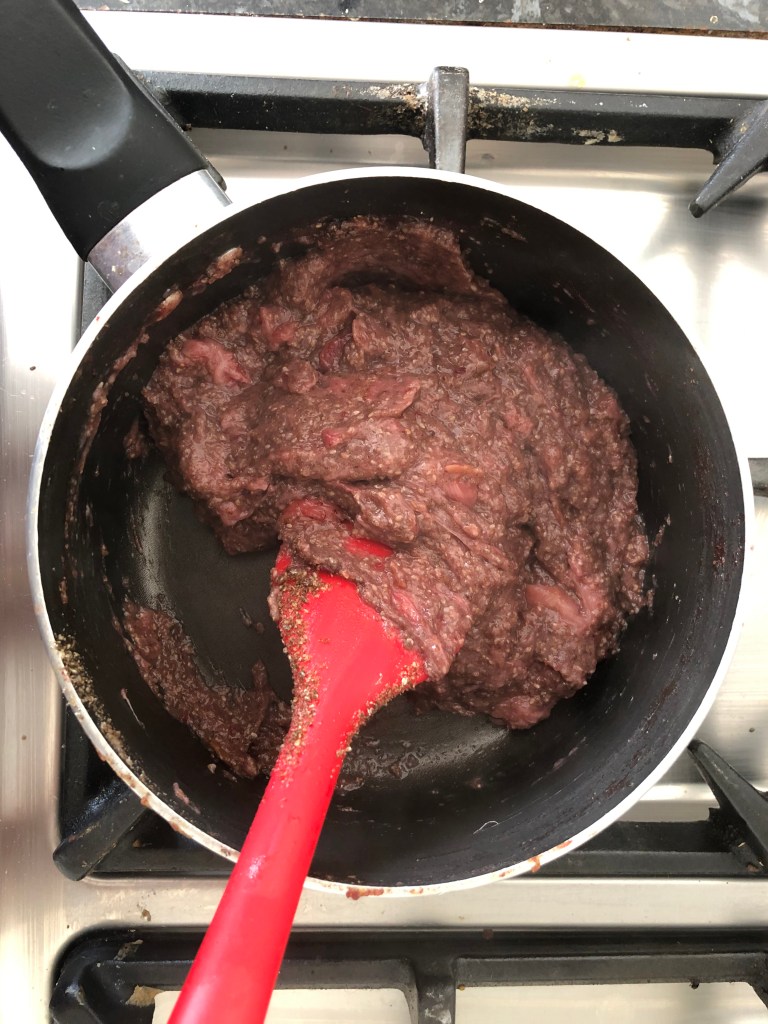
The first thing you’re going to do is take the stones out of the dates! Pop them in a pan and cover them with water, bring to the boil and then simmer gently until the dates are soft and most of the water has boiled away. Take them off the heat and use a wooden spoon or a heatproof spatula to mash them to a pulp.
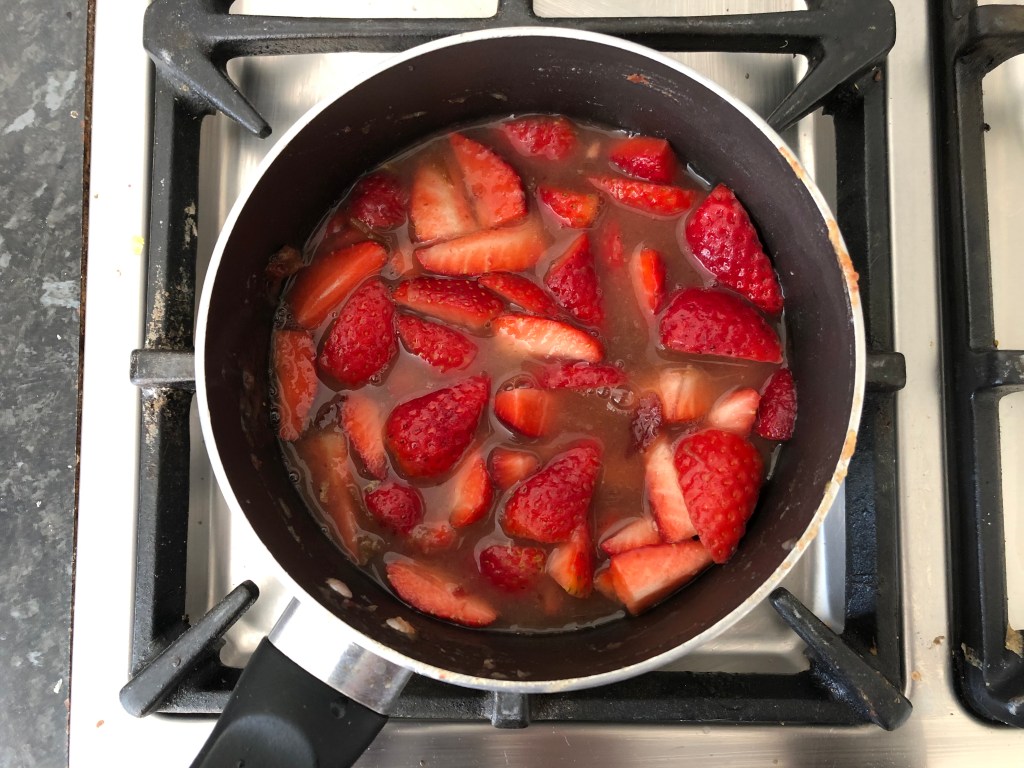
Next add your strawberries to the pan. Top the pan up with water and give it a good stir so that your date paste is evenly mixed in. Your strawberries should be nearly covered. Return the pan to the heat and bring to the boil.
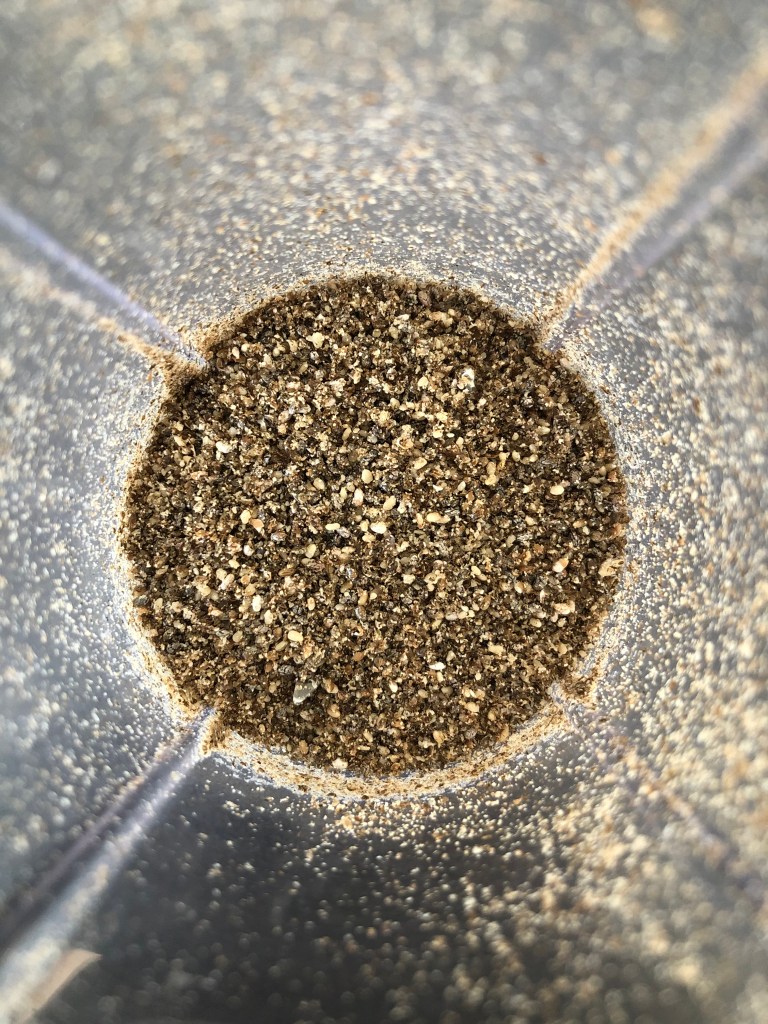
While your strawberry mixture is simmering you can turn your attention to the chia seeds, these hydrophilic wonder seeds will bind your jam together by absorbing any excess moisture. I like to blitz mine to a coarse texture in the blender for a smoother jam but using them whole works the same.
Back to the pan, once your mixture has been simmering for around ten minutes your strawberries will probably be enough mushy enough to mash. You can mash them right down to a smooth mixture or leave some chunks of strawberry, texture is your personal preference.
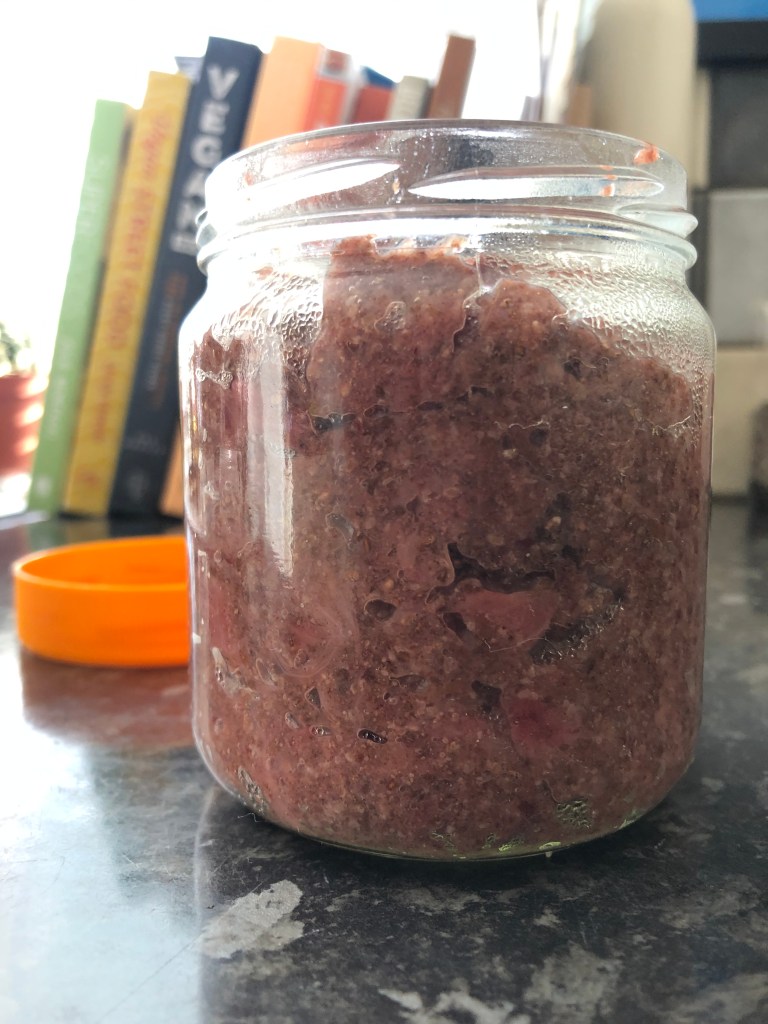
Your jam will start to look gloopy, you want a thick mixture but not too solid. When you get there, add your chia seeds. Give it a good stir and transfer it straight into a sterilised jar.
It’s that simple, allow it to cool and keep it in the fridge – or if you have a huge batch of fruit and you have scaled up the recipe, share your jam with friends or freeze it and thaw it as you need it.
As always I would love to see what you get up to so don’t be shy and tag me on Instagram if you decide to make this jam or let me know what you think in the comments below.
Snackalina out. x
P.S. This goes great on a hot bagel, stay tuned for the upcoming, gluten-free, vegan bagel recipe!
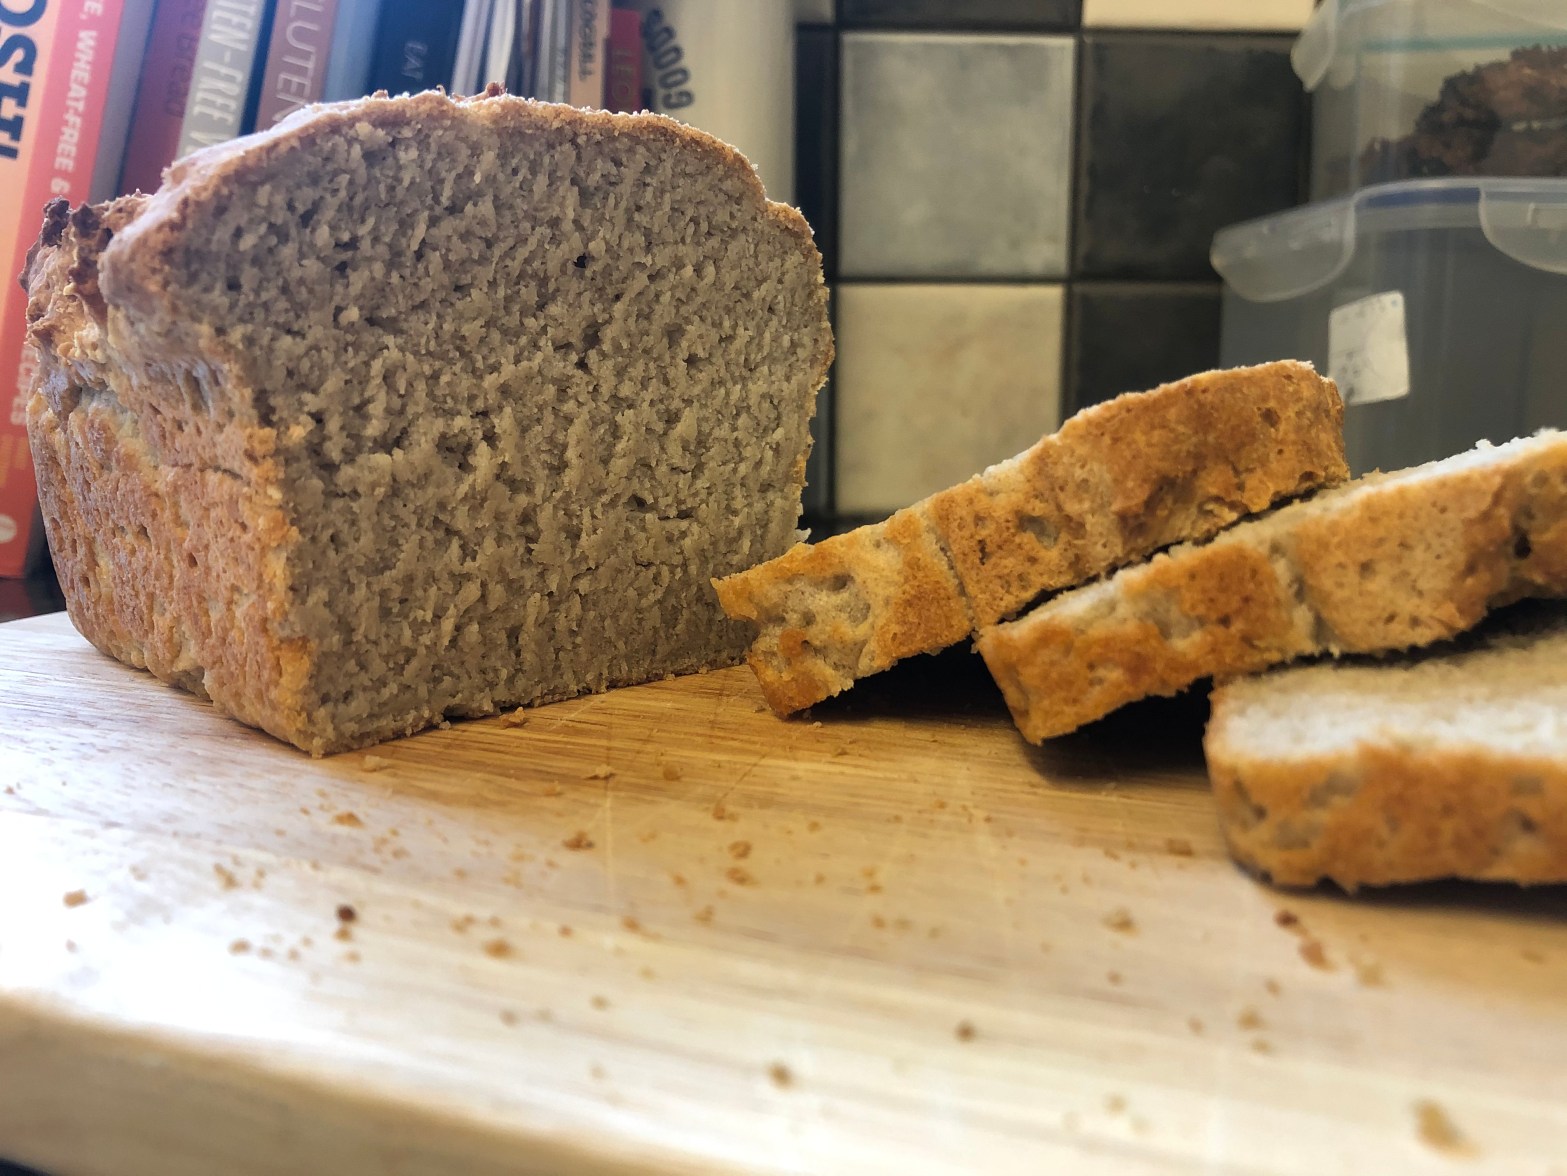
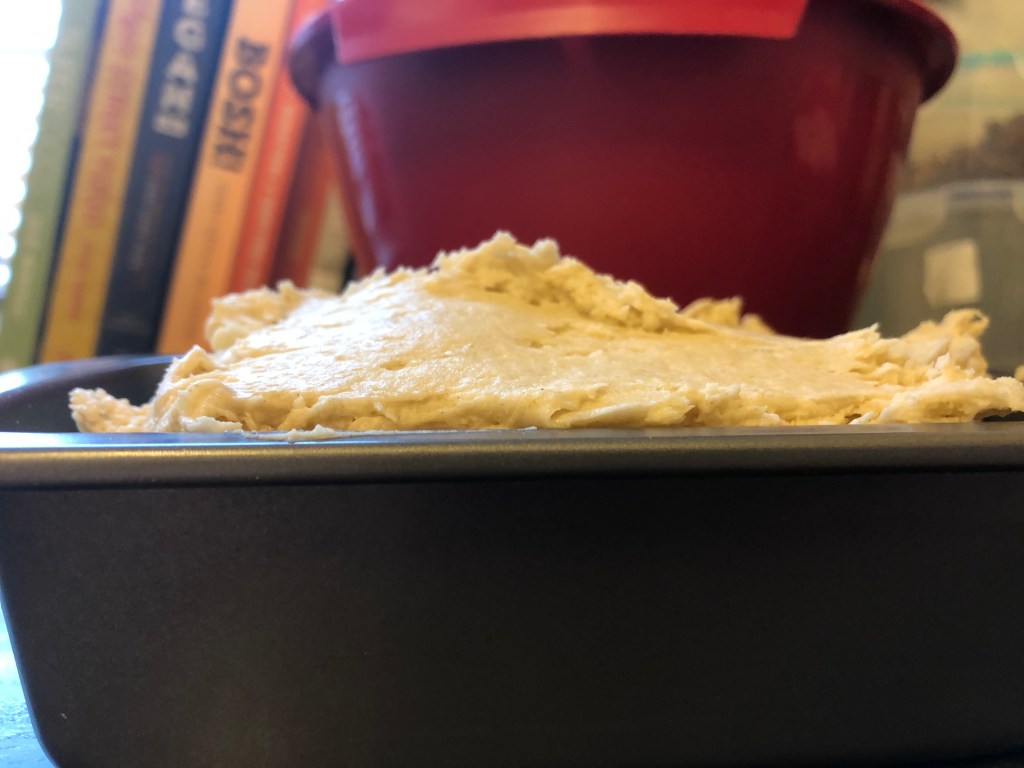
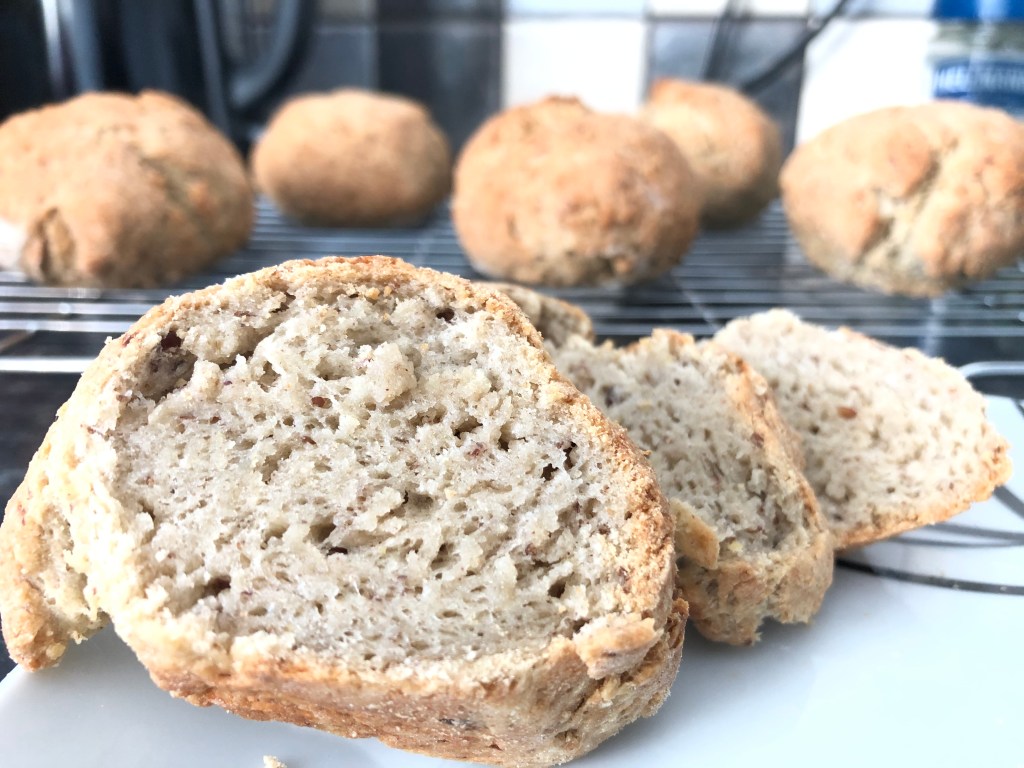
That’s right, another bread recipe. This time a loaf, a surprisingly sized loaf for a gluten-free recipe. I used a one pound loaf tin for mine, the recipe would probably work without a tin if you just proof it as a ball on a tray but you may need to adjust the time it spends baking in the oven!
Vegan, gluten-free baking can be tricky but it isn’t the end of the world with the right combo of ingredients and a little bit of patience. Snackalina has got you covered on the ingredients front but you do need to make sure that you give it enough time. Gluten-free bread needs time to rise, just like its glutinous counter-part. But don’t worry – you’ll save time on the kneading because you don’t need to work that gluten.
The exciting, magic ingredient in this recipe is aquafaba. It behaves like egg whites in this recipe, providing some much needed binding and moisture for that thirsty, gluten-free flour.
Start with the soya milk, measure it out in a microwaveable container and gently warm it. (You can use a saucepan if you have the time or you don’t have a microwave) Remember, you only want your soya milk to be tepid, it’s got to activate the yeast like a warm bath, not boil it. Add your yeast and sugar once your milk is up to temperature and set to one side, allow it to froth.
In a mixing bowl, weigh out all of your dry ingredients carefully and mix together, then add the melted butter. Mix it in and break it up a little so you don’t end up with huge clumps of butter in your mixture. Add the aquafaba, stir that in as best you can. Then, once it is frothy, add the warm, yeasty milk to the bowl and stir until you have a sticky dough.
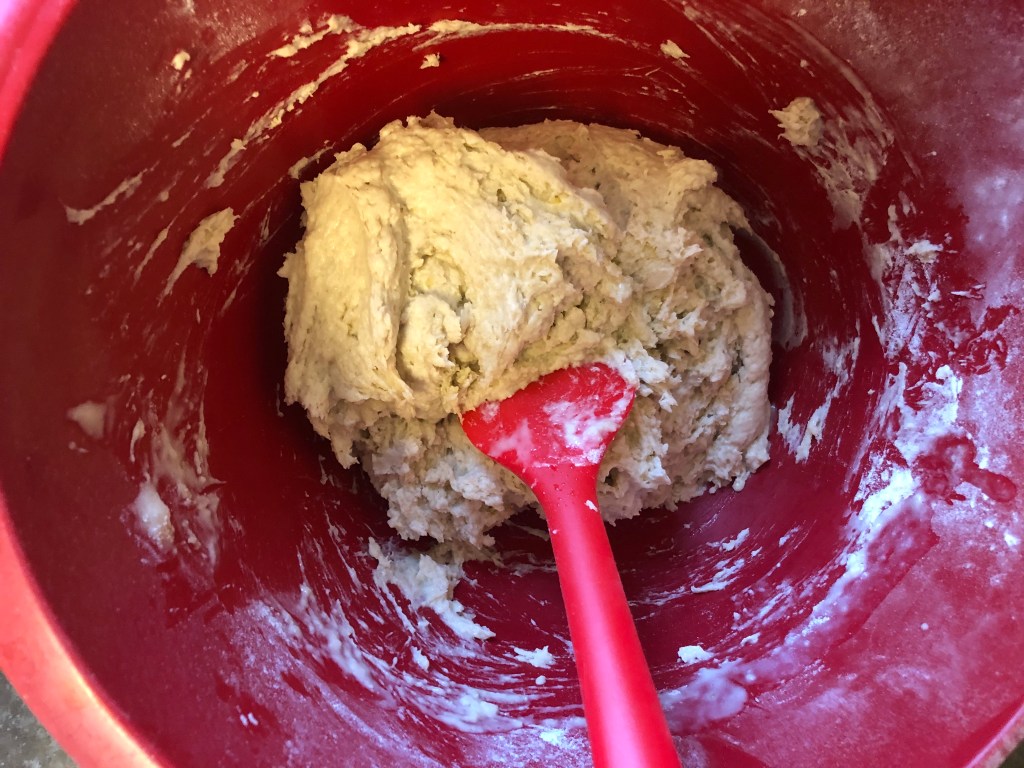
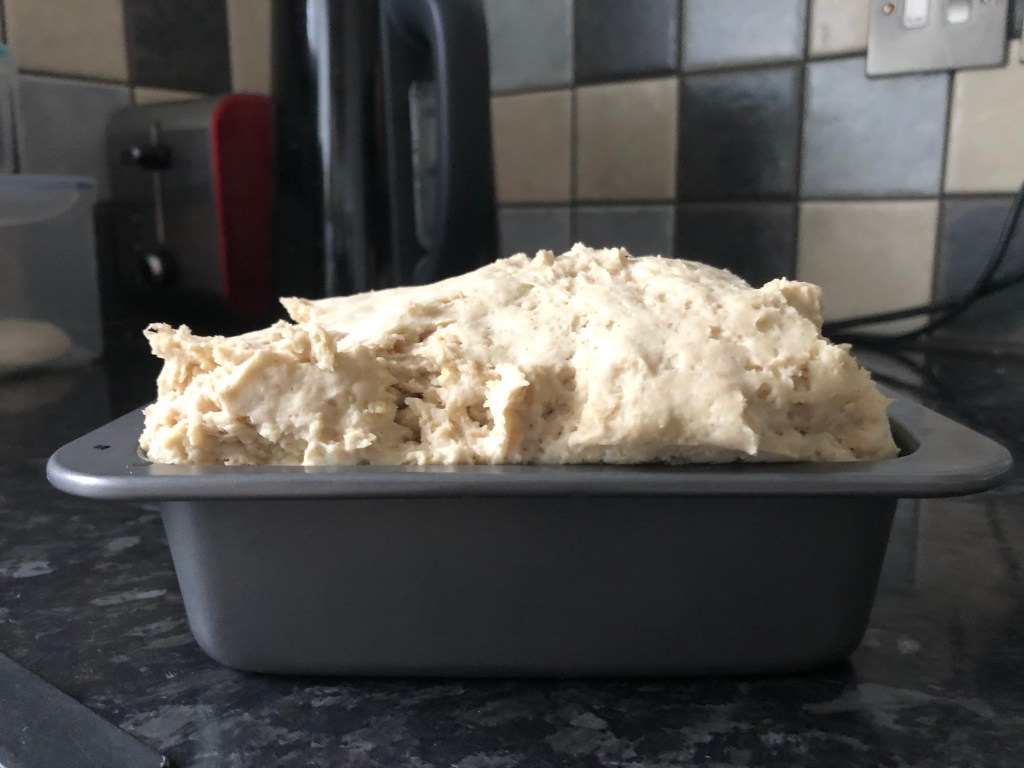
Oil a one pound loaf tin and scoop your sticky dough into the tin. As with all of my bread recipes, I like to proof them in my oven (pre-warmed so that it’s not too hot) and pop a tray of boiled water in the bottom to keep the dough from drying out while it rises.
Once your loaf has puffed up, take it out of the oven and set the oven to 160°c. Bake your loaf for around 35 minutes.
I leave my tray of hot water in the bottom of the oven while it bakes. Baking your loaf in a steamy oven will help give it a delicious, golden, crusty exterior.
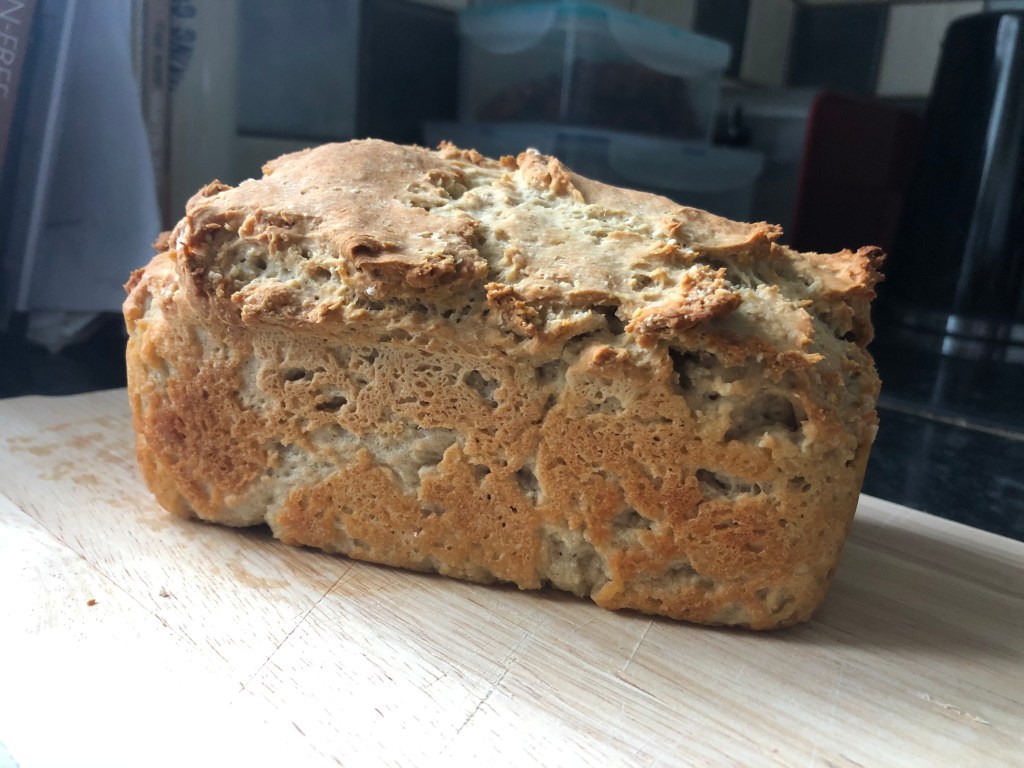
When the loaf is baked it should slide easily out of the tin, cool it on a wire rack. It will sound hollow when you tap it on the bottom.

This is a great loaf for sandwiches, toast – nice for when you need something easy. I haven’t tried scaling this recipe up yet into a larger tin. It will definitely need longer to proof and longer in the oven to bake. I’m not sure whether the dough is structurally sound enough to proof properly in a larger tin but I would love to know how you get on if you scale it up before me.
As always, I would love to see what you get up to so tag me in your photos on Instagram or drop me a comment below.
Snackalina out. x

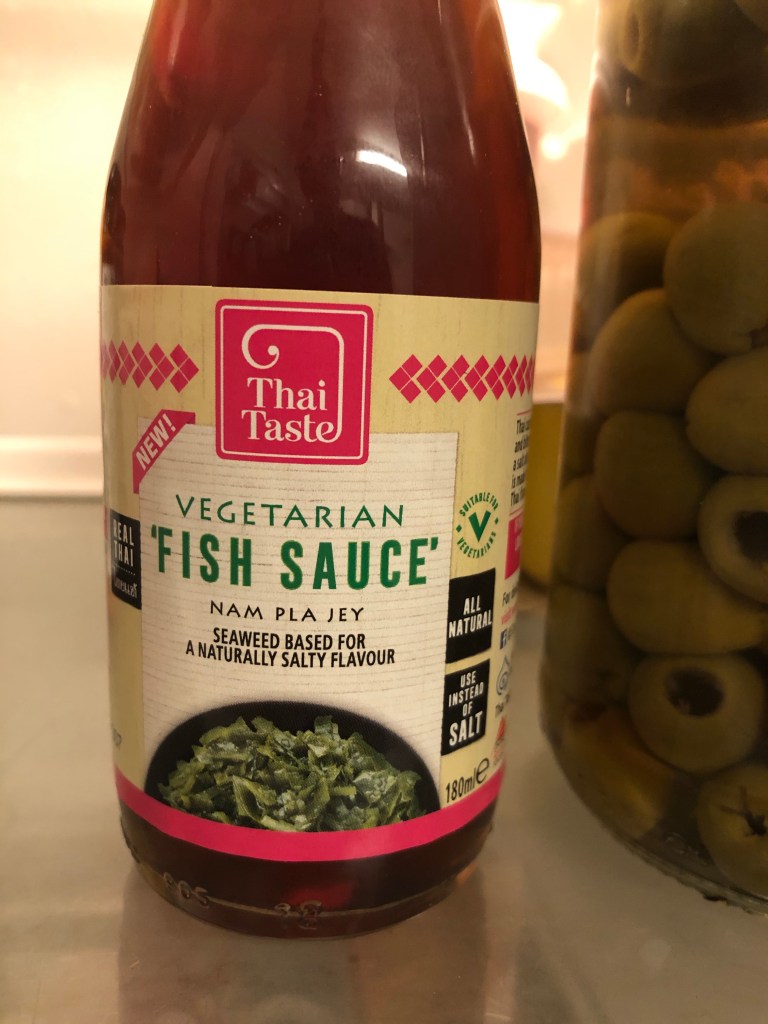
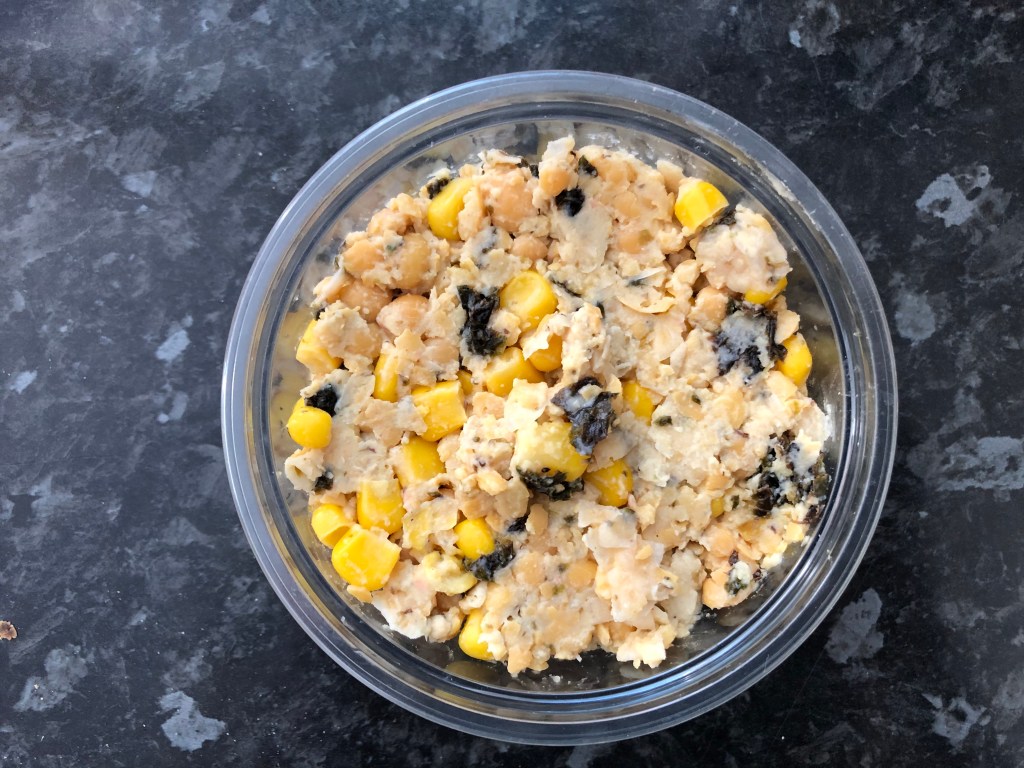
This is such a simple recipe. It doesn’t have many ingredients. If you can get hold of this vegan fish sauce it will help give your chickpeas a super fishy punch. If you can’t, don’t worry, the seaweed is great and the fake fish sauce can be a bit overwhelming if you’re a long-serving vegan.
Stick everything in a bowl apart from the seaweed, sweetcorn and the salt and pepper. Use a fork to mash the mixture to a softer consistency. You can go for as long as your want here. I like mine to be fairly mashed up, but with some chunks in it for bite. Once it’s tuna-ish, chop up your seaweed into little pieces and add it to the bowl, then add your sweetcorn. I haven’t specified an amount, half a small tin is enough for me. Give it a good mix and then taste it, I’m a fiend for black pepper so I add plenty here. If you’ve used the fake fish sauce then your probably don’t need any more salt!
That is literally it. I love a sandwich and find gluten-free bread is a nightmare to get hold of. If you can find it, you usually have to take a loan out at the bank every time you want a loaf! If that’s you, check out my bread recipes.
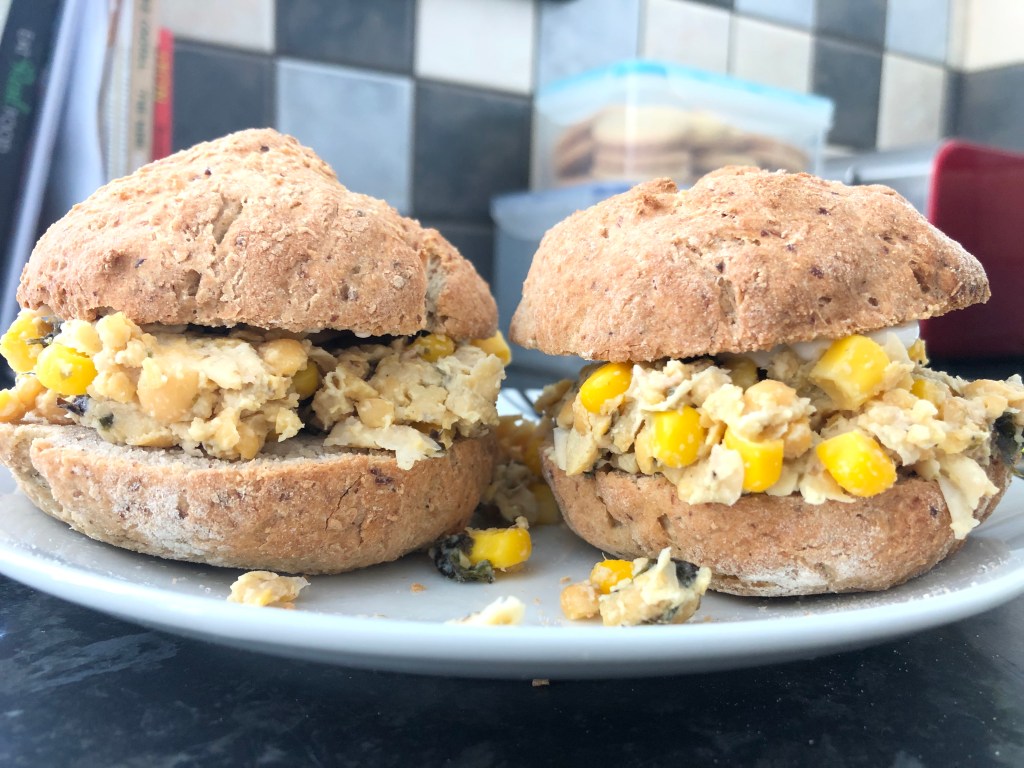
Chickpea tuna sandwich filler is pictured here in my new bread roll recipe, you can’t see from the picture but there is a massive dollop of vegan mayonnaise in each bun!
I would love to know what you think of this chickpea tuna sandwich filler. Maybe you’re a full-time vegan or perhaps you’re just dipping your toes in the cruelty-free waters for Veganuary. Either way, leave a comment or tag me in your snaps on Instagram.
Snackalina out. x

This recipe is great start for your gluten-free bread journey, a bowl of dry ingredients and a bowl of wet plus a bit of melted butter. You only need a couple of things to make this recipe successful, yeast that bubbles and time.
When you mix the yeast with the warm milk and a couple of other ingredients you are reactivated the dried yeast and bringing it back to life with a little snack. Your dried yeast is almost definitely good up to its use-by date so just be sure that you don’t over heat the soya milk to start off with. When it bubbles you know it’s back to life, if it doesn’t bubble give it another five minutes. If that doesn’t work, you’ll need to try again, either with cooler milk or new yeast! Lukewarm is where you want to be.
The other thing you need is time, if you don’t proof your bread for long enough it won’t rise. It’s not a thing you can rush and of course it depends on the temperature. Yeast is a bit like goldilocks, she doesn’t like it too hot or too cold. She likes it just right! Once your bread looks ready to bake, it is. That may take longer than the recipe states but you’ll get a feel for it the more times you make this recipe!
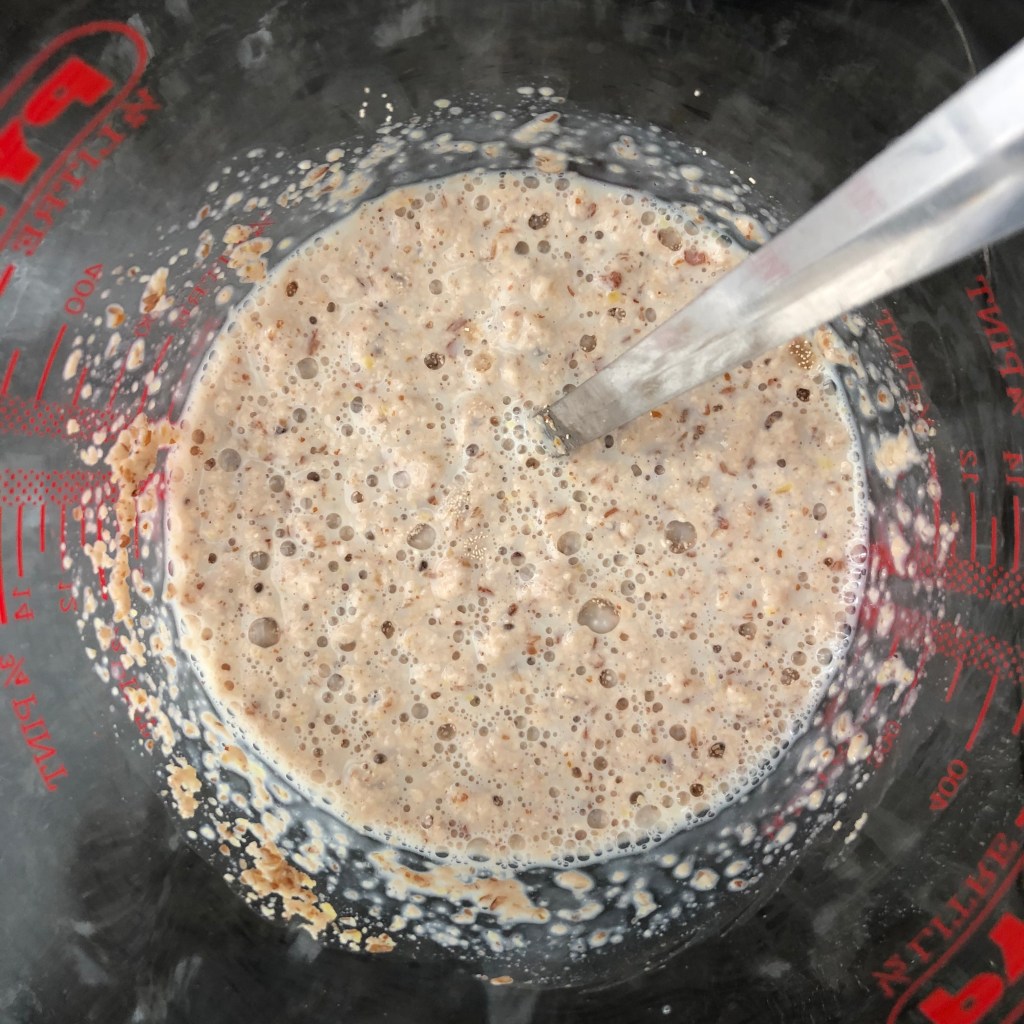
First step, revive that yeast. Measure your soya milk into a microwaveable jug, warm it in the microwave. It only needs to be tepid, it should feel a similar temperature to your body. Use a digital thermometer if you need to to check it’s around 30-35°c. Then add the yeast, sugar and flaxseed, give it a good stir and stand it to one side.
In a separate bowl, add all of the dry ingredients (if you are interested in what each type of flour does so you can start experimenting with your own substitutions, stick with me at the end and I will share some info!). Mix the dry ingredients together and then add the melted butter, use a knife to break up the butter so that it isn’t one big clump in your mixture.
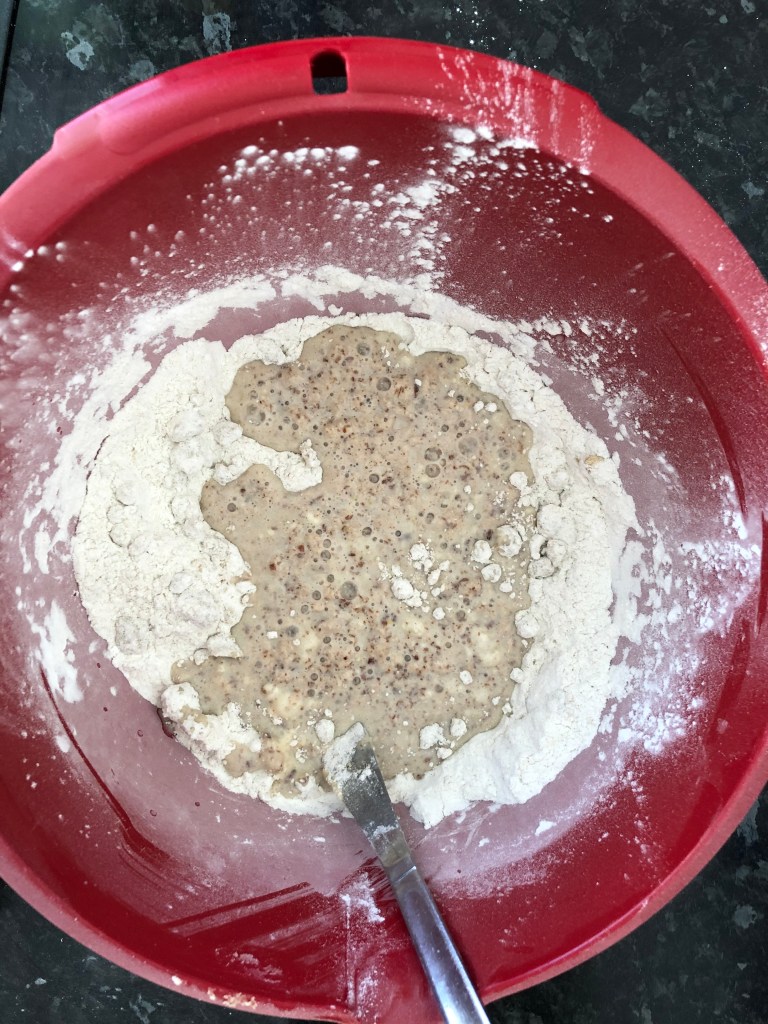
Once you know the yeast is active, add the wet mixture to the dry and stir. It should be a fairly sticky dough, if it’s not looking sticky, add a little lukewarm water to the mixture. When all of your ingredients are mixed together, turn out your dough onto a floured surface.
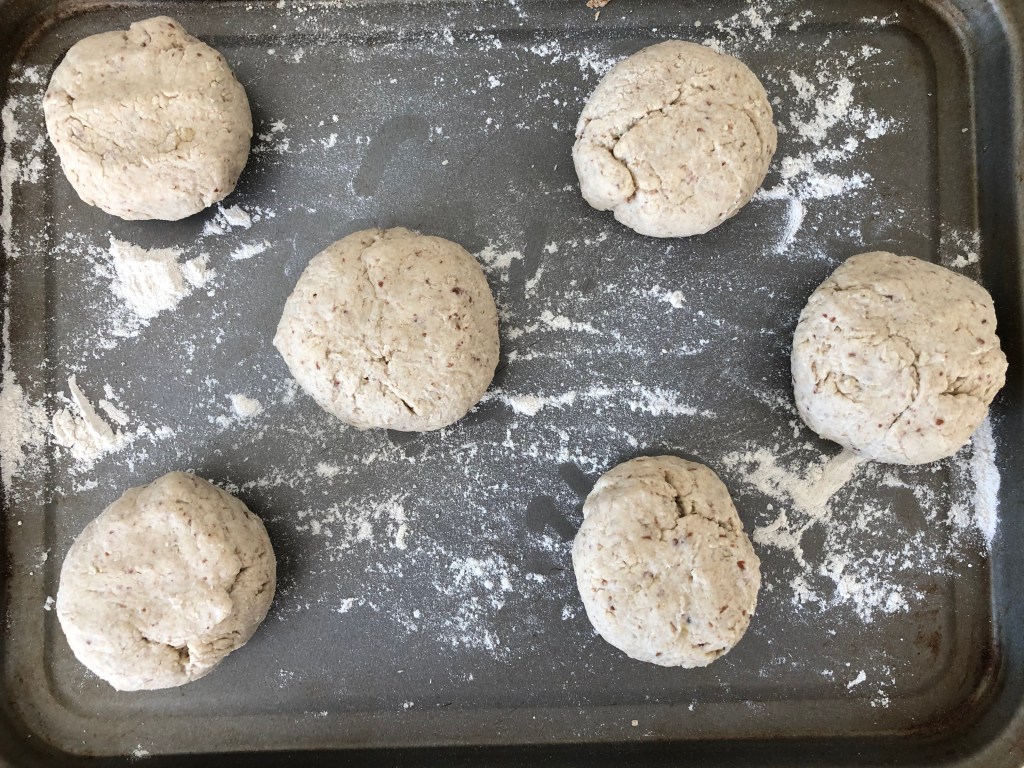
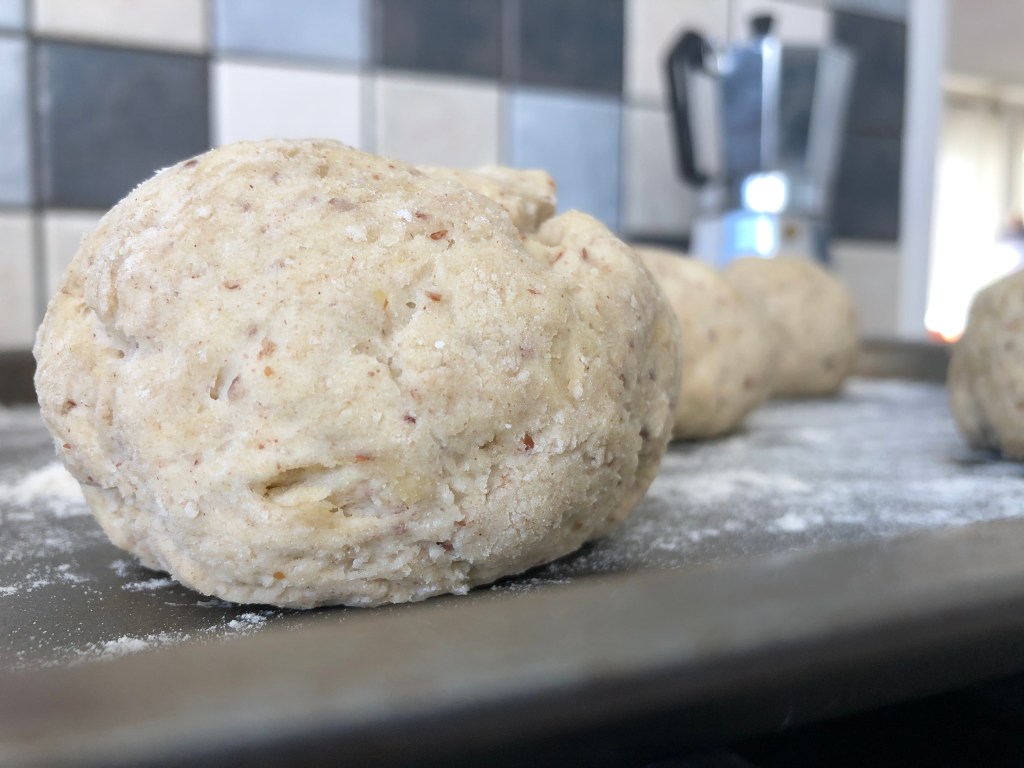
No need to knead, the process of kneading strings all that gluten together. Since these are gluten-free, the don’t need much attention in that respect. Roll the dough into a sausage, chop it into six even chunks and then roll each chunk into a ball. Place your six balls of dough onto a floured baking tray somewhere warm to proof.
In order to help speed the process along, especially in the colder months, I tend to pop my dough balls in the oven. (I usually stick the oven on for five minutes at 50°c and then turn it off again and put the bread rolls in. I also stick a mug of boiled water in there too to prevent the dough balls from drying out as they rise.)
Once the rolls have puffed up, they are ready. (Mine usually take at least an hour.) If you’ve been proofing them in the oven, take them out and set your oven to 180°c. When your oven is up to temperature, bake your rolls for 22 minutes with a tray of hot water in the bottom of the oven. The steam will help make your rolls nice and crusty. Be brave with them, they should be a decent brown colour, not a light golden colour if you want a proper crust!
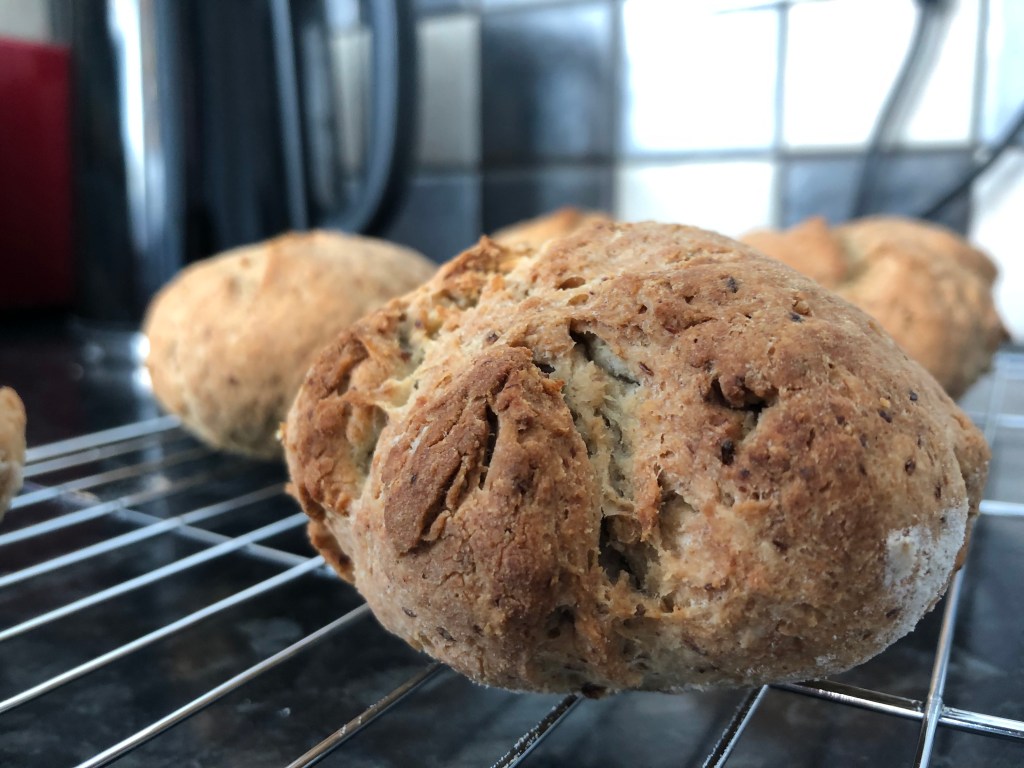
Just like gluten-containing bread, they should sound hollow when you tap them on the bottom. Butter them, or slice them, toast them and serve with vegan dippy egg. Enjoy them while they last because they won’t last long!
If you’re here for all the extra info on flours, stick around, otherwise the usual applies. Comment or share some pictures of your tasty creations with me in Instagram.
So, as you probably know, vegan bread is straight forward. Substituting dairy products for non-dairy alternatives is only getting easier. The tricky sub in this recipe is the gluten, a protein found in flour from wheat. The non-vegan option is to use egg whites for protein but we can’t do this so we have to get creative. We need to create a dough that is light enough to rise, but capable of trapping the gas bubbles produced by the yeast so that the bread can rise.
Xantham gum is a key ingredient in gluten-free baking. It helps bind the flours together. The other binder in this recipe is tapioca starch, when it’s heated it gets all gummy. You can use it to make vegan cheeses at home, it’s really helpful in trapping the bubbles of yeast into the bread but it’s also very light. It’s other job in gluten-free baking is to help the bread to brown nicely.
Potato starch is a great ingredient here, not to be confused with potato flour which is made from cooked potatoes. Potato starch is just the starch, extracted from the raw potato and dried. It is light and helps to loosen up the the mixture alongside buckwheat flour, a robust flour that actually behaves quite similarly to wheat flour. Buckwheat has a distinctive flavour, it’s nutty and the bread ends up with a sourdough-like quality.
I hope you enjoy this recipe and the little extra nuggets of info on why I choose certain ingredients in my recipes. I always try to keep the number of ingredients to a minimum, fingers crossed you’re enjoying baking them as much as I am enjoying coming up with them.
Until next time…
Snackalina out. x

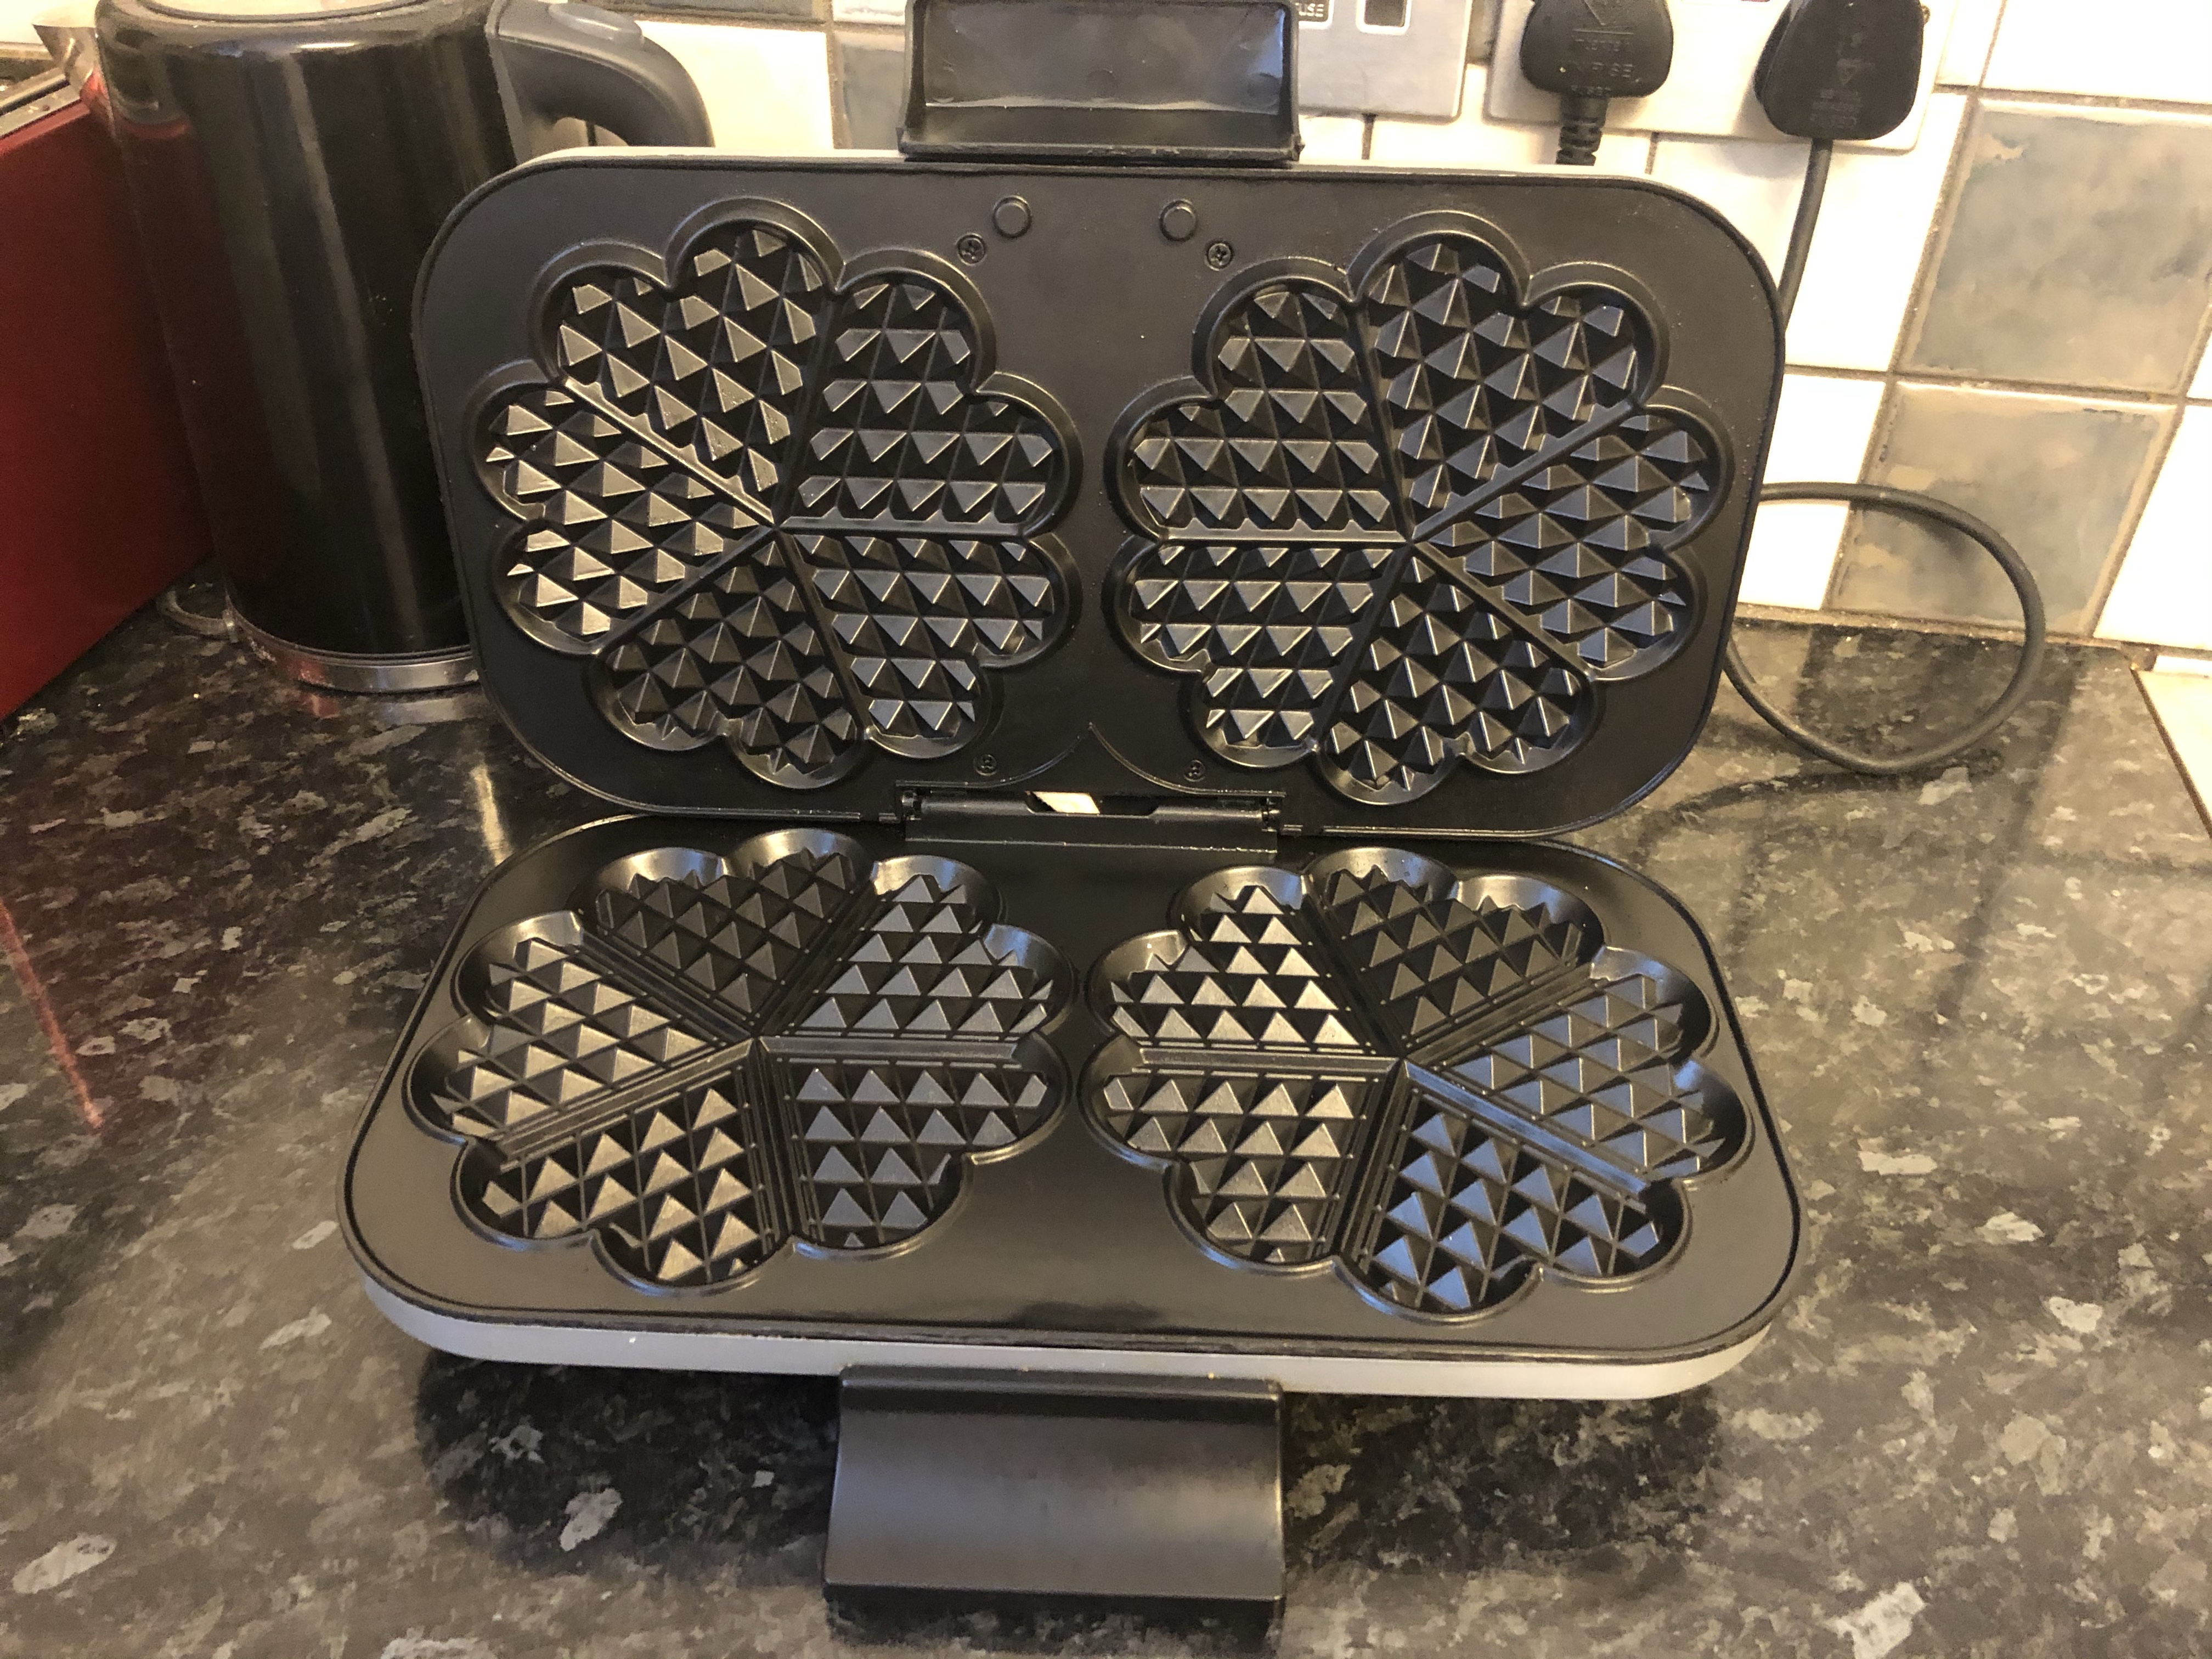
I love a hassle free, gluten-free, vegan recipe, especially in the morning. This recipe is quick to mix and easy to cook. The only thing it relies on is having a waffle iron of some kind…
If that isn’t you, don’t stress. I’ve got a similar pancake recipe for light, low fuss, gluten-free, vegan pancakes in the bag and it will be up on the blog soon. In the mean time, you will just have to pine longingly after your boujie breakfast.
This recipe is so straightforward, I use my glass jug and hand whisk. Pop all the dry ingredients into the jug, then all the wet ingredients. Then whisk.
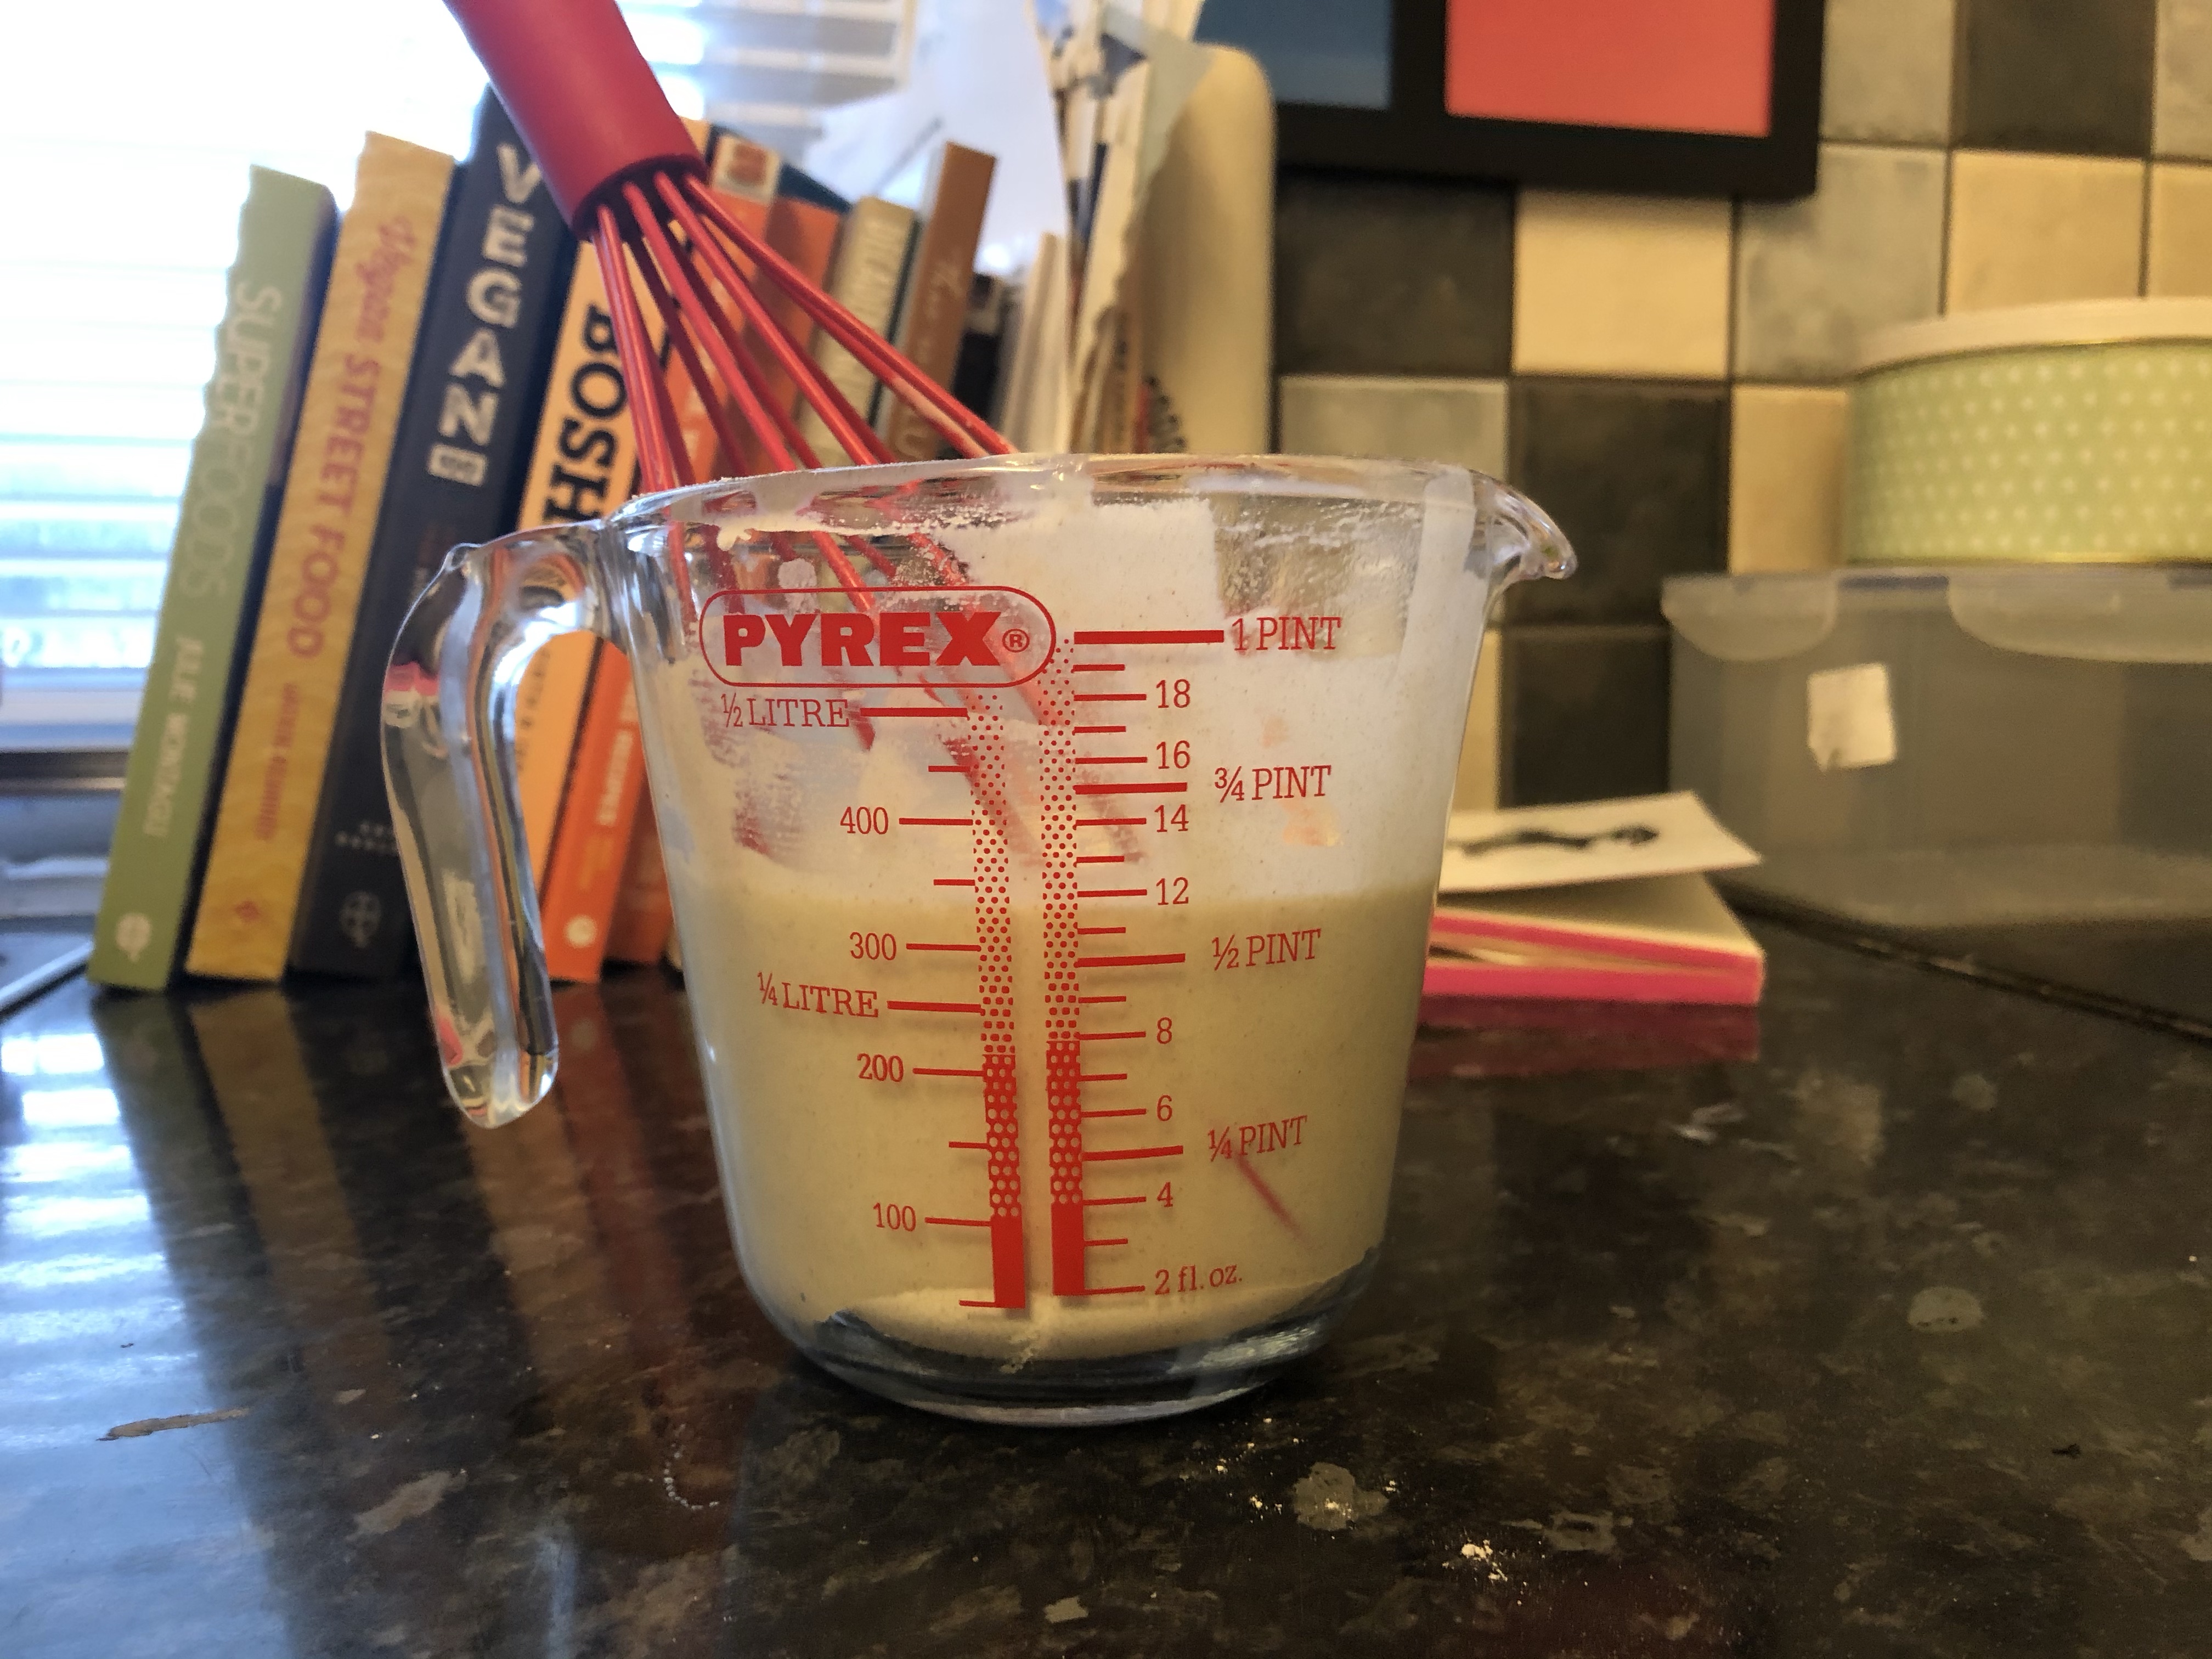
Told you it was easy, flick your waffle iron on to medium-high and let it warm up. This gives your mixture a chance to stand and get a bit gloopier as the gluten-free flour absorbs some of the plant milk.
Brush your iron with a teeny bit of oil and pour the mixture onto the iron. Be careful not to overfill it.
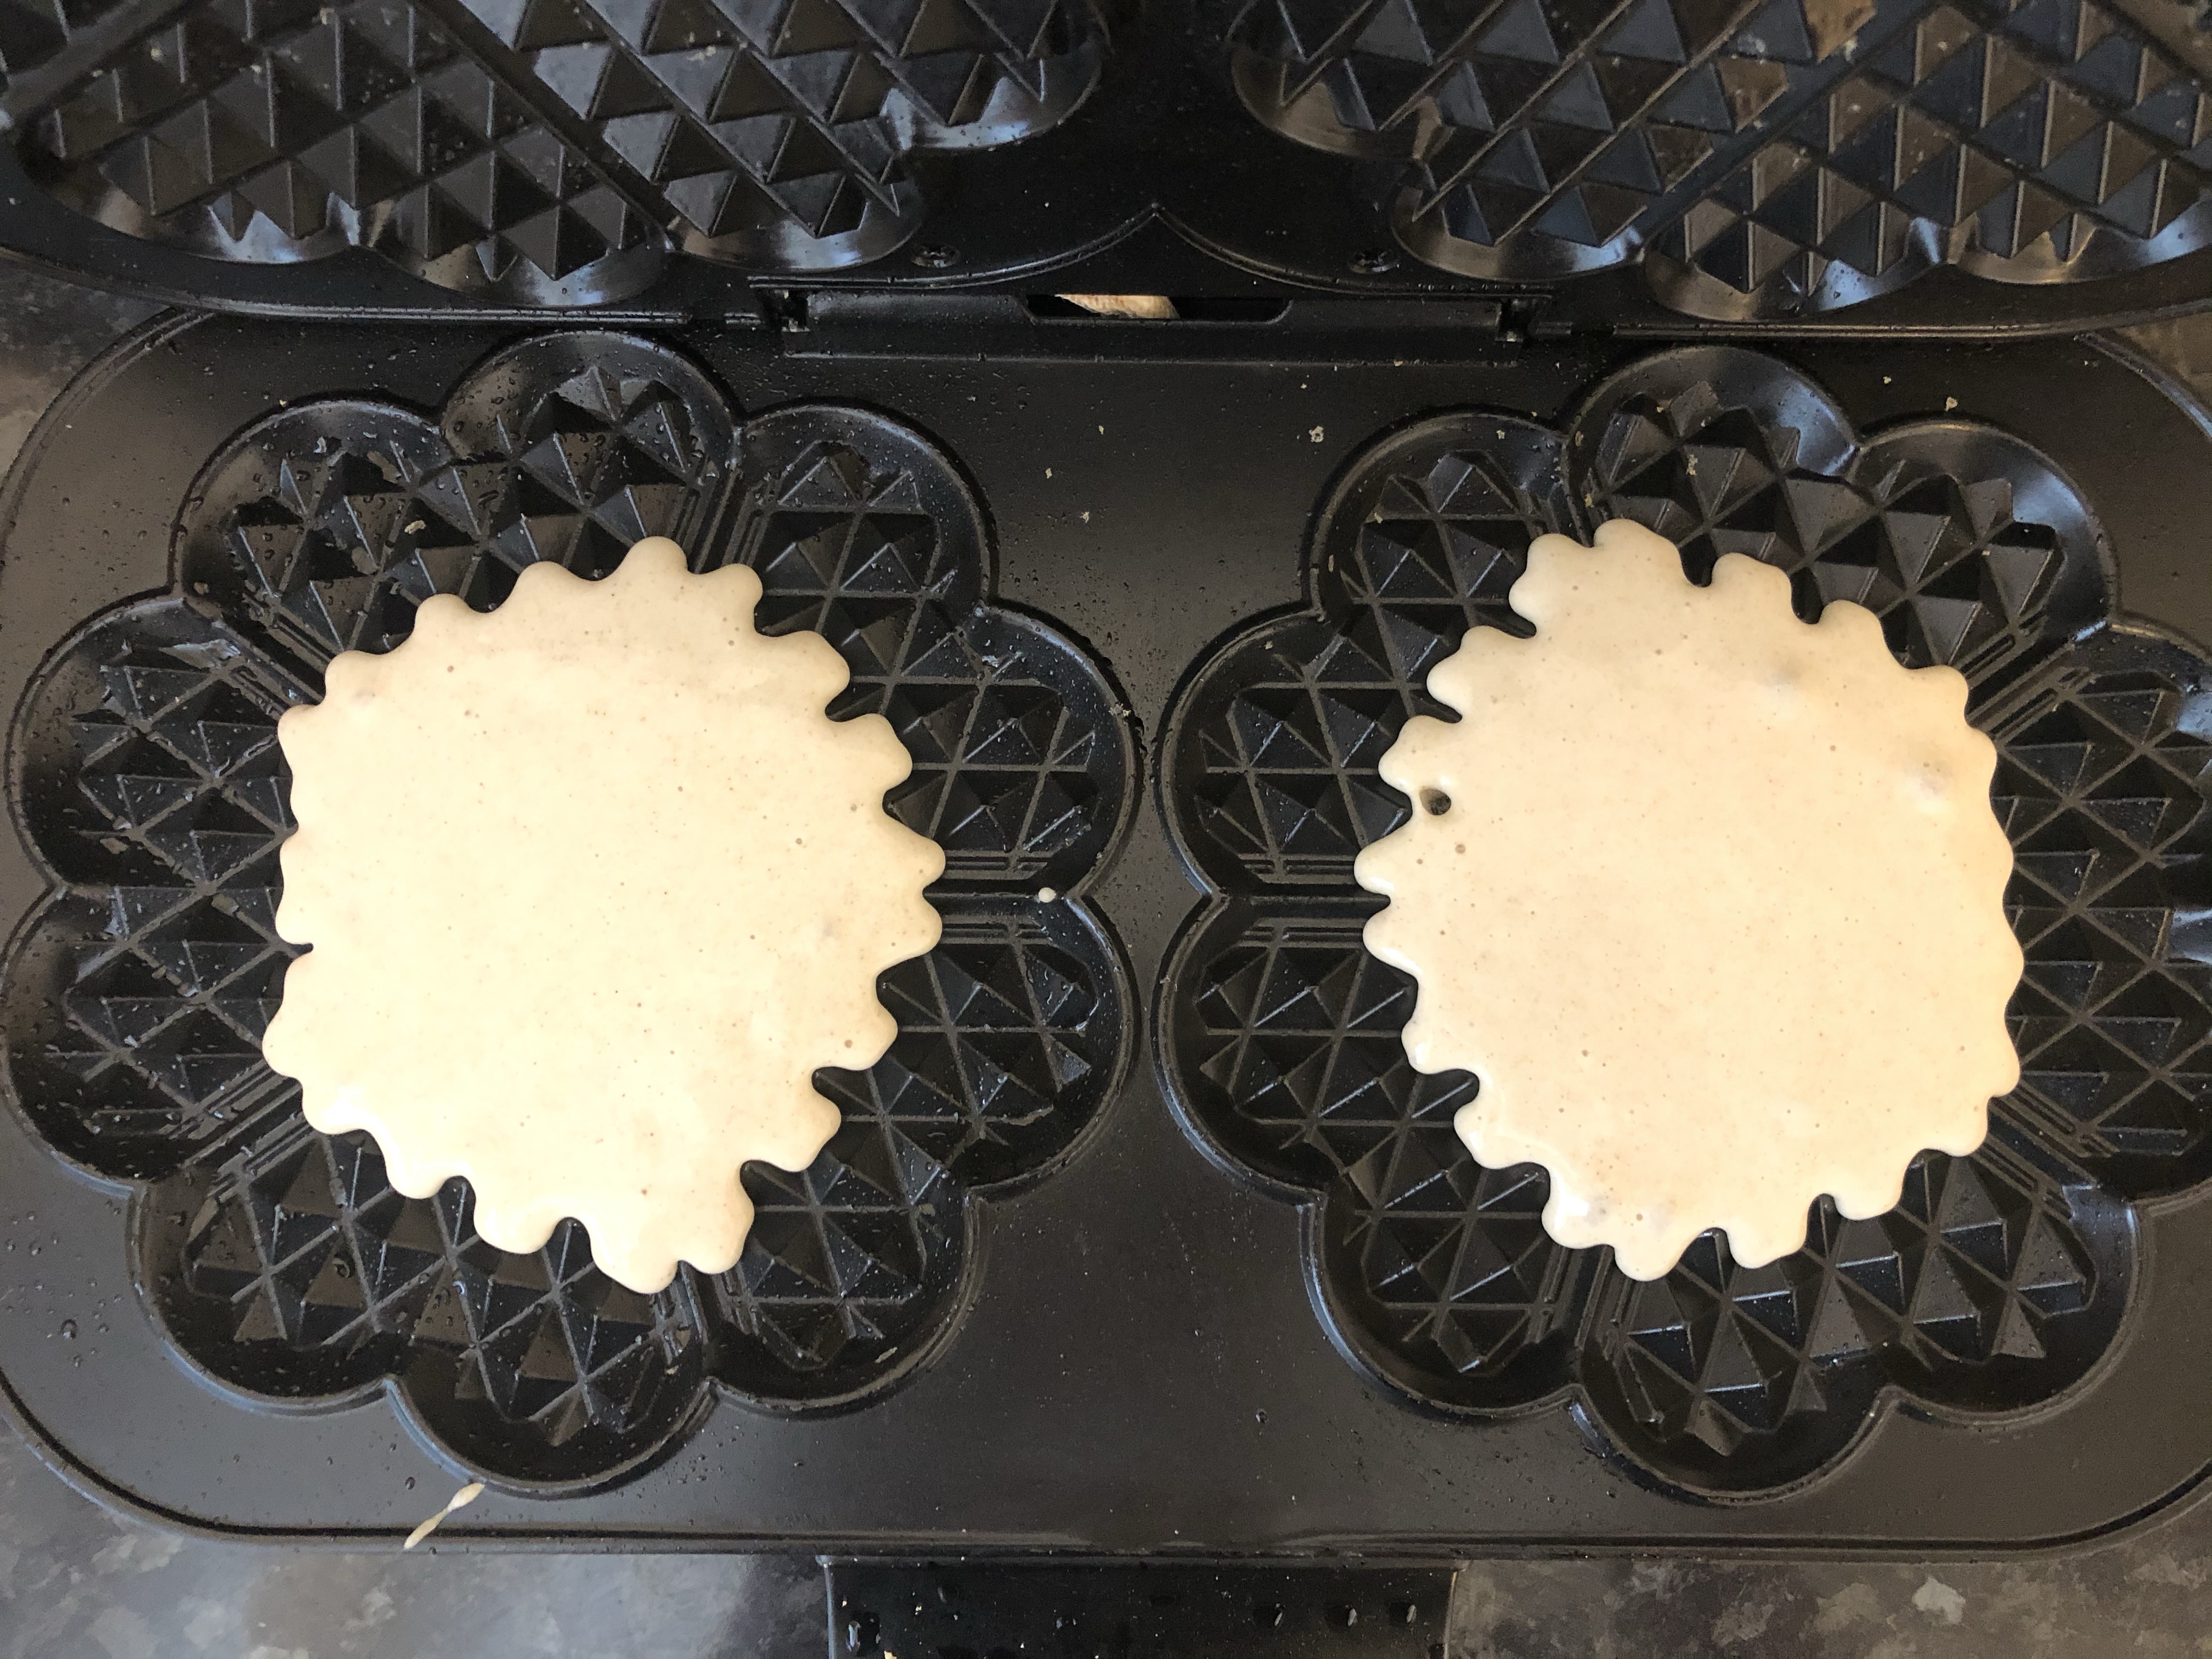
Once the lid is down, it will steam, when it’s finished steaming it still needs a couple of minutes to go crispy on the outside. Boil the kettle, make a coffee, get some berries, peanut butter, agave syrup, bananas, whatever else you want on your waffles… chocolate spread?!
When they are ready they will just pop out, chomp them down with your favourite toppings while they’re still hot!

It really is that simple. If you accidentally leave these in the waffle iron for a bit too long they go very crispy, a bit like those wafers you can get to go in ice-cream. And if you want some dairy-free, easy vegan ice cream to go with your waffles, Snackalina has your back. Just go here…
I try and make my recipes so straight forward that they don’t need any substitutions but if you find yourself in a pinch, any commercial, gluten-free flour blend will work okay but buckwheat is best. Whatever you do, don’t use rice flour on its own, you will end up with weird, powdery things!
As always, let me know if you do make these by commenting below or even better, tag me in your pictures on Instagram.
Snackalina out. x

My boyfriend is a health conscious human and seeing as it’s just us and the dogs at home, I do need to think carefully before baking a huge batch of something packed full of sugar. Otherwise I will be left with a giant batch of sweet treats that I will be left to eat (poor me…) or the freezer end up full of cake! (Quel dommage, I hear you cry out!)
Scroll down to the ingredients for the start of the recipe or stick with me for how I got to the delicious treat you see before you!
Anyway, with this in mind I decided to develop a recipe for a sweet treat but banned myself from using actual sugar of any variety. That’s right, not even coconut sugar! As I was racking my brains and raking through the cupboard I remembered that they often add dates to their morning porridge. We have a lovely corner shop nearby that stocks lots of fruit and veg as well as dried goods and the guy there had a stack of great big boxes of dates – lucky really as it took quite a few attempts to get this right.
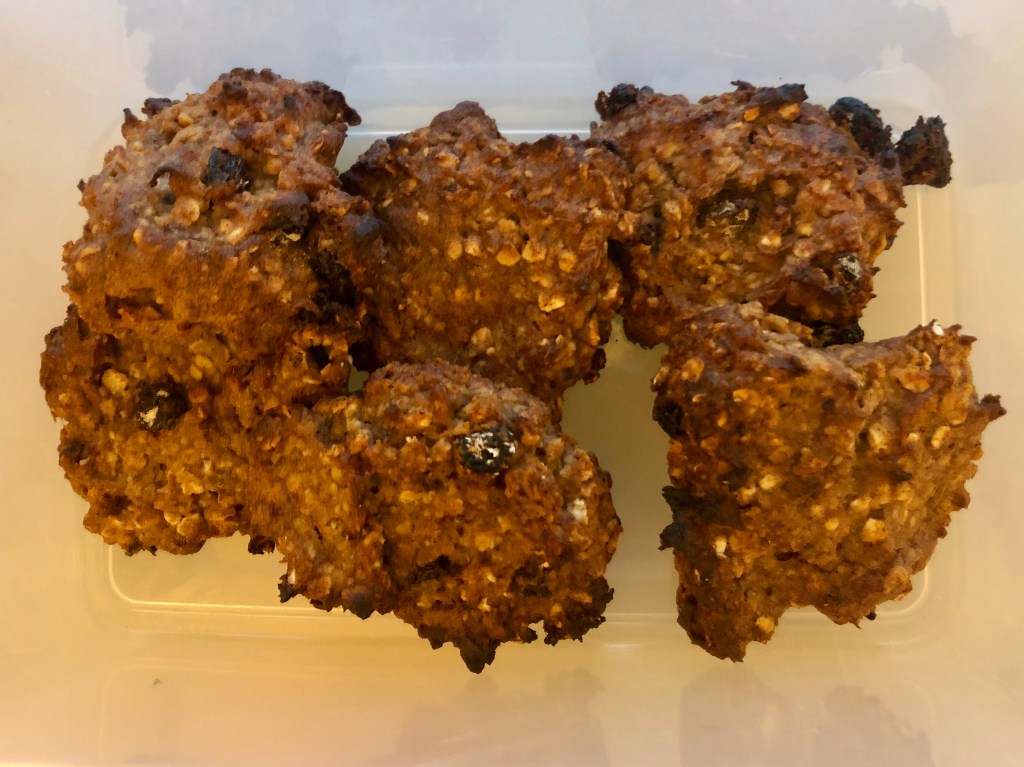
I have gone for the softer version of this recipe. Quite a few of the earlier iterations of this bake contained tapioca starch, I thought this would help give them a chewy texture but they ended up being gummier than I liked. In the end I went for a mixture of oats, buckwheat flour and rice flour. With a bit of help from some baking powder, they end up being lovely and moist – they are on the cakier side of cookies but for any fellow gluten-free, vegans out there, what’s in a name?! I don’t care what it’s called if it’s tasty.
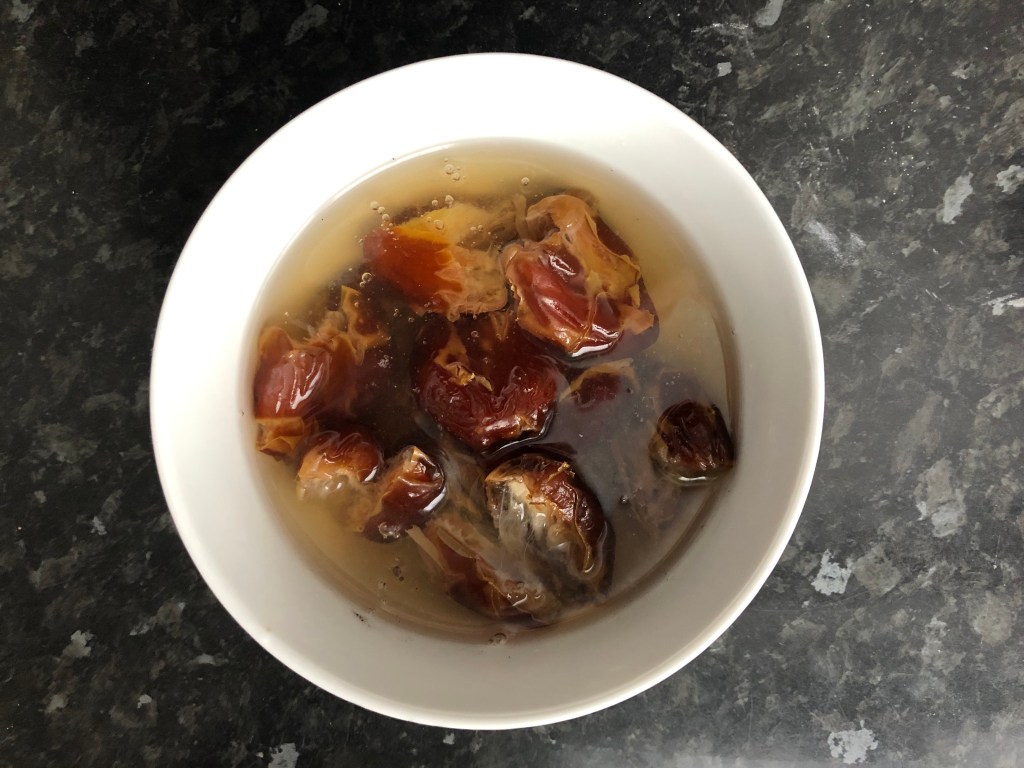
First things first, set your oven to 180°c to preheat and line a couple of baking trays with baking paper. Then pop all your dates in a small bowl and pour boiling water over them. You want your dates to be just covered with hot water, set them to one side to cool and follow the next steps. We will come back to them later. It’s also a good idea to melt your butter now, to give it a chance to cool a little. I just measure mine into a mug and microwave it, 30 seconds usually does the trick.
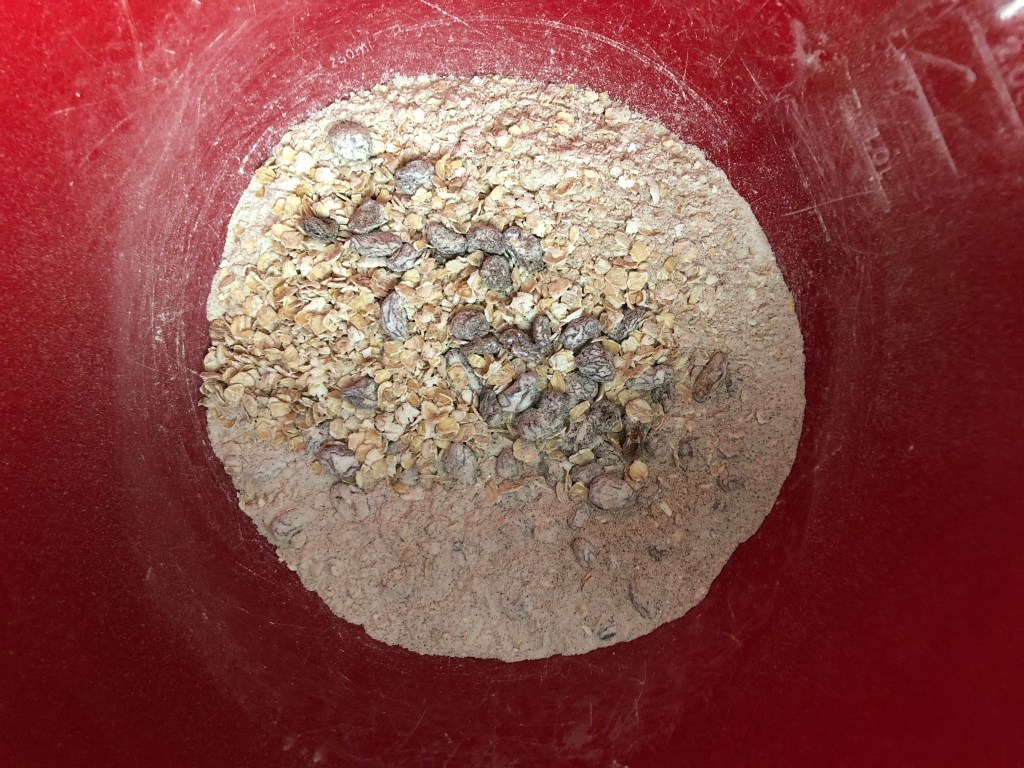
While your dates are soaking, get all of your dry ingredients weighed out and add them to a mixing bowl. Give it a good stir and try and get the raisins even distributed through the mixture and coated with some of the flour, it will help them end up evenly spread throughout the dough.
I have given weights as well as teaspoons so that the speedy ones can plough on ahead with their scoops. I think, especially when you’re baking with non-traditional ingredients, using weights allows you to be more accurate and eliminates the possibility of anything else going awry during your bake. But you do you, boo.
If you bake them and decide to change the spices let me know, I think these might benefit from a bit more cinnamon or even some nutmeg if that is your jam.
Okay, back to the dates. Be careful here, the official line from SnackalinaEATS is wait until the water has cooled to tepid. If you can’t stick your finger in it, it’s too hot for the blender. Don’t stick your finger in it while it’s still boiling though! Wow, what a nightmare.
When your dates are cool, spoon them into the blender with some of the water they soaked in. Set your blender to work, be extra careful if you have a leaky blender, maybe wrap the top with a tea towel so that hot, date paste doesn’t splatter across the whole kitchen. Once they are starting to break down, add some more water a little at a time until you have used up about 2/3 – 3/4 of the soaking water. You are looking for a smooth, shiny date paste.
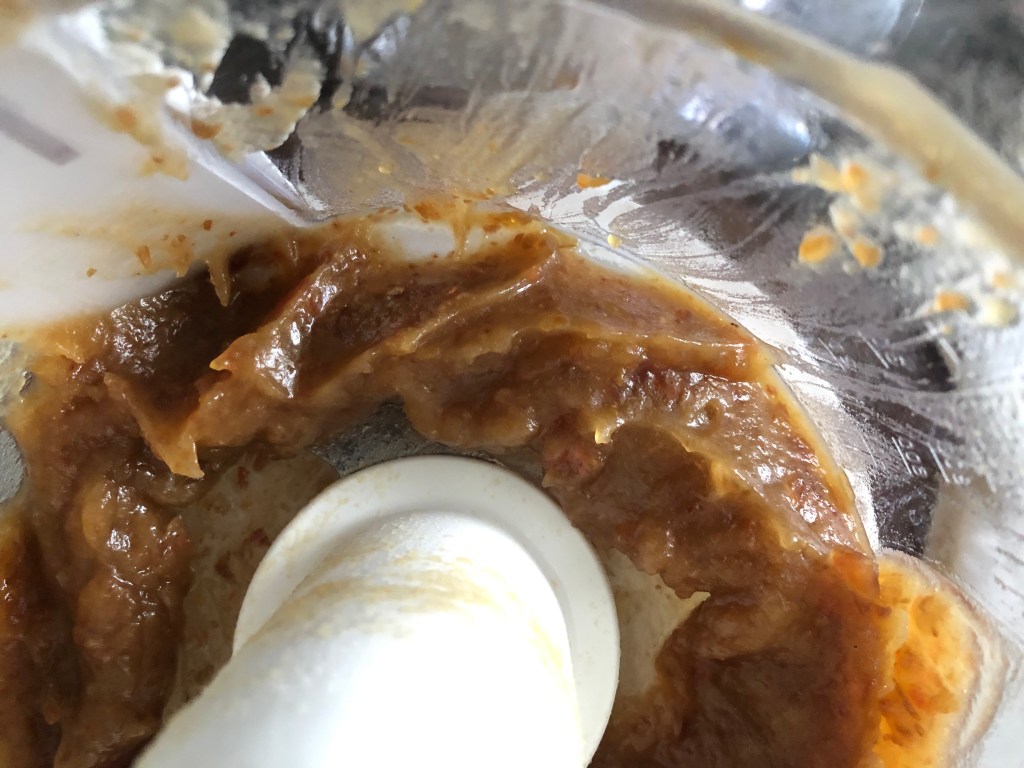
Next you’re going to add your butter to the blender, it shouldn’t be scalding hot because you melted it earlier. It only needs to be melted enough to pour anyway. Once the butter is in, fix the lid back on and blitz into a smooth paste.
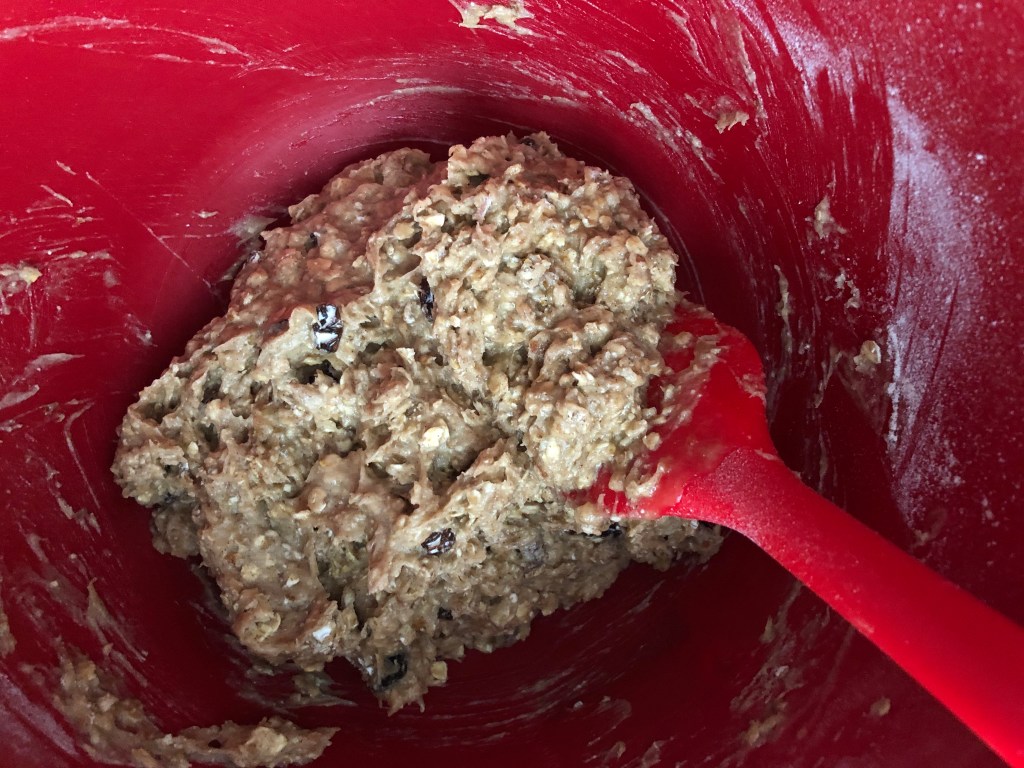
Once your butter and date paste are blended together you are going to pour them into the dry mixture. Use a spatula to scrape as much of that sweetness out as you can. As with all vegan, gluten-free baking, you need to move quickly now. The raising agent (baking powder) will get to work straight away and without gluten or other proteins to catch the bubbles we want to get it in the oven ASAP to lock in the air. Mix it together with a spatula (it won’t take long) until the dry mixture is fully incorporated.

Then, using a couple of dessert spoons, scoop dollops onto your baking trays and squish flat. I made a baker’s dozen with this mixture, a lovely, round thirteen cookies.
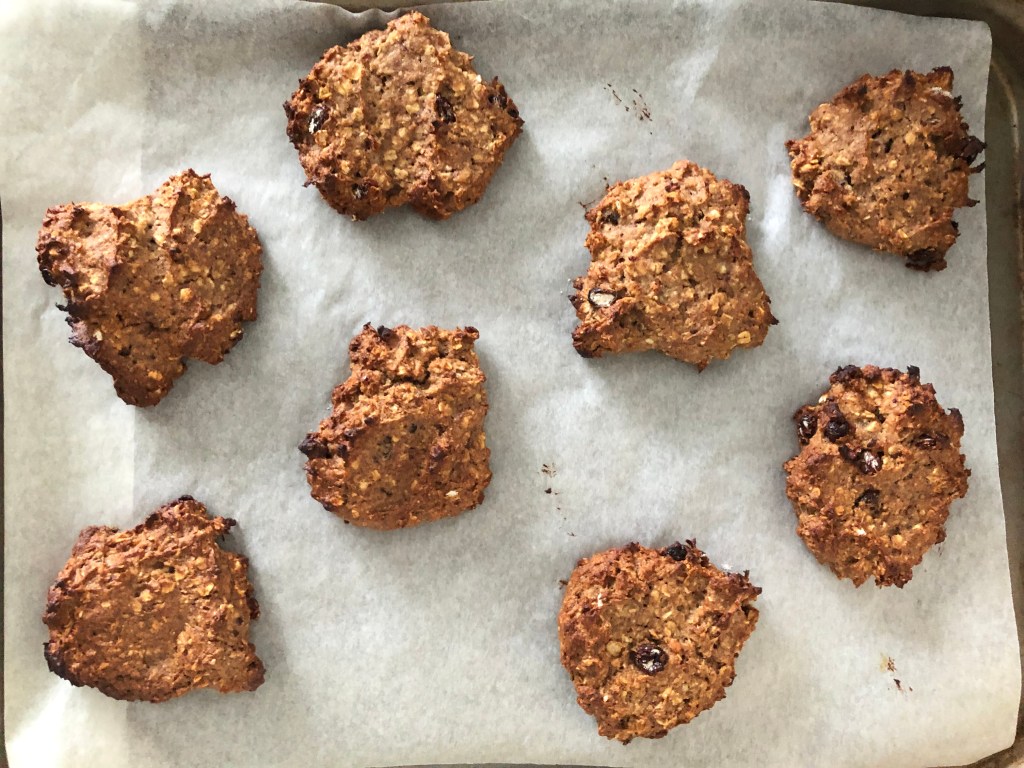
Mine baked for 16 minutes in the oven at 180°c, keep an eye on them, you want them to darken but the raisins sticking out of the mix will burn if they are left in too long.
And that really is it. Hopefully you’re getting the vibe that I like straightforward, fuss-free recipes. I will get round to posting some more extravagant recipes but often times, when you want a sweet snack, you just want something easy and quick.
Let me know how you get on with this recipe, as usual I would love to see what you’re up to over on Instagram.
Snackalina out. x
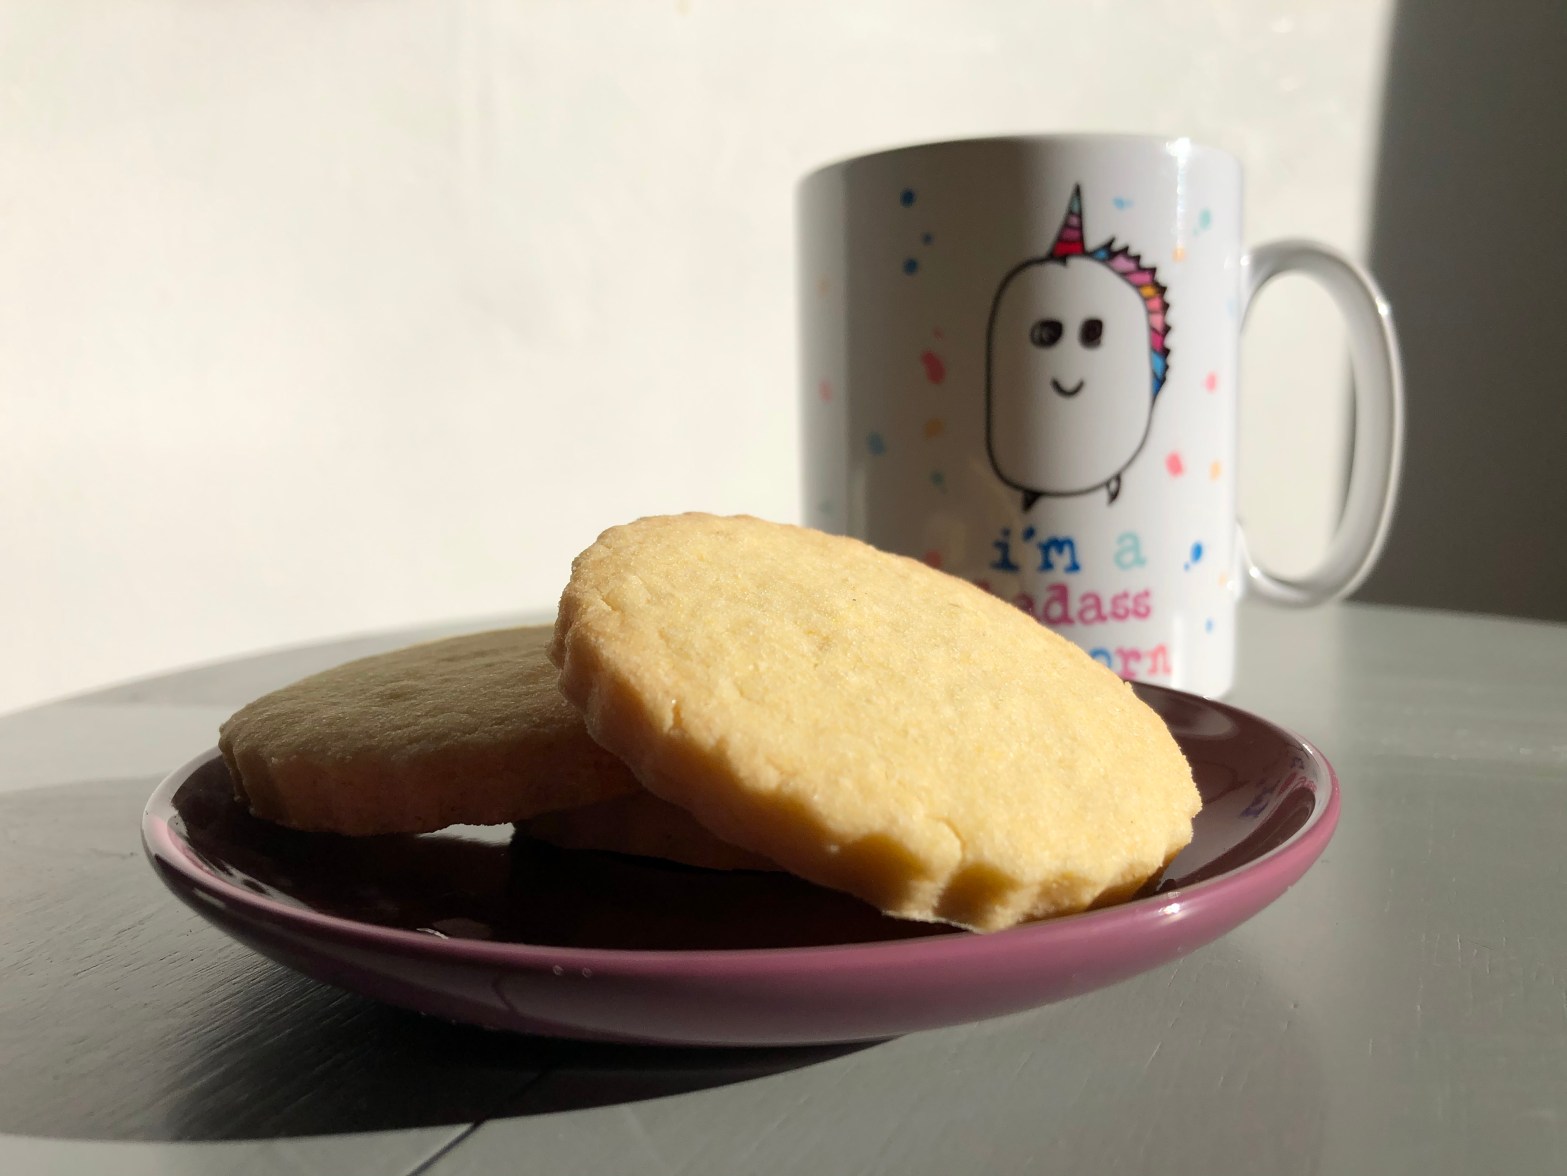
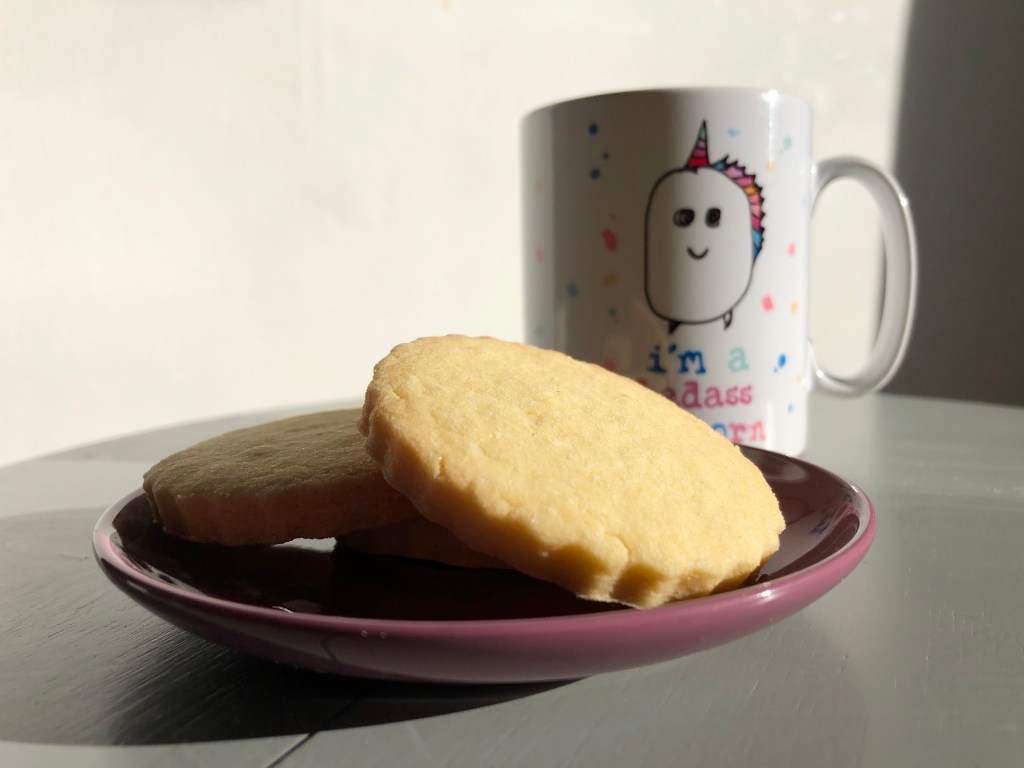
I am so proud of these biscuits. They have some shortbread crunch. They have a beautiful, buttery yellow colour. They are sweet, but not too sweet. They are a lovely accompaniment to a cup of hot coffee. But best of all they are so easy!
These biscuits were one of the first recipes I developed in the gluten-free, vegan challenge combo. I had been moaning to my friend about how much I missed baking since I had to avoid gluten and how impossible I felt it was to make delicious treats without all of the things I thought I needed.
I had previously been very content with vegan baking, finding all the components I needed to substitute and working out the best ways to make them function properly without the traditional animal products associated with quality baking. After a bit of cajoling, I took the plunge.
My first attempts were not very successful, I was winging it with a combination of gluten-free flours that I hadn’t used very much of. I didn’t know which flours had which properties and I had absolutely no idea how they would interact together to produce a result that was not just edible, but tasty. (Although, at this stage, edible would have been enough!)
In the end, by complete chance, I threw in some fine corn meal. This seemed to do the trick, helping with the colour of the finished product but also giving it a delightful crunchy texture. As with all gluten-free, baked goods, these are best consumed on the day or the day after, but the corn meal seems to help their shelf life. I have found these biscuits to be perfectly passable four or five days after baking when stored in an airtight container. Hats off to you if yours last that long!
Alongside corn meal in this recipe is butter, (vegan, obviously), for best results you want to find a solid block-style butter. This is really important, when your biscuits hit the oven, the fat will melt. If you use a softer butter, your biscuits will turn into puddles!
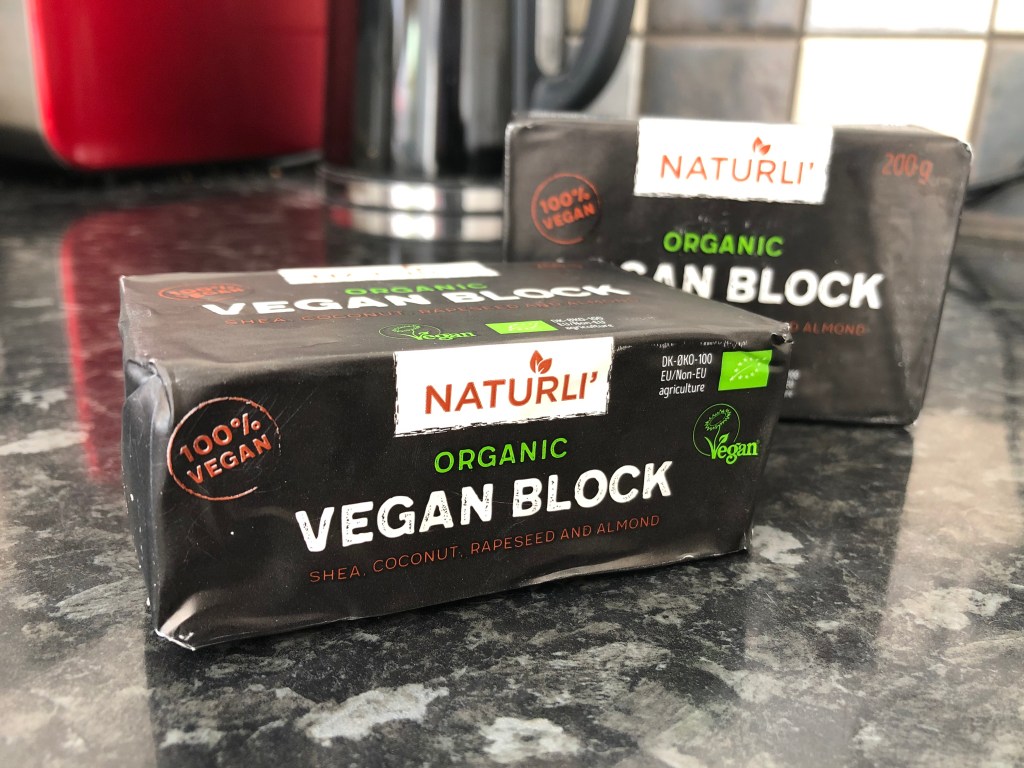
I love the Naturli Organic Vegan Block for this recipe, it works really well! If you are desperate to bake these biscuits and you only have spreadable butter, you can get away with it but you have to make sure that you chill your cut biscuits before you put them in the oven. Either a patient stint in the fridge to chill them all the way through after you have worked the dough or a blast in the freezer will help them keep their shape. You might also need to reduce the amount of butter you use to keep the dough fairly solid.
This recipe makes enough for about twenty biscuits, using a 6cm (diameter) cookie cutter. If that’s too many for you, you could wrap the dough and keep it chilled for a few days then bake another batch. The other option to cut your biscuits and place them on individual squares of baking paper, stack them up, pop them in a box or bag and freeze them. Then you can take out as many as you need for the occasion, pop them on a tray to warm up a little while the oven comes to temperature and then bake from frozen. You might need to knock ten degrees off the oven temperature for this method. (I haven’t needed to do it with this recipe but I have done it with cookie dough before very successfully!)
Be careful if you have a nut allergy, the Naturli block isn’t nut free!
Line your baking trays with baking paper, it’s sensible to do this now, before you get your hands into the dough!
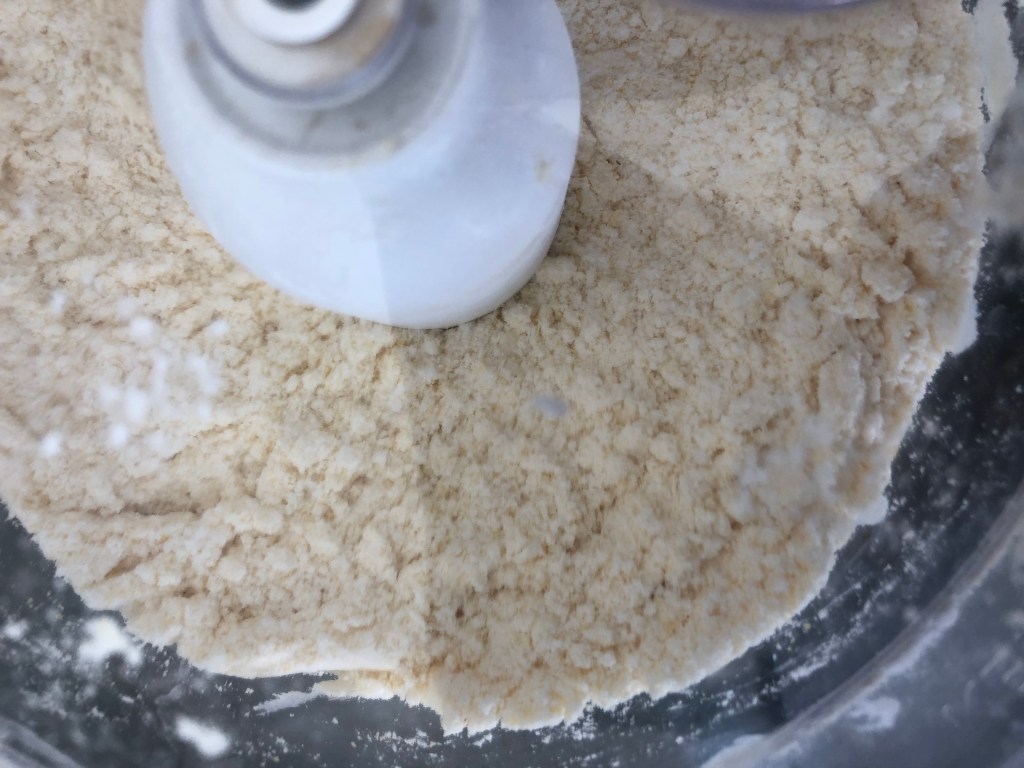
Chuck all of your ingredients, apart from the vanilla extract, into a food processor and pulse until your mixture looks like fine breadcrumbs.
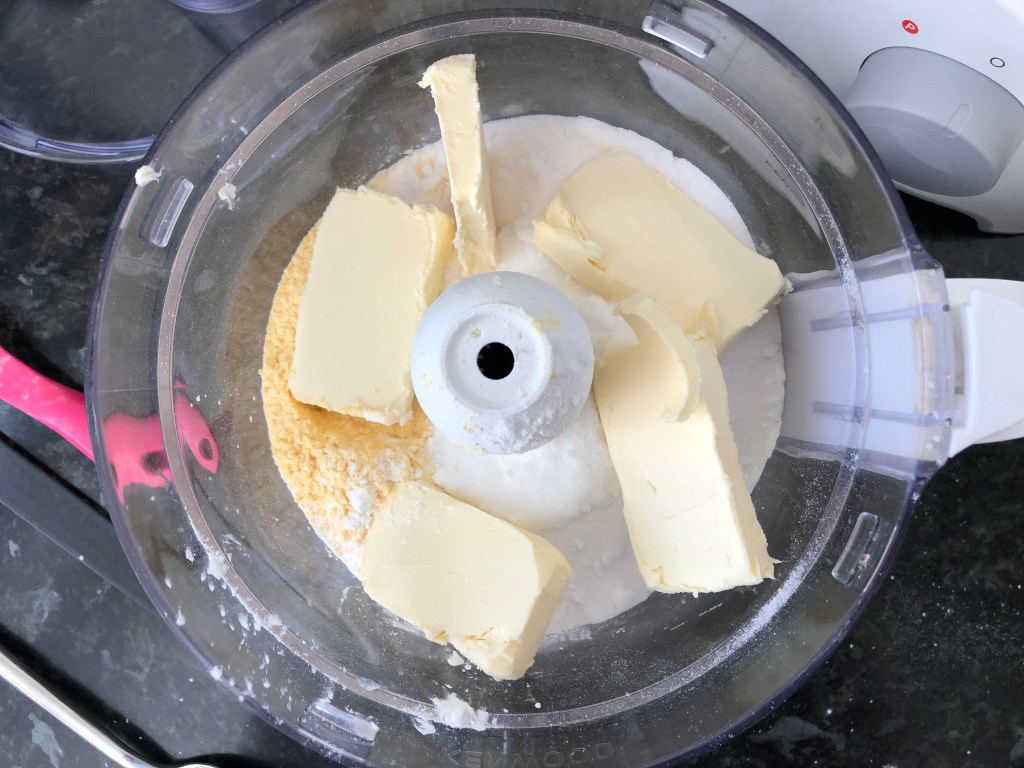
I told you this recipe was super easy, if you don’t have access to a food processor that’s okay. Put all your flours into a bowl, cube your butter and rub in (think the old school, scone making method). Your palms should stay clean as your gently lift up some of the mixture and rub your fingers together, sprinkling it back into the bowl.
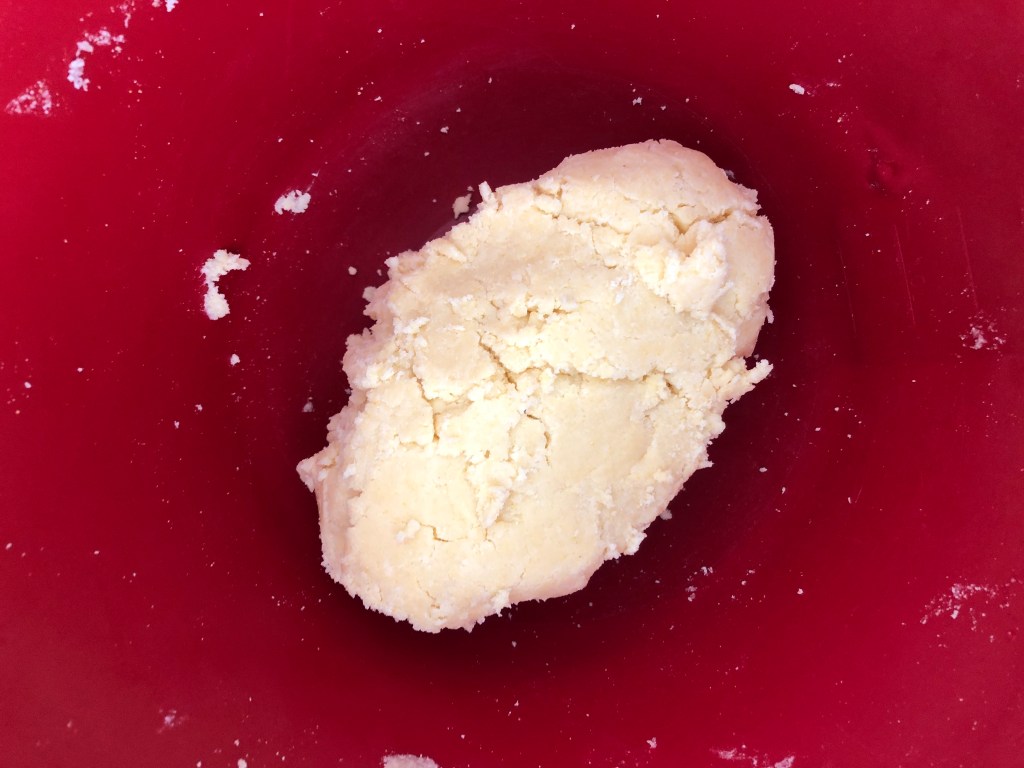
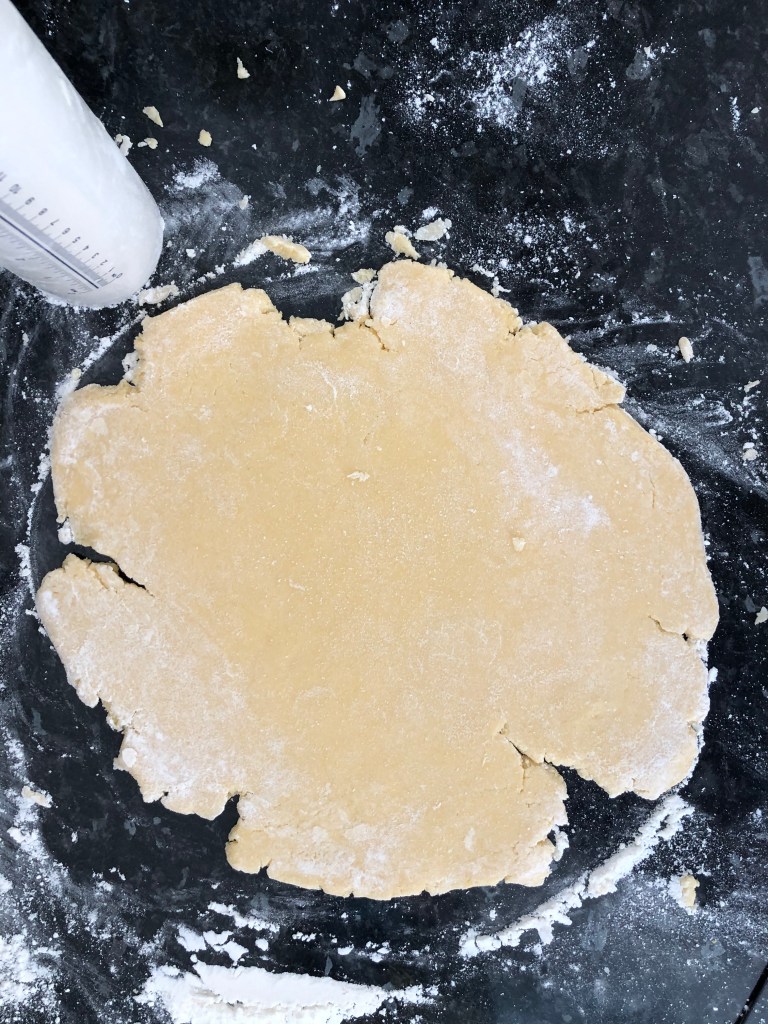
Sprinkle a bit of rice flour onto your work surface (nothing worse than trying to do this with sticky hands and then having to clean your paper flour bag at the end) and then transfer your mixture from the food processor into a mixing bowl. Add the teaspoon of vanilla essence and a couple of teaspoons of water. You may need to add a little more water but don’t do it straight away. You need just enough to bring the dough together. Get your hands in and squeeze your mixture together until you got one, pliable lump. If you do need to add more water, add it a tiny bit at a time.
Now, if you have kids or young-at-heart friends you could store this in the fridge until they arrive. Roll out the dough together, bake and decorate your biscuits. If your guests are coming tomorrow you might make the dough the night before and store it so that your biscuits are still warm when you’re ready for them. Otherwise, pop your dough onto your work surface and gently turn it until it’s got a thin layer of flour on the outside.
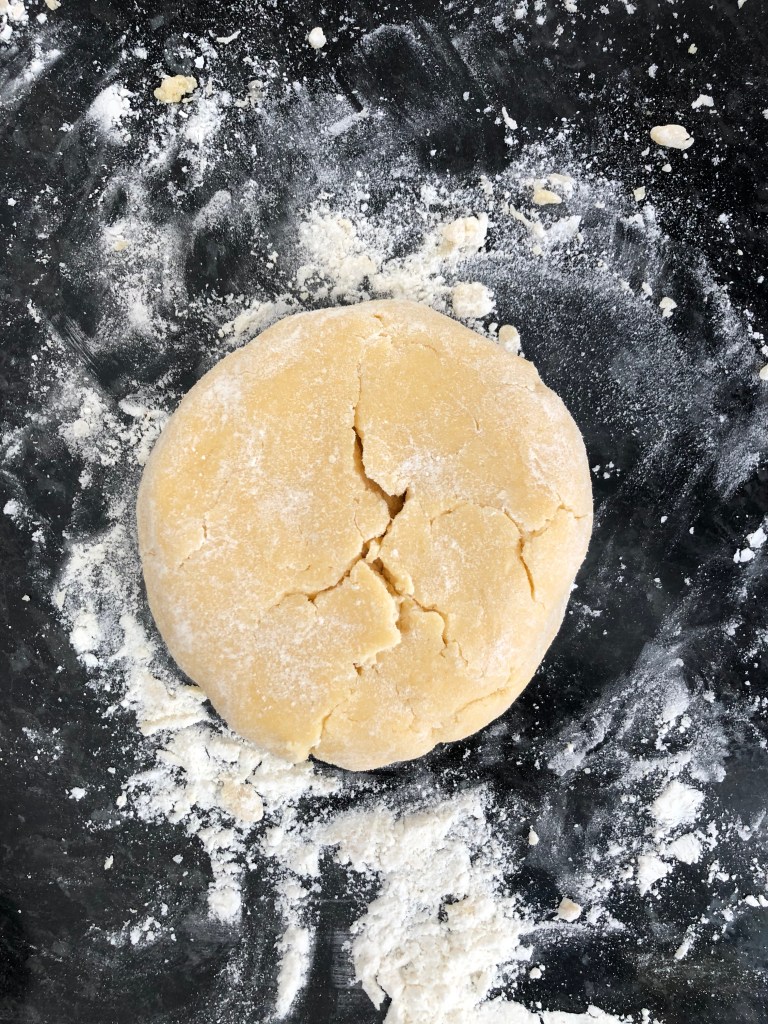
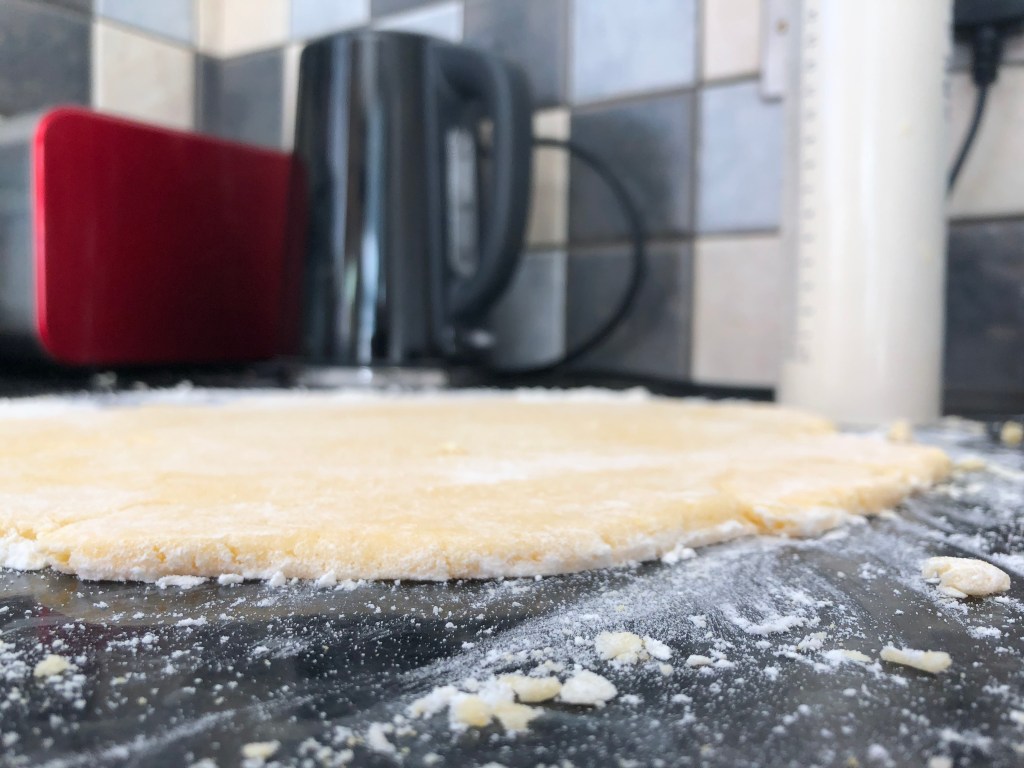
Using a floured rolling pin (you can use a glass for this or press it out with your hands if you don’t have anything round and heavy to use!), roll your dough out until it’s about half a centimetre thick. You will need to keep turning your dough over and dusting your rolling pin to stop anything from getting stuck together.
Once your dough is half a centimetre thick, take your cutter, dust the bottom with flour and cut your biscuits. Try and be as efficient as you can with your cutting, you don’t want to keep re-rolling your dough too many times.
If you don’t have a cookie cutter, you can always use a glass or a cup. Just make sure your put plenty of flour on the rim.
SnackalinaEATS, Pro-tips. 2020
Transfer your cut cookies to your pre-prepared baking trays. They can be fairly close together, they will puff up a little bit but they shouldn’t spread.
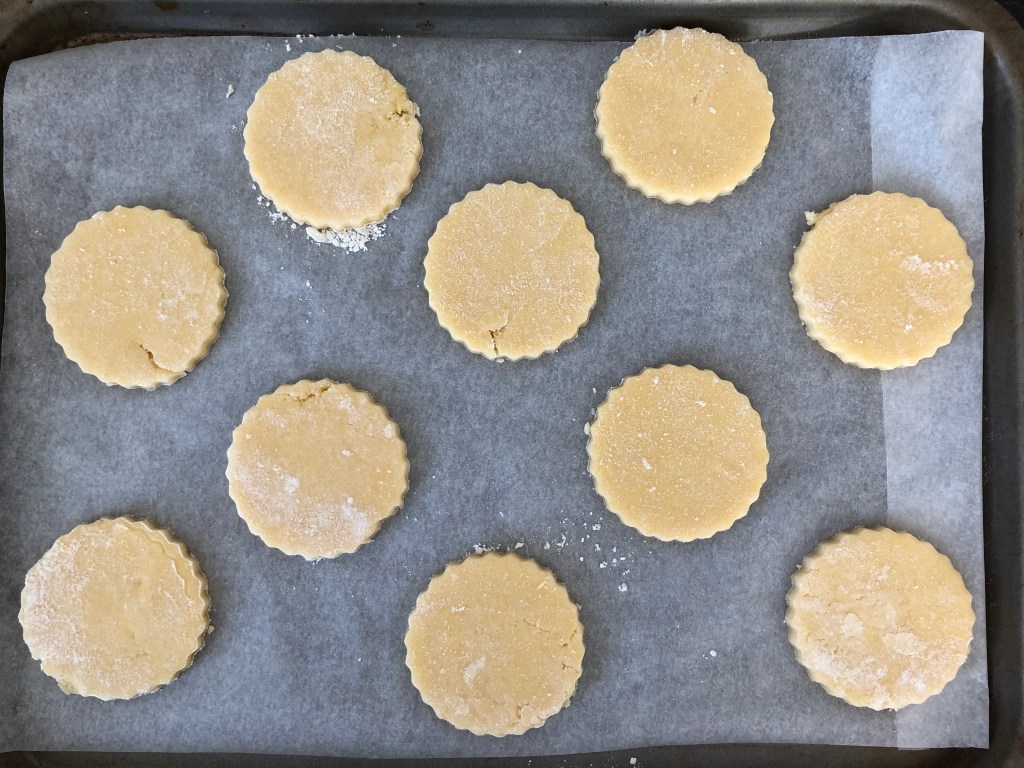
I put the oven on to pre-heat now at 180°c, this means my little biscuits get some chill time in the fridge. I just put the trays straight into the fridge, they are usually balanced haphazardly across whatever else is in there!
I bake mine for 12 minutes exactly, of course this depends on your oven but keep an eye on them the first time. They don’t take long to bake, you want the edges to just be turning a golden brown colour.
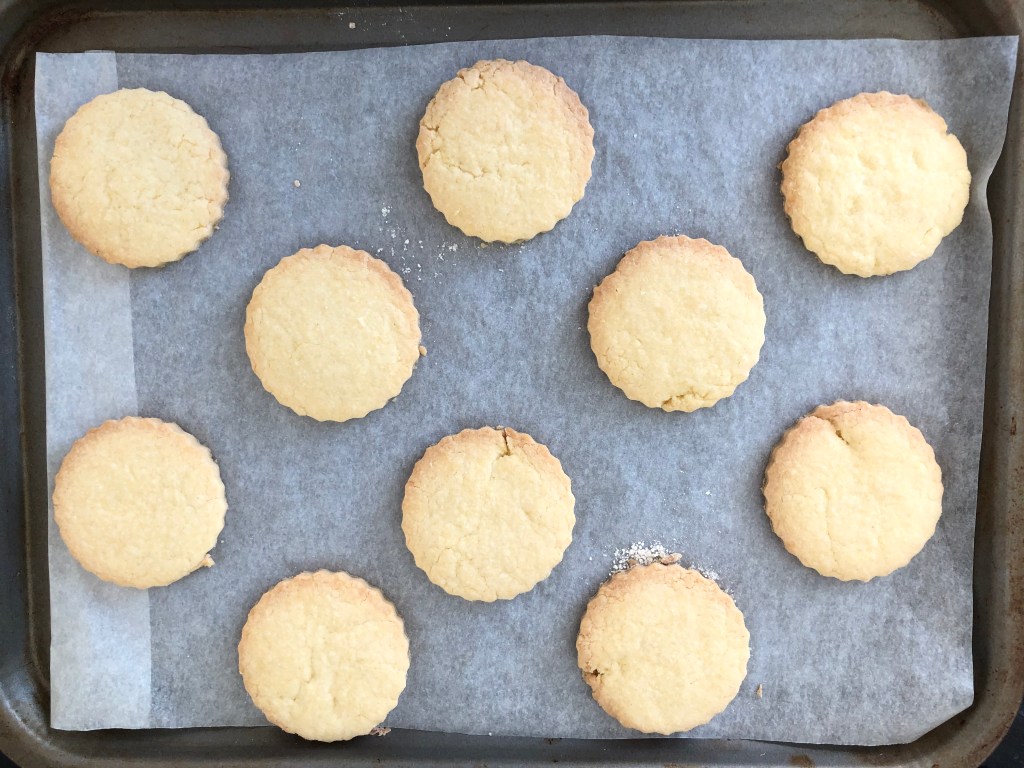
STOP! Don’t do it. I know all you want to do now is get your mitts on those snacks but give them ten minutes or so to cool on the tray. You want the butter to have a chance to cool and solidify a little bit otherwise your risk your creations crumbling in your hands. Once they are cool enough to touch, transfer to a wire cooling rack. When they are completely cool you can store them in an airtight container, put them on a high shelf away from the snack monsters or they won’t last long!
I love this recipe, it’s so easy and you wouldn’t believe that it is gluten-free and vegan. Let me know how you get on with this one, I would love to see some pics of your bakes on Instagram or hear about your baking adventures in the comments below.
Snackalina out. x
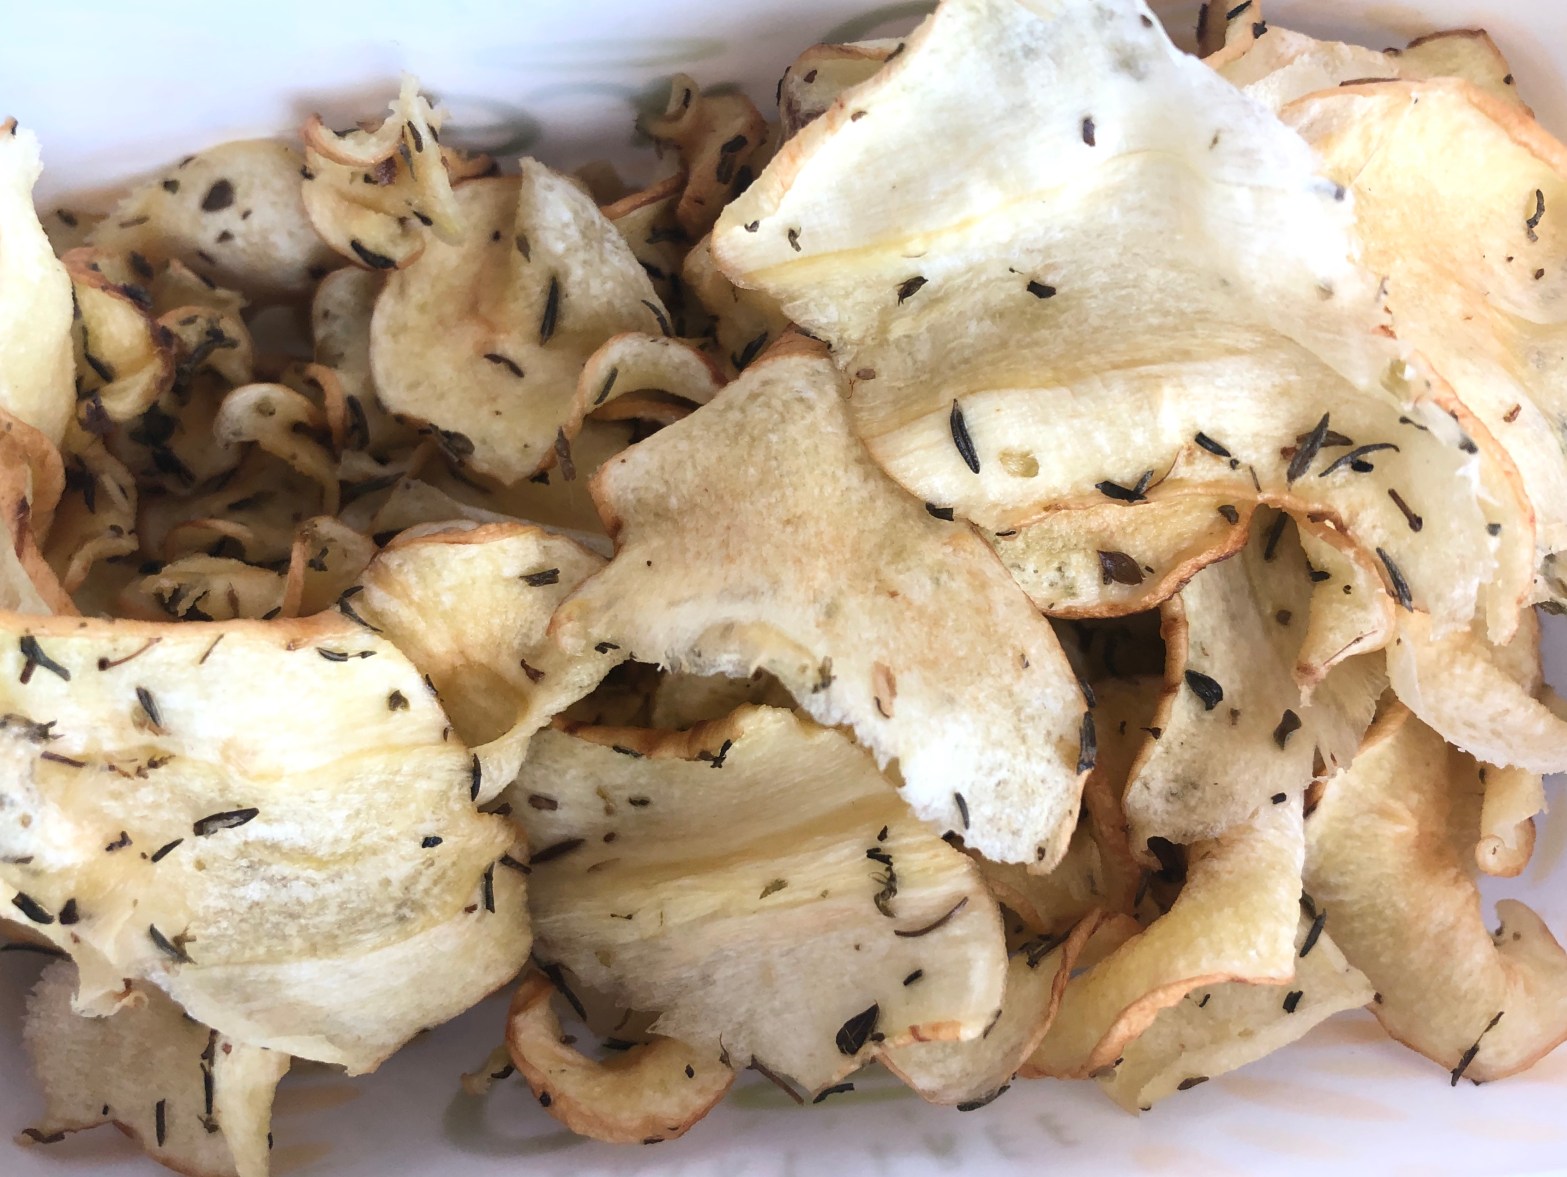
The humble parsnip. This sweet vegetable is a staple in our fridge for anything that calls for roasted vegetables. I love a roasted parsnip, it’s one of my favourite sides with a nut roast. Unfortunately, I struggle to think of other things to cook with it! (Suggestions welcome in the comments…) This does mean that more often than not there is a lonely parsnip convalescing at the bottom of the vegetable drawer.
Fear not! This simple recipe will turn your parsnips into tasty vegetable crisps in no time.
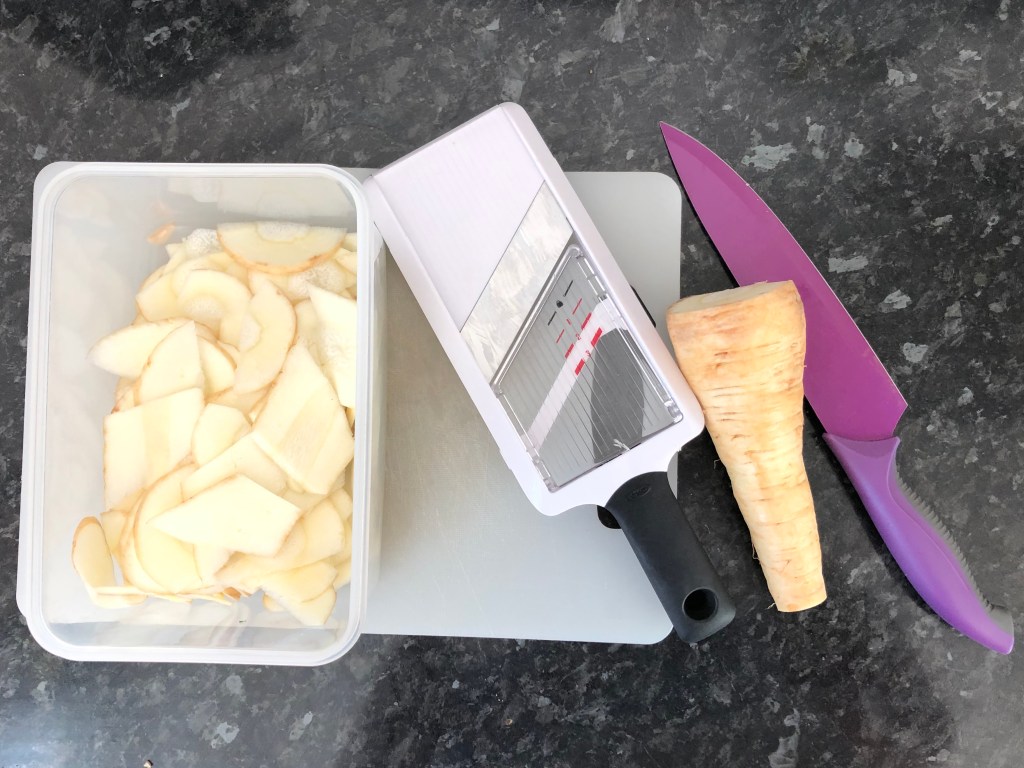
Top and tail your parsnip and then slice it thinly, you can use a knife or a mandolin. I would recommend going length ways down your parsnip for maximum surface area – these bad boys are going to shrink like you wouldn’t believe.
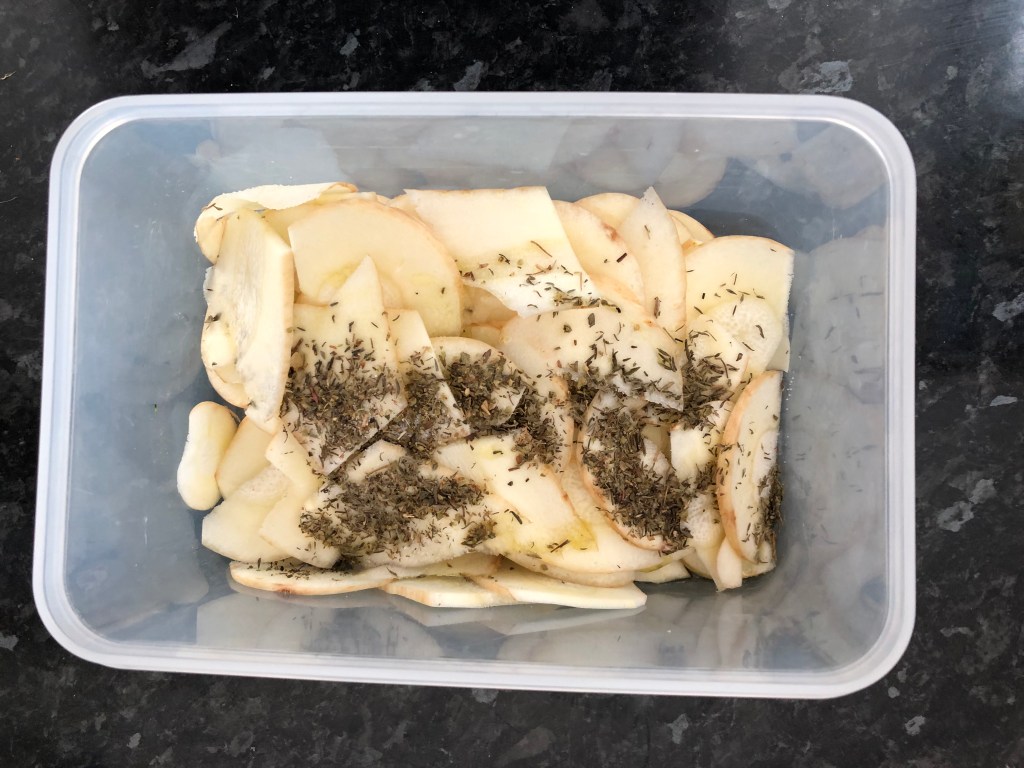
Next, pour one tablespoon of olive oil over your parsnips. Then sprinkle two teaspoons of thyme, a teaspoon of oregano and a teaspoon of salt into the tub. Stick the lid on and shake, shake, shake! It won’t take long for your parsnips to have a lovely, even coating of herbs and oil.
Lay your parsnips out across the dehydrator trays, you could get away with laying them much closer together than I did if you have more parsnip to use up. Like I said, these will shrink a lot!
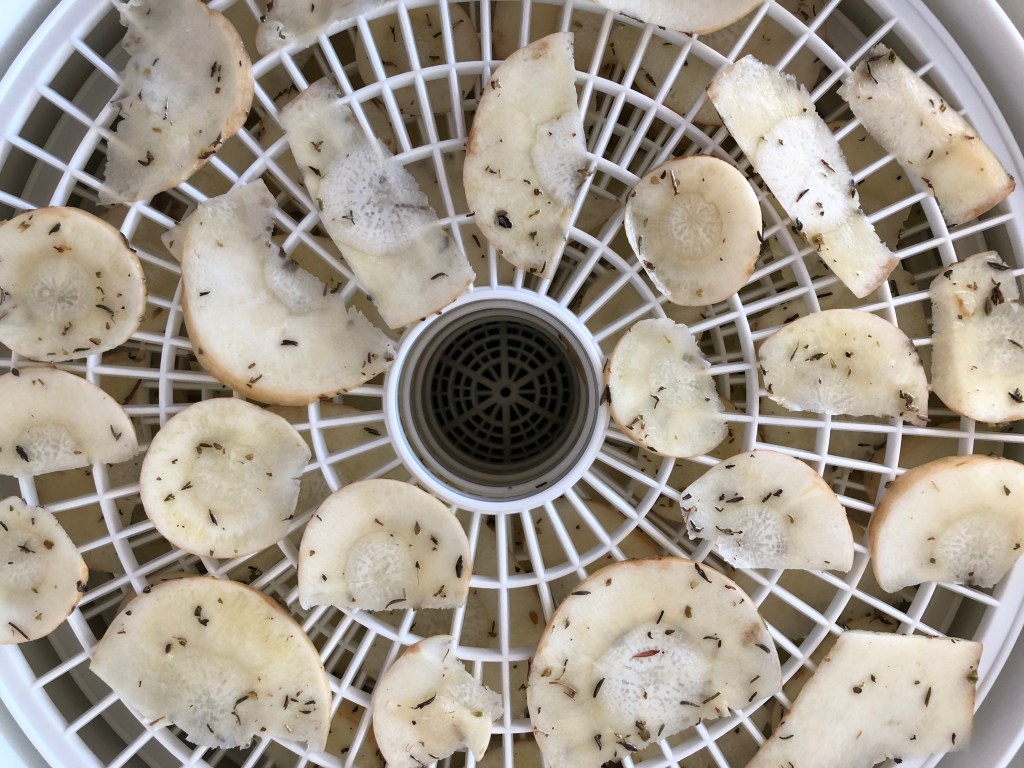
Set your dehydrator to work, 68°c for five hours should do the trick. If you have thicker or larger slices of parsnip they may need a little longer.

And there you have it, a super easy way to make use of those lonely, little, left-over parsnips.
I would love to see what you make of my dehydrated vegetable crisp recipe for your parsnips. If you do make them, get in touch. Let me know your thoughts in the comments below or tag me in a photo on Instagram so I can see you creations.
Snackalina out. x
