

So, if you need any help with what yeast should look like when it’s proofing you can refer across to my bread roll recipe. For a few other little tips you can also have a look at my little white loaf recipe.
There are two main differences between a traditional loaf and a gluten-free, vegan loaf in terms of baking technique. The first is that you don’t need to knead a gluten-free loaf. Kneading works the gluten in traditional flour in order to make the dough elastic. Gluten-free flour don’t contain any gluten (obviously, otherwise you wouldn’t be here), instead I use a combination of xantham gum and tapioca flour to bind the bread. This means that as long as your dough is properly mixed, it doesn’t need a knead!
The other difference is how much stickier your dough needs to be to rise, you need to use the specified amount of liquid and if you’re working in a dry, hot environment you might need to add a bit more. I like to think of gluten-free flour as being thirsty, it needs more liquid in the mixture to help it rise. The binding ingredients we use can make the dough stiff and a bit gummy which stops the yeast doing it’s job and filling your dough with bubbles.
Ingredients
- 175ml tepid water
- 10g yeast
- 1tbsp maple syrup
- 10g flaxseed
- 250g buckwheat flour
- 60g potato starch
- 60g tapioca flour
- 10g xantham gum
- 5g salt
- 60g melted vegan butter
- tbsp brown sugar
- tsp bicarbonate of soda
First things first, as with most recipes using dried yeast, wake it up! Add the dried active yeast (not going to work with nutritional yeast…), the flaxseed and the maple syrup to the tepid water and stir. Then stand to one side.
Weigh out all of the dry ingredients in a mixing bowl and stir to combine. Make a well in the middle of your dry ingredients and then pour in the melted butter, stir to combine as best as you can then pour the yeasty liquid into the middle and continue to stir until the dough is combined. (I tend to use a knife or a desert spoon for this as it’s easier to get through the mixture and then wipe off with your fingers than a wooden spoon.) Dust your surface generously with flour and turn out your stick ball of dough.
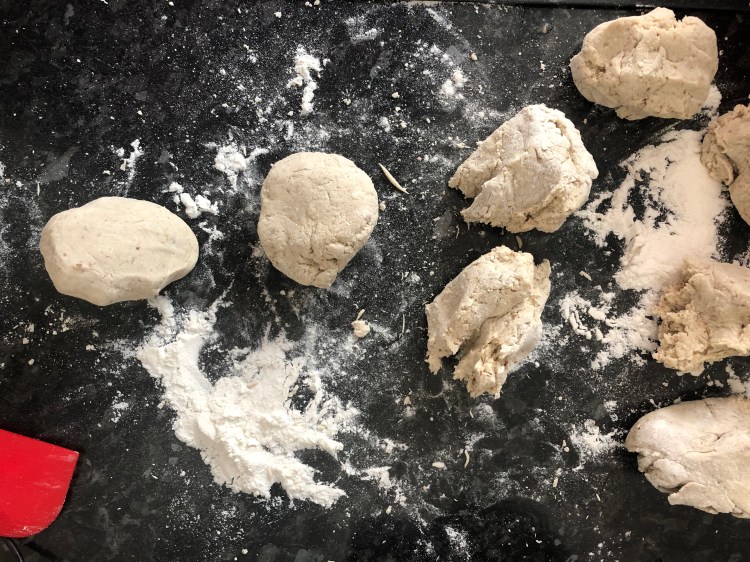
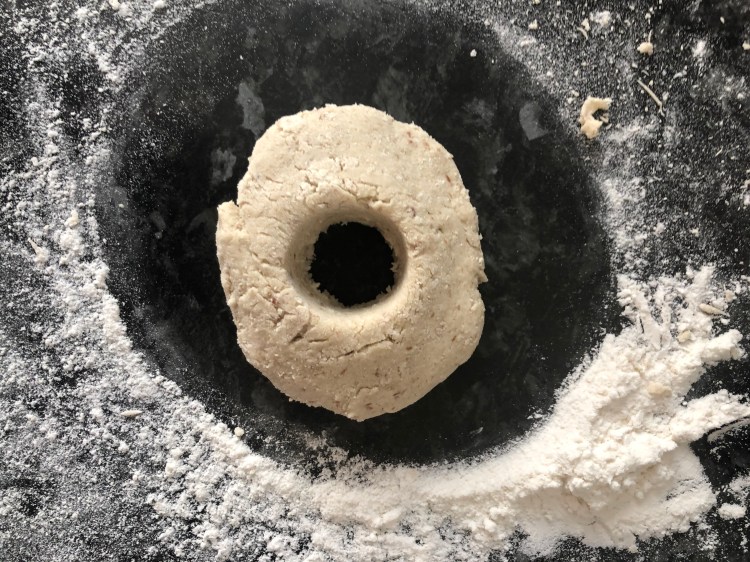
Separate the dough into eight pieces and roll into balls. Push each ball flat, and using the floured end of a wooden spoon make a hole in the middle and spin each dough ball into a bagel shape.

Place your bagels on a tray lined with baking paper.
Leave your bagels somewhere to proof, I like to gently warm my oven and leave a dish of boiled water in the bottom so that the air is nice and moist. This step could take anywhere from forty five minutes to a couple of hours, depending on the environment you’re proofing your bagels in.
Once your bagels have puffed up and doubled in size you are ready for the next step. Set the oven to preheat to 200°c. Then take a pan full of boiling water and add the tablespoon of brown sugar and teaspoon of bicarbonate of soda. Once your water is at a rolling bagel use a slotted spoon to float your bagels. You are going to boil them for thirty seconds each side and then put them back on the baking tray.

I do them two at a time because I have space to do that in my pan but it’s okay if you only have space for one bagel at a time. This step is unique to bagels and helps give them that lovely, chewy texture.
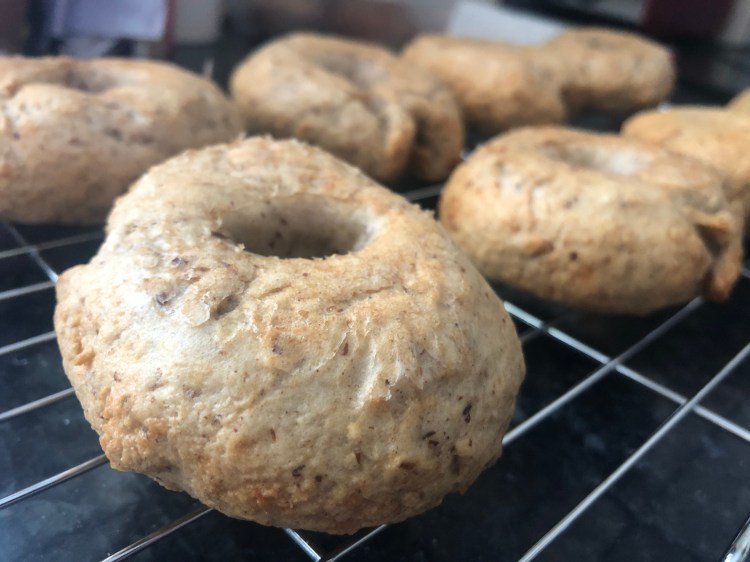
Bake your boiled bagels for about 20 minutes, they should be slightly golden, It’s a fine line with these ones, too long and they end up with a crunchy crust so keep an eye on them.
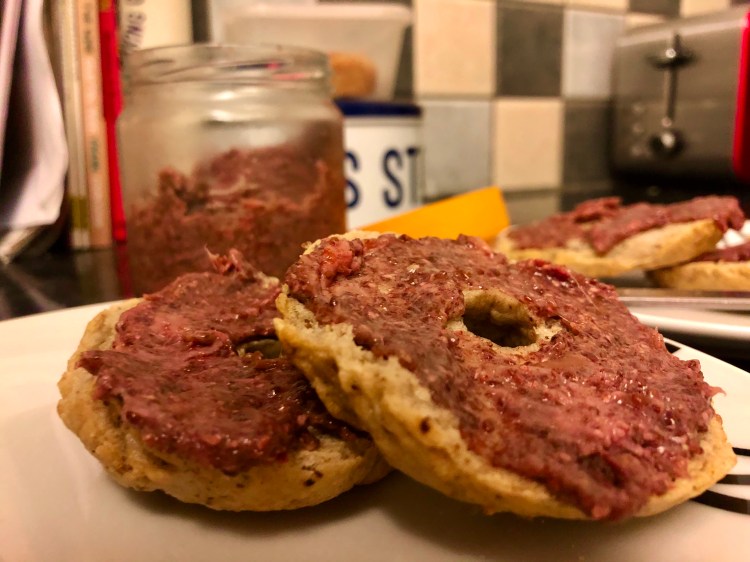
These bagels are great with peanut butter or a good coating of strawberry jam.
As always, I would love to see what you get up to in your kitchen. You can leave a comment or tag me on Instagram.
Happy baking,
Snackalina out. x
