
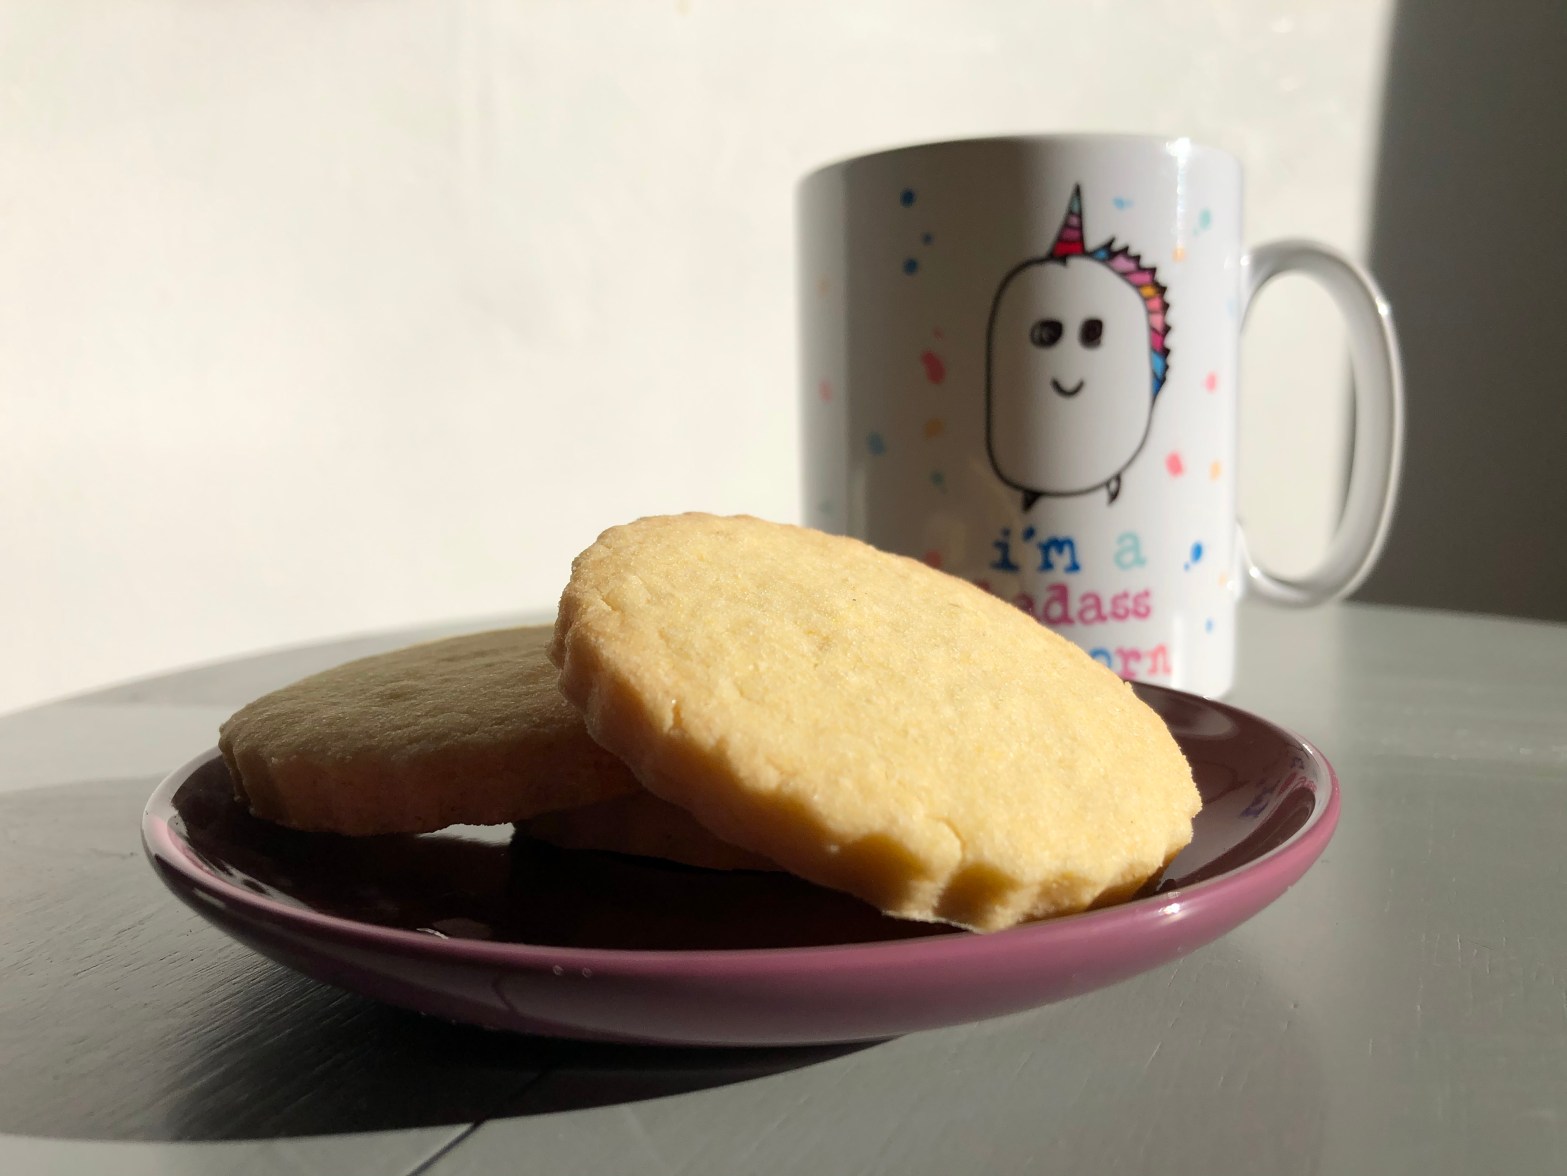
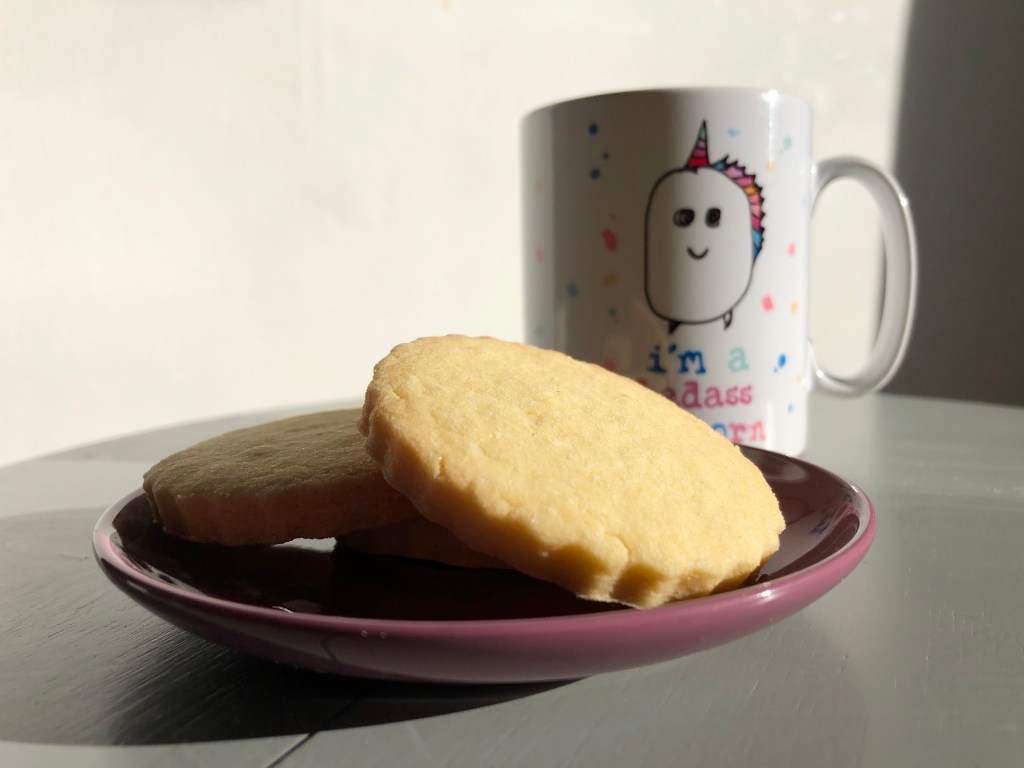
I am so proud of these biscuits. They have some shortbread crunch. They have a beautiful, buttery yellow colour. They are sweet, but not too sweet. They are a lovely accompaniment to a cup of hot coffee. But best of all they are so easy!
These biscuits were one of the first recipes I developed in the gluten-free, vegan challenge combo. I had been moaning to my friend about how much I missed baking since I had to avoid gluten and how impossible I felt it was to make delicious treats without all of the things I thought I needed.
I had previously been very content with vegan baking, finding all the components I needed to substitute and working out the best ways to make them function properly without the traditional animal products associated with quality baking. After a bit of cajoling, I took the plunge.
My first attempts were not very successful, I was winging it with a combination of gluten-free flours that I hadn’t used very much of. I didn’t know which flours had which properties and I had absolutely no idea how they would interact together to produce a result that was not just edible, but tasty. (Although, at this stage, edible would have been enough!)
In the end, by complete chance, I threw in some fine corn meal. This seemed to do the trick, helping with the colour of the finished product but also giving it a delightful crunchy texture. As with all gluten-free, baked goods, these are best consumed on the day or the day after, but the corn meal seems to help their shelf life. I have found these biscuits to be perfectly passable four or five days after baking when stored in an airtight container. Hats off to you if yours last that long!
Alongside corn meal in this recipe is butter, (vegan, obviously), for best results you want to find a solid block-style butter. This is really important, when your biscuits hit the oven, the fat will melt. If you use a softer butter, your biscuits will turn into puddles!
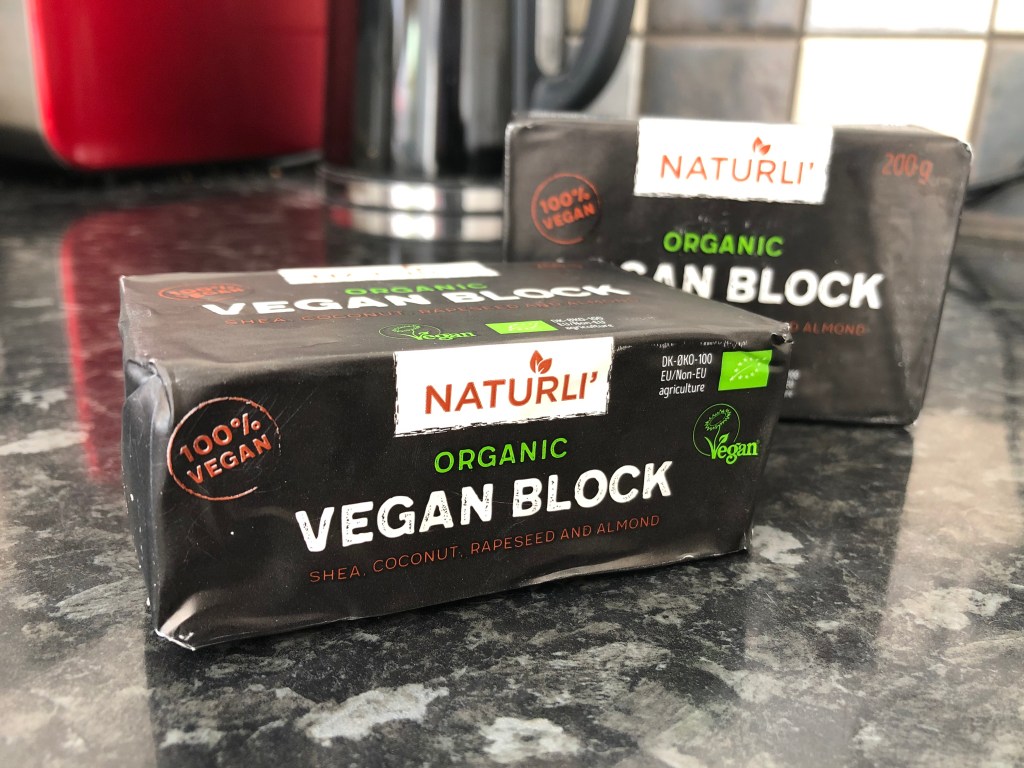
I love the Naturli Organic Vegan Block for this recipe, it works really well! If you are desperate to bake these biscuits and you only have spreadable butter, you can get away with it but you have to make sure that you chill your cut biscuits before you put them in the oven. Either a patient stint in the fridge to chill them all the way through after you have worked the dough or a blast in the freezer will help them keep their shape. You might also need to reduce the amount of butter you use to keep the dough fairly solid.
This recipe makes enough for about twenty biscuits, using a 6cm (diameter) cookie cutter. If that’s too many for you, you could wrap the dough and keep it chilled for a few days then bake another batch. The other option to cut your biscuits and place them on individual squares of baking paper, stack them up, pop them in a box or bag and freeze them. Then you can take out as many as you need for the occasion, pop them on a tray to warm up a little while the oven comes to temperature and then bake from frozen. You might need to knock ten degrees off the oven temperature for this method. (I haven’t needed to do it with this recipe but I have done it with cookie dough before very successfully!)
Ingredients
- 100g rice flour
- 75g potato starch
- 75g fine corn meal
- 4g xantham gum
- 25g cornflour
- 100g caster sugar
- 175g vegan, block-style butter
- 1 tsp vanilla extract
Be careful if you have a nut allergy, the Naturli block isn’t nut free!
Line your baking trays with baking paper, it’s sensible to do this now, before you get your hands into the dough!
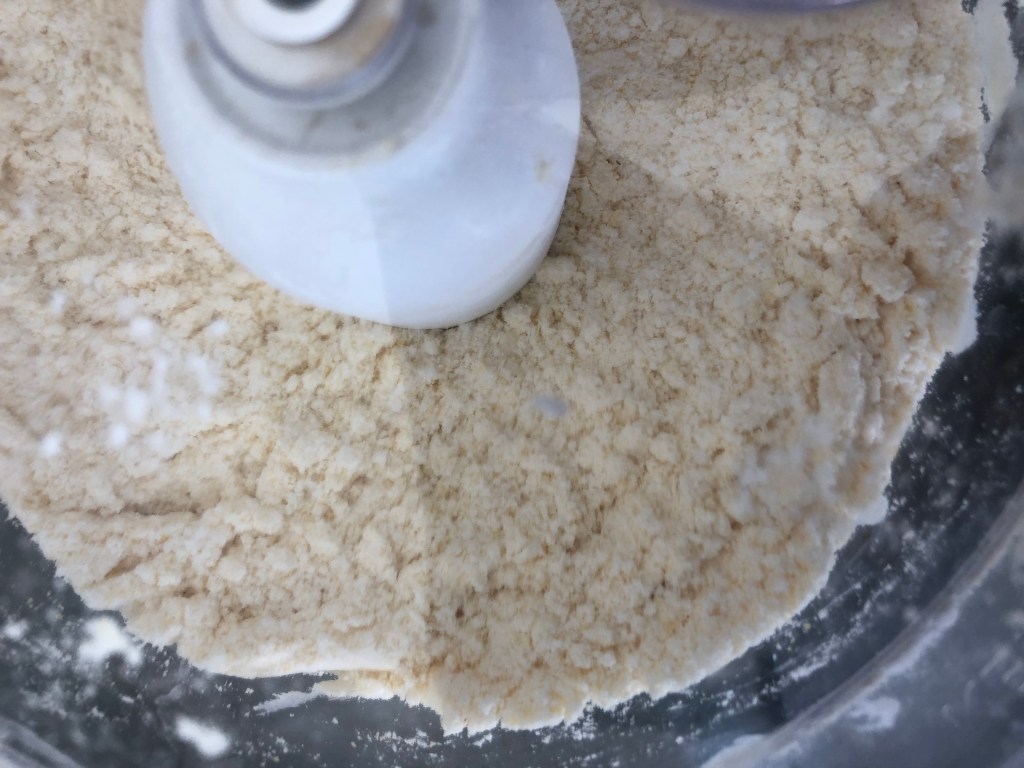
Chuck all of your ingredients, apart from the vanilla extract, into a food processor and pulse until your mixture looks like fine breadcrumbs.
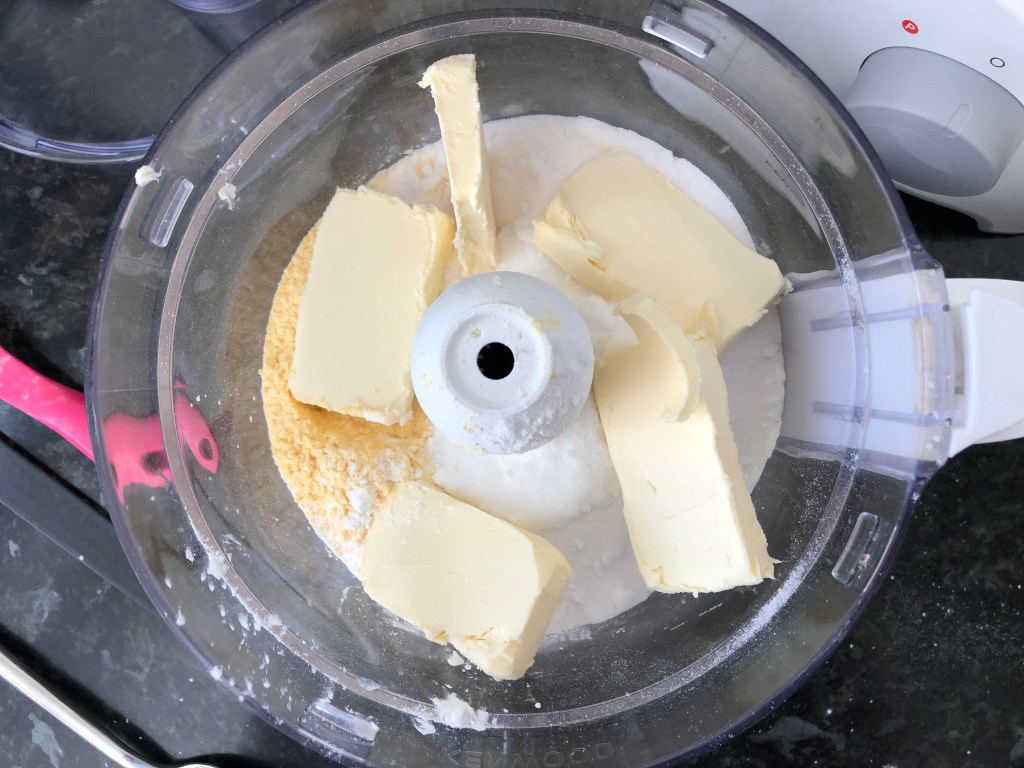
I told you this recipe was super easy, if you don’t have access to a food processor that’s okay. Put all your flours into a bowl, cube your butter and rub in (think the old school, scone making method). Your palms should stay clean as your gently lift up some of the mixture and rub your fingers together, sprinkling it back into the bowl.
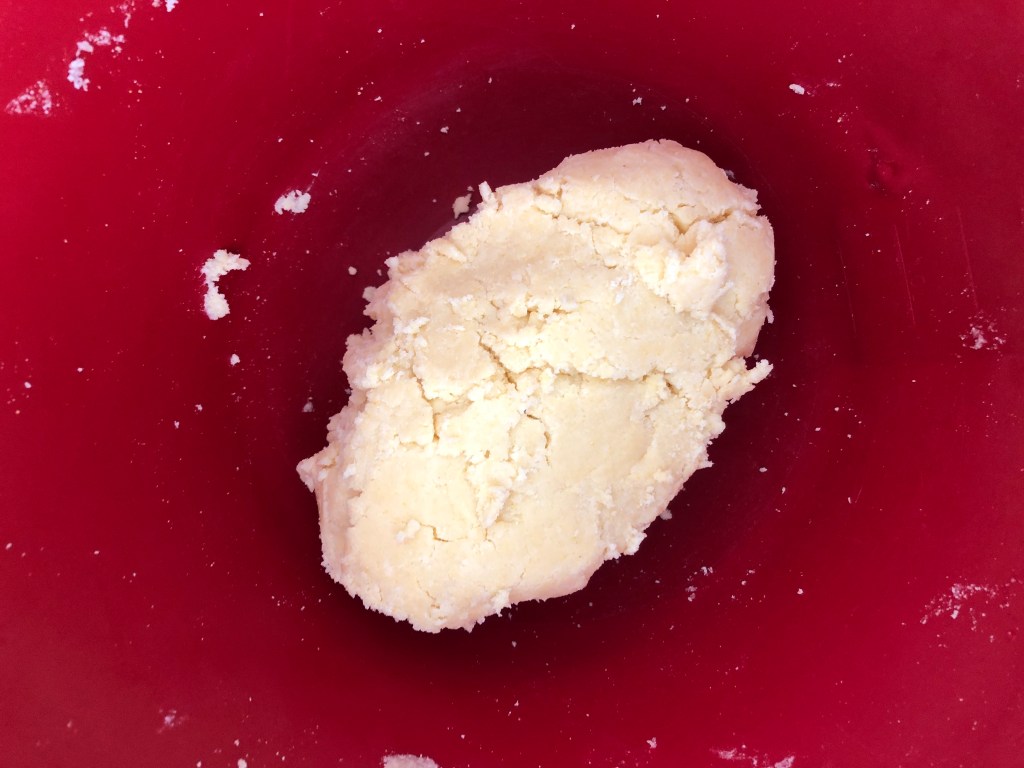
Sprinkle a bit of rice flour onto your work surface (nothing worse than trying to do this with sticky hands and then having to clean your paper flour bag at the end) and then transfer your mixture from the food processor into a mixing bowl. Add the teaspoon of vanilla essence and a couple of teaspoons of water. You may need to add a little more water but don’t do it straight away. You need just enough to bring the dough together. Get your hands in and squeeze your mixture together until you got one, pliable lump. If you do need to add more water, add it a tiny bit at a time.
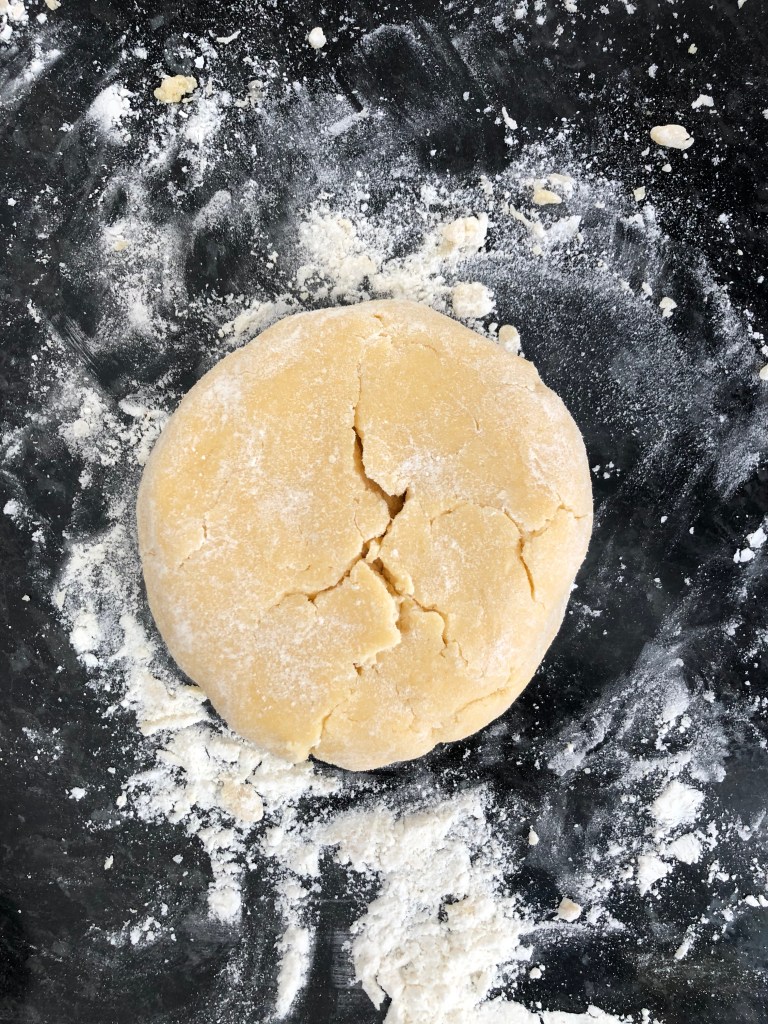
Now, if you have kids or young-at-heart friends you could store this in the fridge until they arrive. Roll out the dough together, bake and decorate your biscuits. If your guests are coming tomorrow you might make the dough the night before and store it so that your biscuits are still warm when you’re ready for them. Otherwise, pop your dough onto your work surface and gently turn it until it’s got a thin layer of flour on the outside.
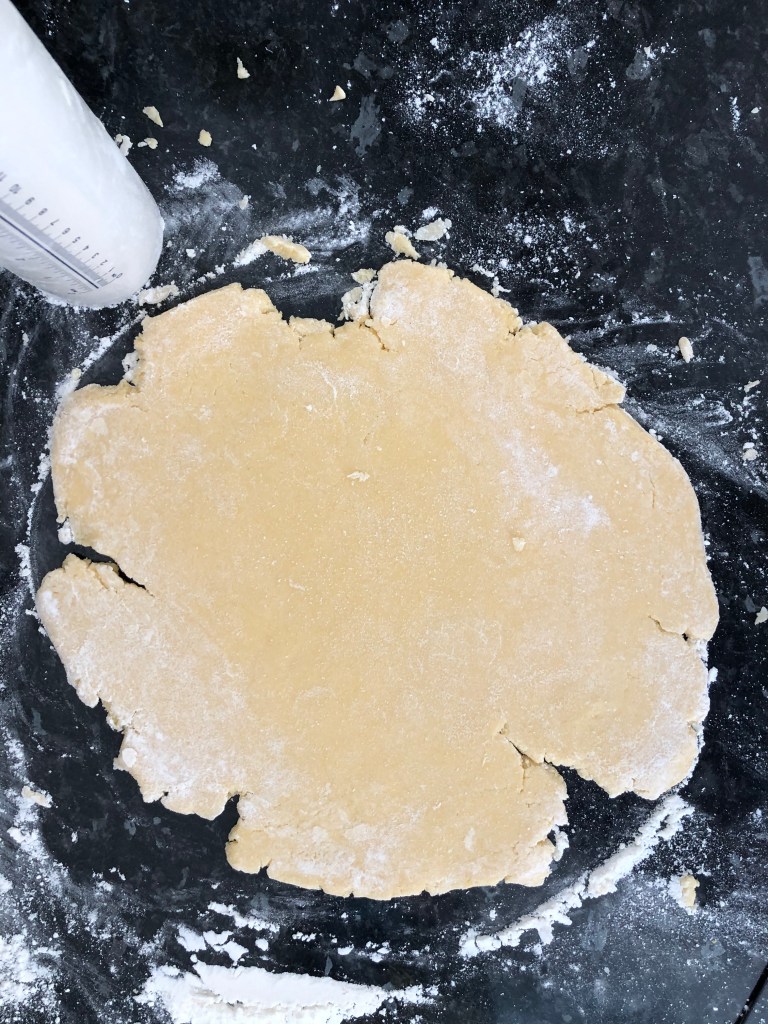
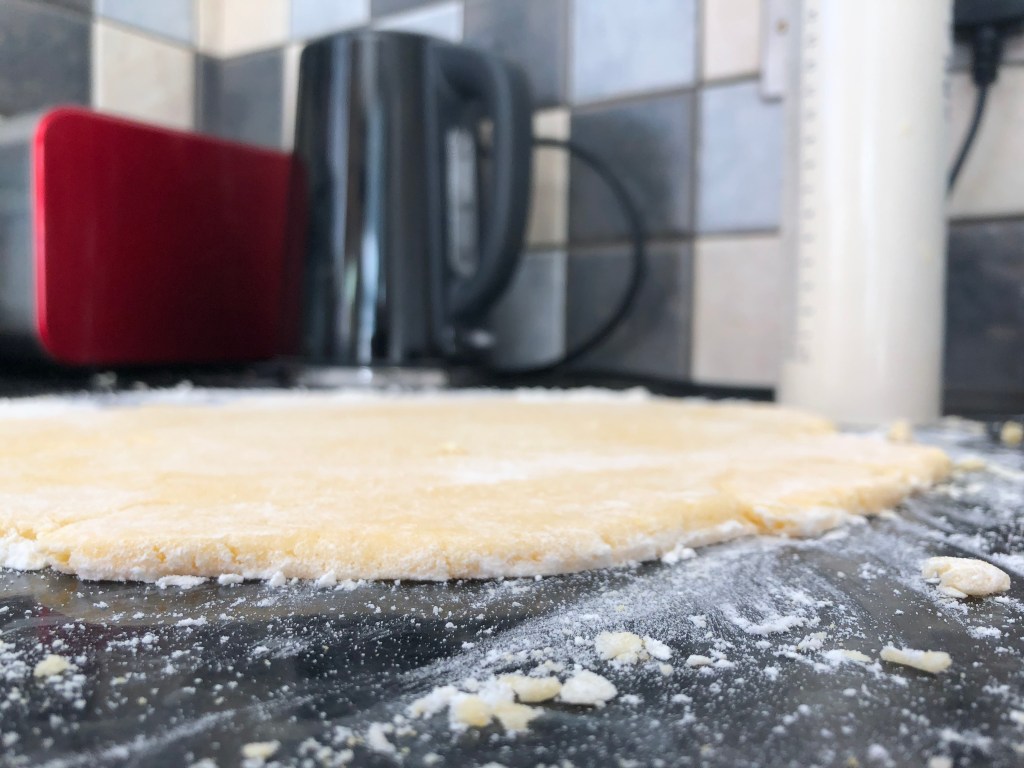
Using a floured rolling pin (you can use a glass for this or press it out with your hands if you don’t have anything round and heavy to use!), roll your dough out until it’s about half a centimetre thick. You will need to keep turning your dough over and dusting your rolling pin to stop anything from getting stuck together.
Once your dough is half a centimetre thick, take your cutter, dust the bottom with flour and cut your biscuits. Try and be as efficient as you can with your cutting, you don’t want to keep re-rolling your dough too many times.
If you don’t have a cookie cutter, you can always use a glass or a cup. Just make sure your put plenty of flour on the rim.
SnackalinaEATS, Pro-tips. 2020
Transfer your cut cookies to your pre-prepared baking trays. They can be fairly close together, they will puff up a little bit but they shouldn’t spread.
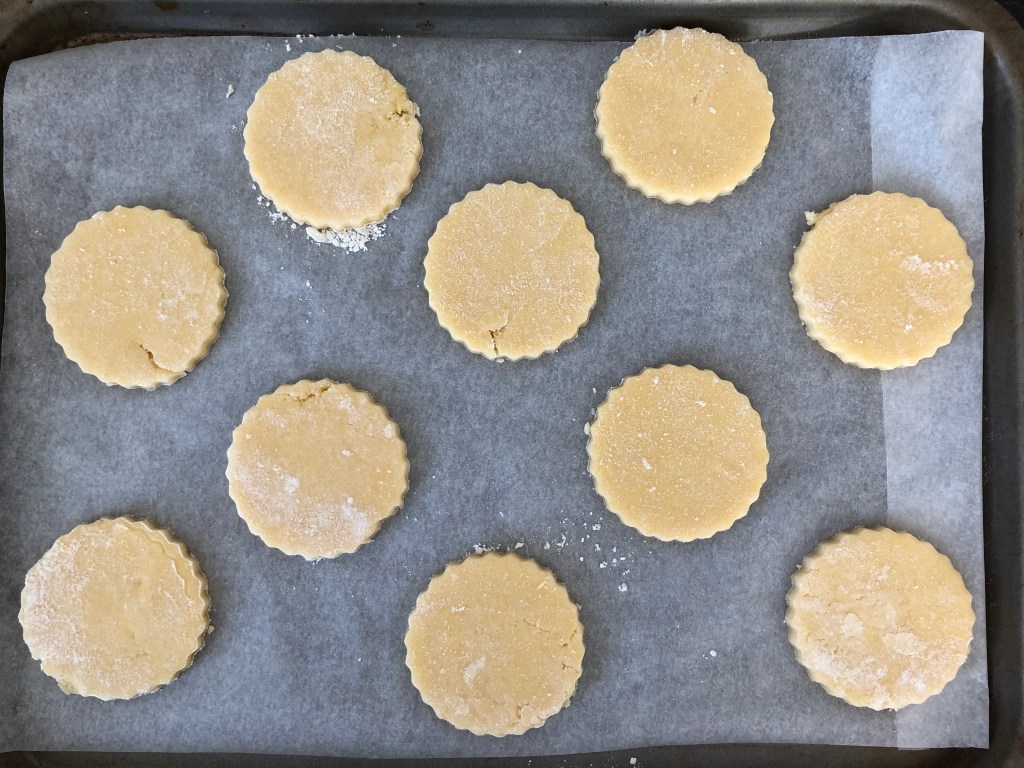
I put the oven on to pre-heat now at 180°c, this means my little biscuits get some chill time in the fridge. I just put the trays straight into the fridge, they are usually balanced haphazardly across whatever else is in there!
I bake mine for 12 minutes exactly, of course this depends on your oven but keep an eye on them the first time. They don’t take long to bake, you want the edges to just be turning a golden brown colour.
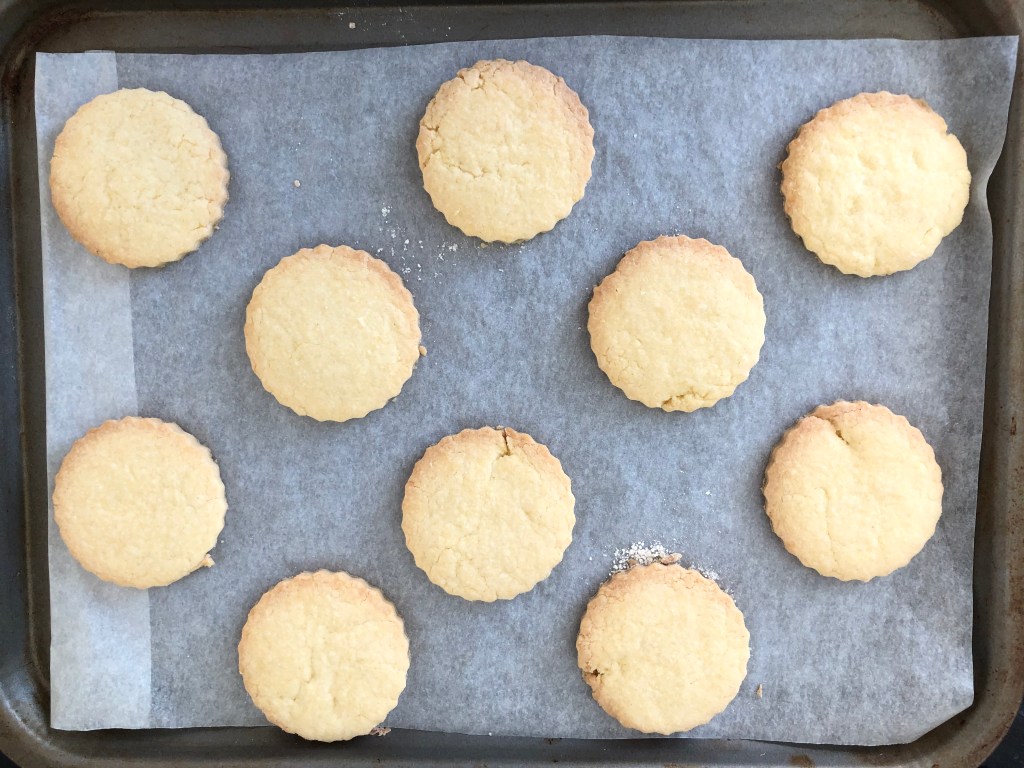
STOP! Don’t do it. I know all you want to do now is get your mitts on those snacks but give them ten minutes or so to cool on the tray. You want the butter to have a chance to cool and solidify a little bit otherwise your risk your creations crumbling in your hands. Once they are cool enough to touch, transfer to a wire cooling rack. When they are completely cool you can store them in an airtight container, put them on a high shelf away from the snack monsters or they won’t last long!
I love this recipe, it’s so easy and you wouldn’t believe that it is gluten-free and vegan. Let me know how you get on with this one, I would love to see some pics of your bakes on Instagram or hear about your baking adventures in the comments below.
Snackalina out. x
