

This recipe is great start for your gluten-free bread journey, a bowl of dry ingredients and a bowl of wet plus a bit of melted butter. You only need a couple of things to make this recipe successful, yeast that bubbles and time.
When you mix the yeast with the warm milk and a couple of other ingredients you are reactivated the dried yeast and bringing it back to life with a little snack. Your dried yeast is almost definitely good up to its use-by date so just be sure that you don’t over heat the soya milk to start off with. When it bubbles you know it’s back to life, if it doesn’t bubble give it another five minutes. If that doesn’t work, you’ll need to try again, either with cooler milk or new yeast! Lukewarm is where you want to be.
The other thing you need is time, if you don’t proof your bread for long enough it won’t rise. It’s not a thing you can rush and of course it depends on the temperature. Yeast is a bit like goldilocks, she doesn’t like it too hot or too cold. She likes it just right! Once your bread looks ready to bake, it is. That may take longer than the recipe states but you’ll get a feel for it the more times you make this recipe!
Ingredients
- 150ml soya milk
- 10g yeast
- 15g sugar
- 10g milled flaxseed
- 200g buckwheat flour
- 60g potato starch
- 60g tapioca starch
- 10g xantham gum
- 7g salt
- 65g melted vegan butter
- little bit of lukewarm water
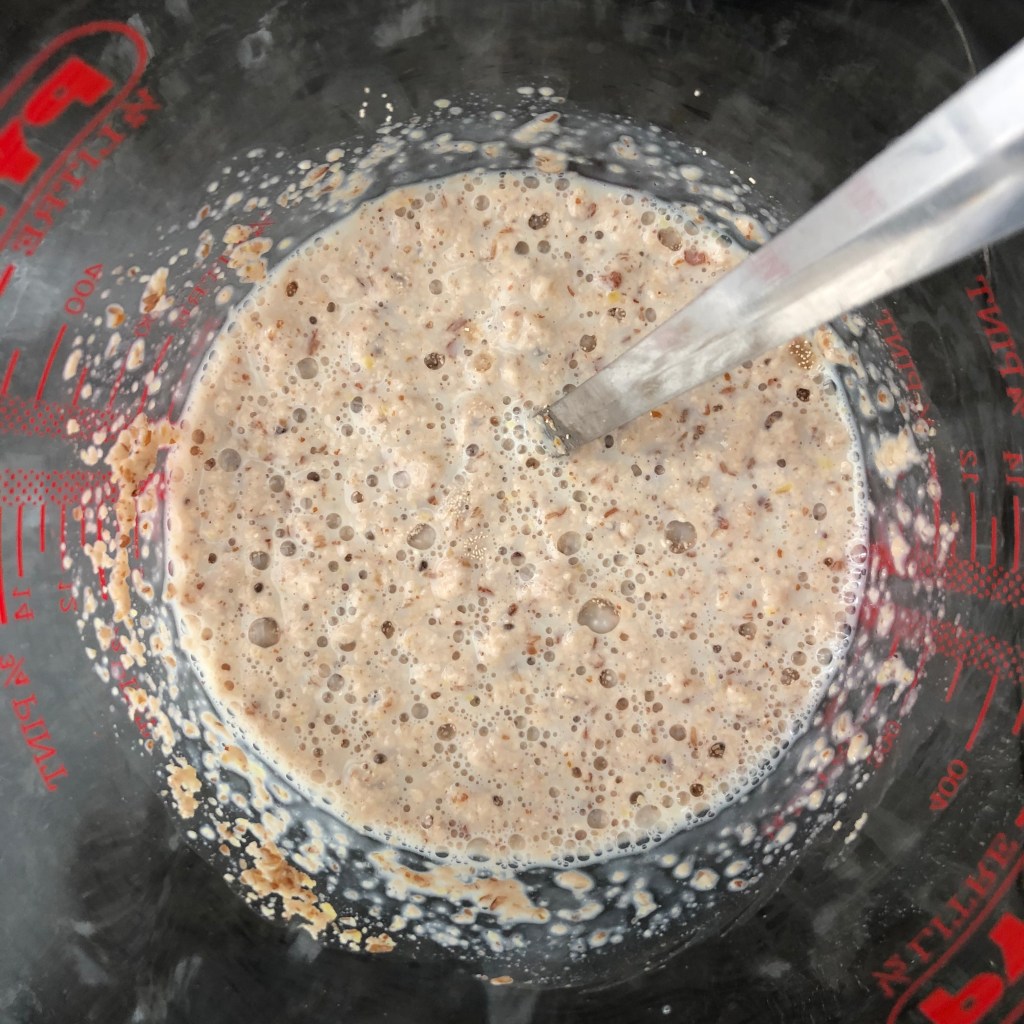
First step, revive that yeast. Measure your soya milk into a microwaveable jug, warm it in the microwave. It only needs to be tepid, it should feel a similar temperature to your body. Use a digital thermometer if you need to to check it’s around 30-35°c. Then add the yeast, sugar and flaxseed, give it a good stir and stand it to one side.
In a separate bowl, add all of the dry ingredients (if you are interested in what each type of flour does so you can start experimenting with your own substitutions, stick with me at the end and I will share some info!). Mix the dry ingredients together and then add the melted butter, use a knife to break up the butter so that it isn’t one big clump in your mixture.
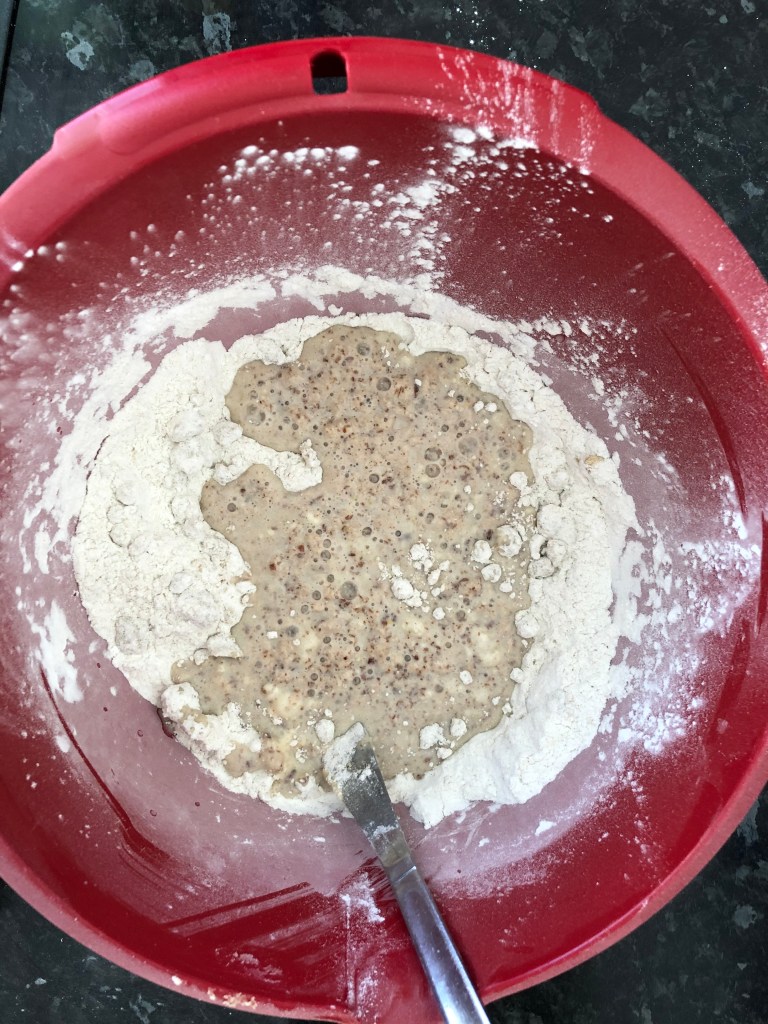
Once you know the yeast is active, add the wet mixture to the dry and stir. It should be a fairly sticky dough, if it’s not looking sticky, add a little lukewarm water to the mixture. When all of your ingredients are mixed together, turn out your dough onto a floured surface.
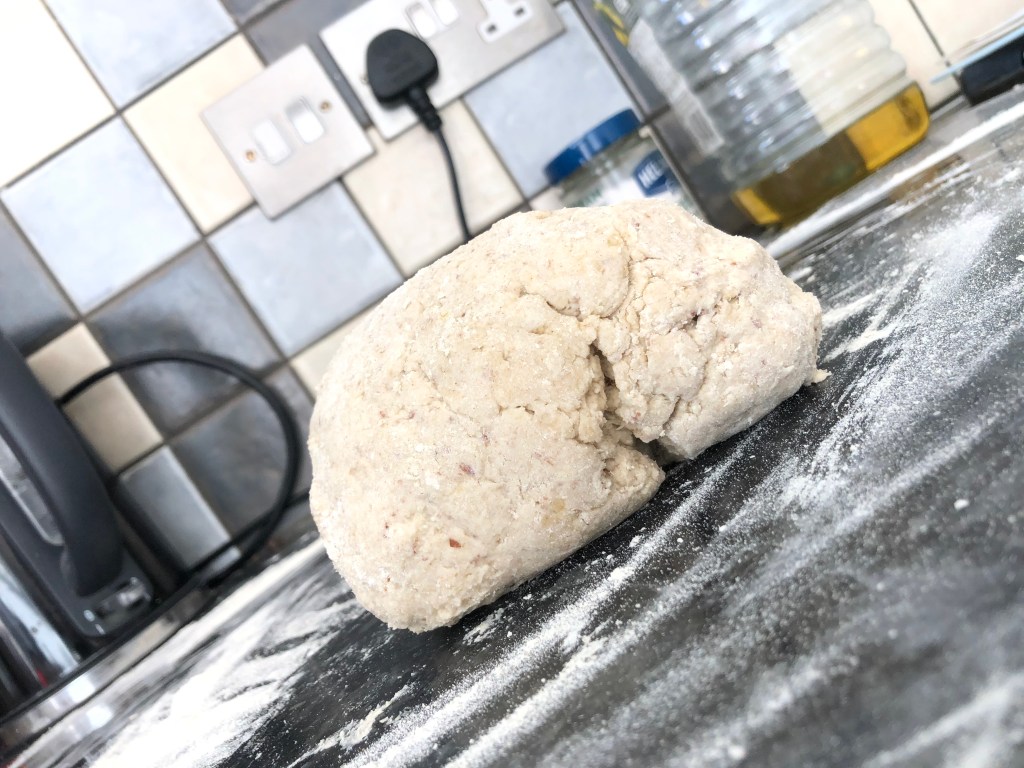
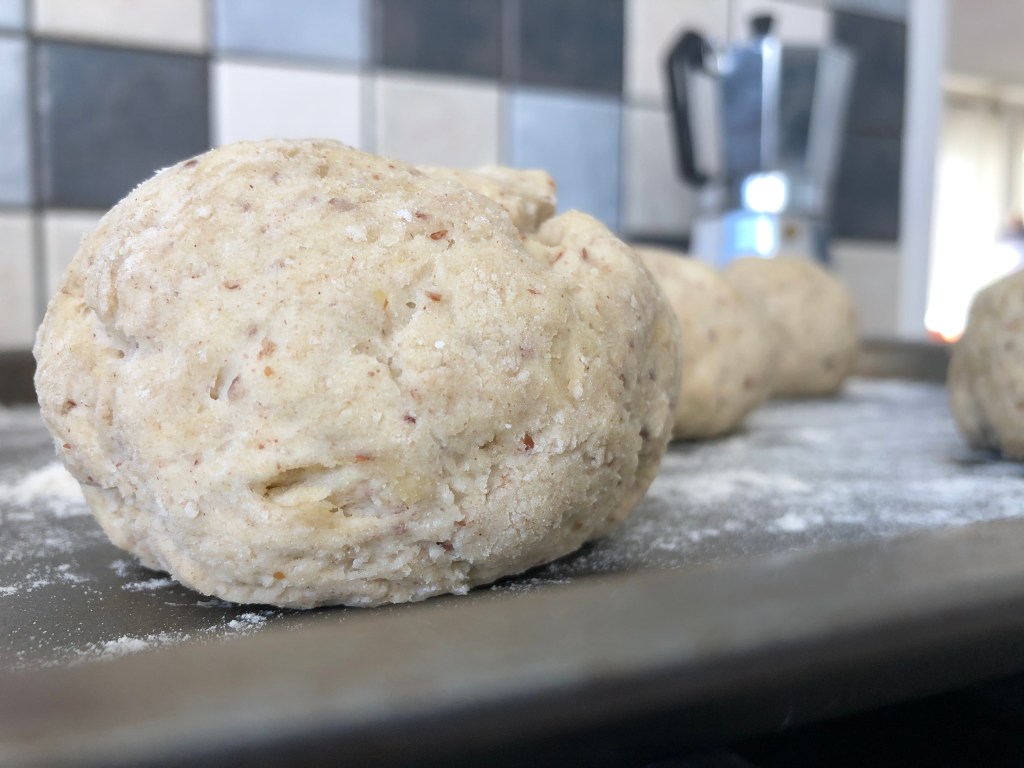
No need to knead, the process of kneading strings all that gluten together. Since these are gluten-free, the don’t need much attention in that respect. Roll the dough into a sausage, chop it into six even chunks and then roll each chunk into a ball. Place your six balls of dough onto a floured baking tray somewhere warm to proof.
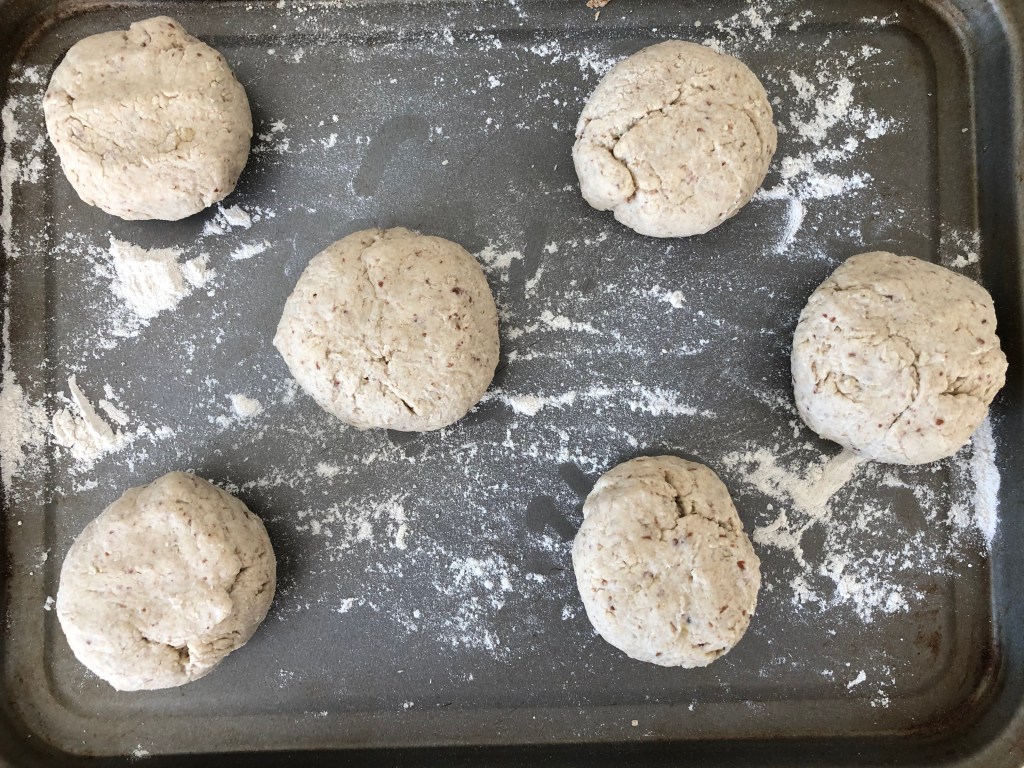
In order to help speed the process along, especially in the colder months, I tend to pop my dough balls in the oven. (I usually stick the oven on for five minutes at 50°c and then turn it off again and put the bread rolls in. I also stick a mug of boiled water in there too to prevent the dough balls from drying out as they rise.)
Once the rolls have puffed up, they are ready. (Mine usually take at least an hour.) If you’ve been proofing them in the oven, take them out and set your oven to 180°c. When your oven is up to temperature, bake your rolls for 22 minutes with a tray of hot water in the bottom of the oven. The steam will help make your rolls nice and crusty. Be brave with them, they should be a decent brown colour, not a light golden colour if you want a proper crust!
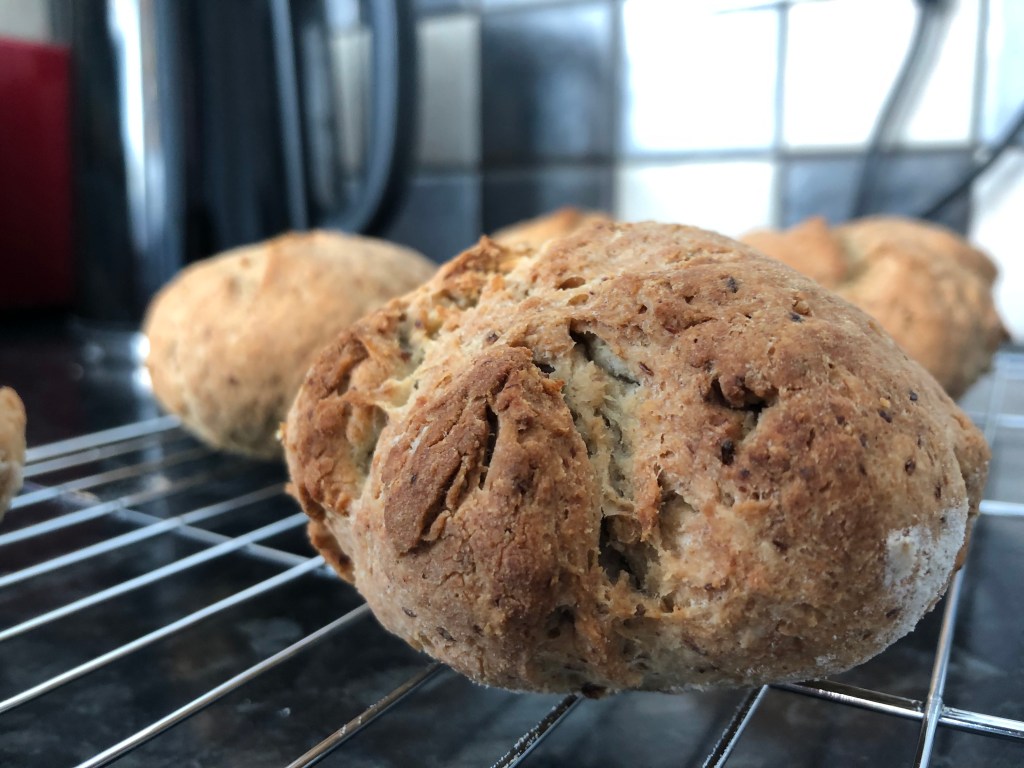
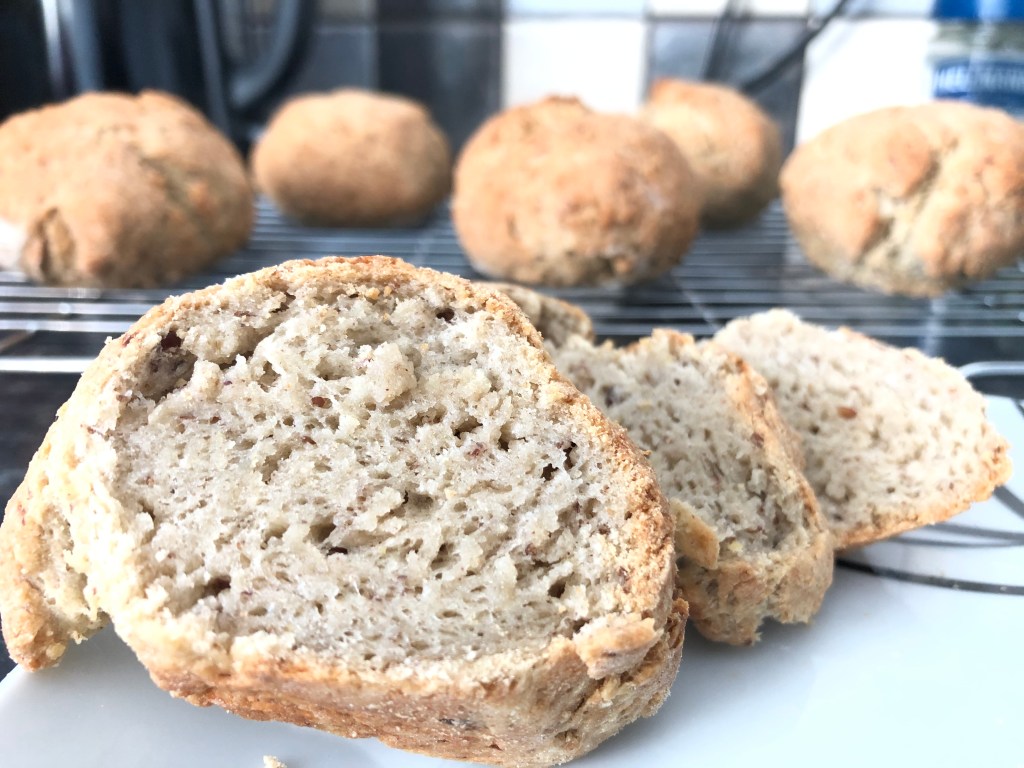
Just like gluten-containing bread, they should sound hollow when you tap them on the bottom. Butter them, or slice them, toast them and serve with vegan dippy egg. Enjoy them while they last because they won’t last long!
If you’re here for all the extra info on flours, stick around, otherwise the usual applies. Comment or share some pictures of your tasty creations with me in Instagram.
So, as you probably know, vegan bread is straight forward. Substituting dairy products for non-dairy alternatives is only getting easier. The tricky sub in this recipe is the gluten, a protein found in flour from wheat. The non-vegan option is to use egg whites for protein but we can’t do this so we have to get creative. We need to create a dough that is light enough to rise, but capable of trapping the gas bubbles produced by the yeast so that the bread can rise.
Xantham gum is a key ingredient in gluten-free baking. It helps bind the flours together. The other binder in this recipe is tapioca starch, when it’s heated it gets all gummy. You can use it to make vegan cheeses at home, it’s really helpful in trapping the bubbles of yeast into the bread but it’s also very light. It’s other job in gluten-free baking is to help the bread to brown nicely.
Potato starch is a great ingredient here, not to be confused with potato flour which is made from cooked potatoes. Potato starch is just the starch, extracted from the raw potato and dried. It is light and helps to loosen up the the mixture alongside buckwheat flour, a robust flour that actually behaves quite similarly to wheat flour. Buckwheat has a distinctive flavour, it’s nutty and the bread ends up with a sourdough-like quality.
I hope you enjoy this recipe and the little extra nuggets of info on why I choose certain ingredients in my recipes. I always try to keep the number of ingredients to a minimum, fingers crossed you’re enjoying baking them as much as I am enjoying coming up with them.
Until next time…
Snackalina out. x

Great post 🙂
LikeLike