Sweet and Smoky Tofu Jerky

This recipe is a delicious, vegan treat. Gluten-free and savoury enough to make a regular carnivore say, “Wow, I could be vegan for this”. If that isn’t an five star endorsement then I don’t know what is!

Tofu can be a bit of a tricky one, this recipe (as with everything you’ll find on this blog) aims to be as short and simple as it can be. I am not into kitchen hassle. The thing about tofu is that it comes in a wide variety of guises. From silken to extra firm, there’s a block of tofu for every occasion. I think the next step will be to try this recipe out with some tempeh, if you have never cooked with tempeh before then you absolutely should get out there and try some. It’s basically a denser version of tofu.

For this recipe I used a big block of cauldron tofu, so far I haven’t managed to create the ‘perfect’ result. I think it would be easier to handle while it’s marinading if I made it with a firmer tofu but this Veganuary business seems to have affected the availability of my cupboard staples.

Ingredients

  • 1 large block of tofu (firm or extra firm)
  • 2 tbsp tamari (gluten-free soy sauce)
  • 1 tbsp sriracha
  • 1 tbsp sweet chilli sauce
  • 2 tsp nutritional yeast
  • 1 tsp garlic powder
  • 1 tsp onion powder

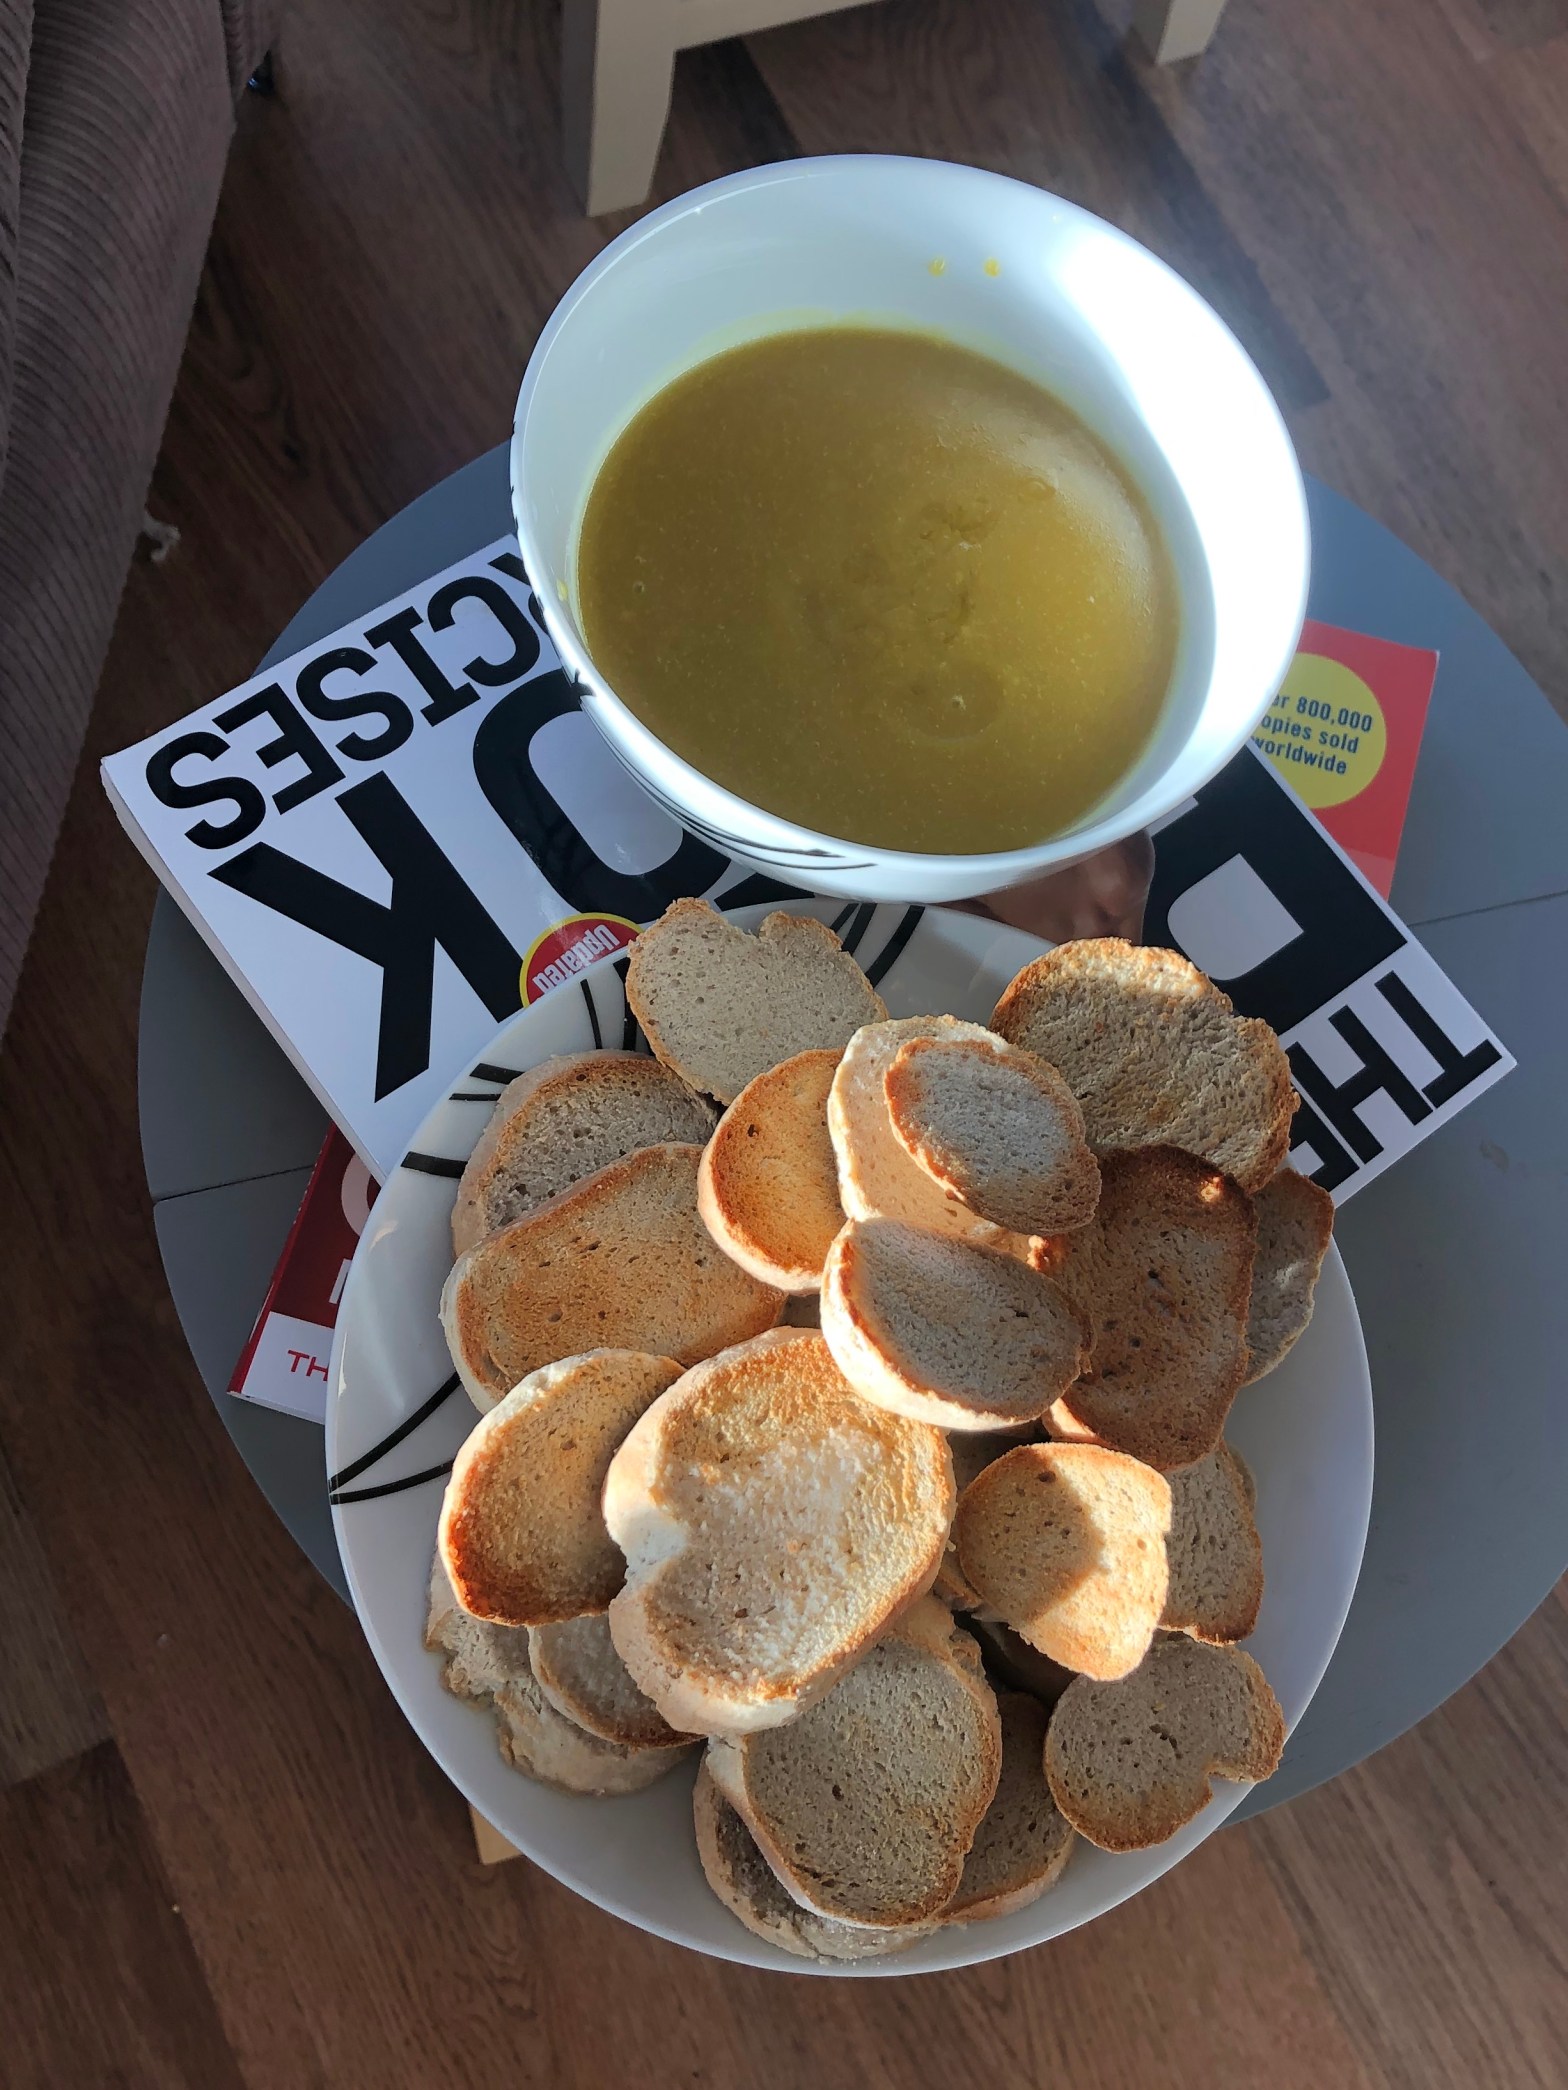
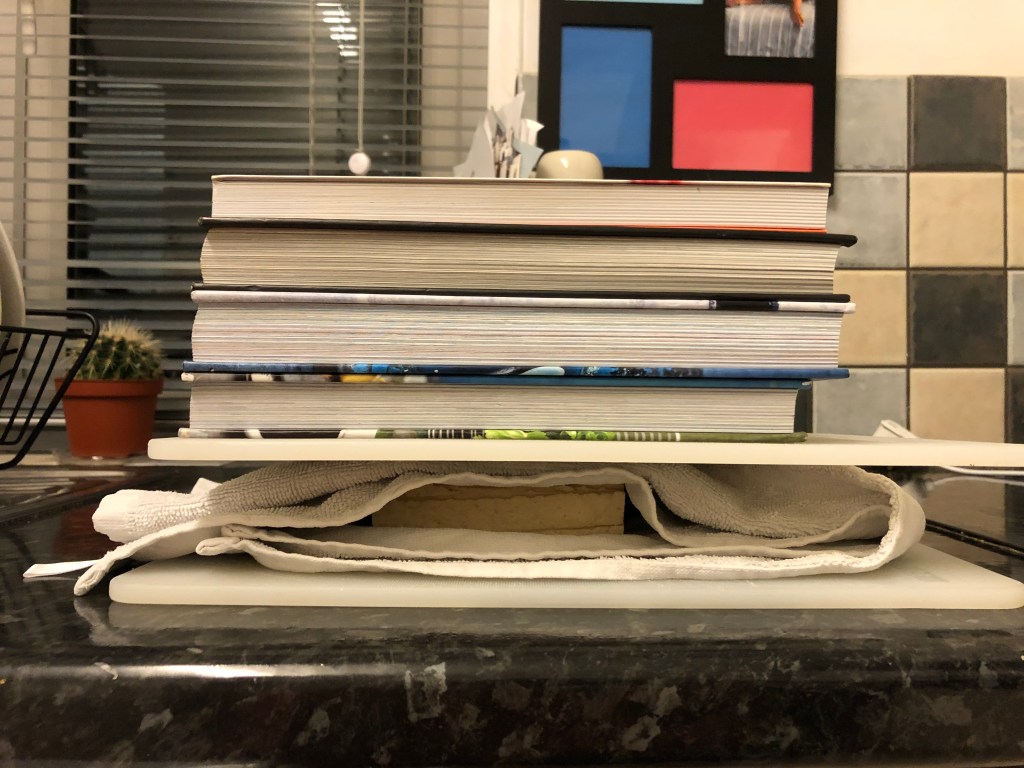
The first, and most crucial step of this whole process is pressing your tofu. This squeezes the moisture out of the block and helps make your block of soybean curd a little bit less crumbly. This is obviously a necessity when we are going to be handling the tofu in strips/chunks in order to marinade it. You can use a tofu press, but I find a tea towel, a couple of chopping boards and a stack of heavy books will do the trick. I pressed my tofu while I was working on a gluten-free bread recipe, so it got at least twenty minutes and I changed the tea towel for a fresh one halfway. Anything you can do at this stage to make your tofu easier to handle will reduce stress later on and also reduce the amount of time you need to leave the dehydrator on for. Everybody wins!

You press that tofu! *Sassy finger snap*

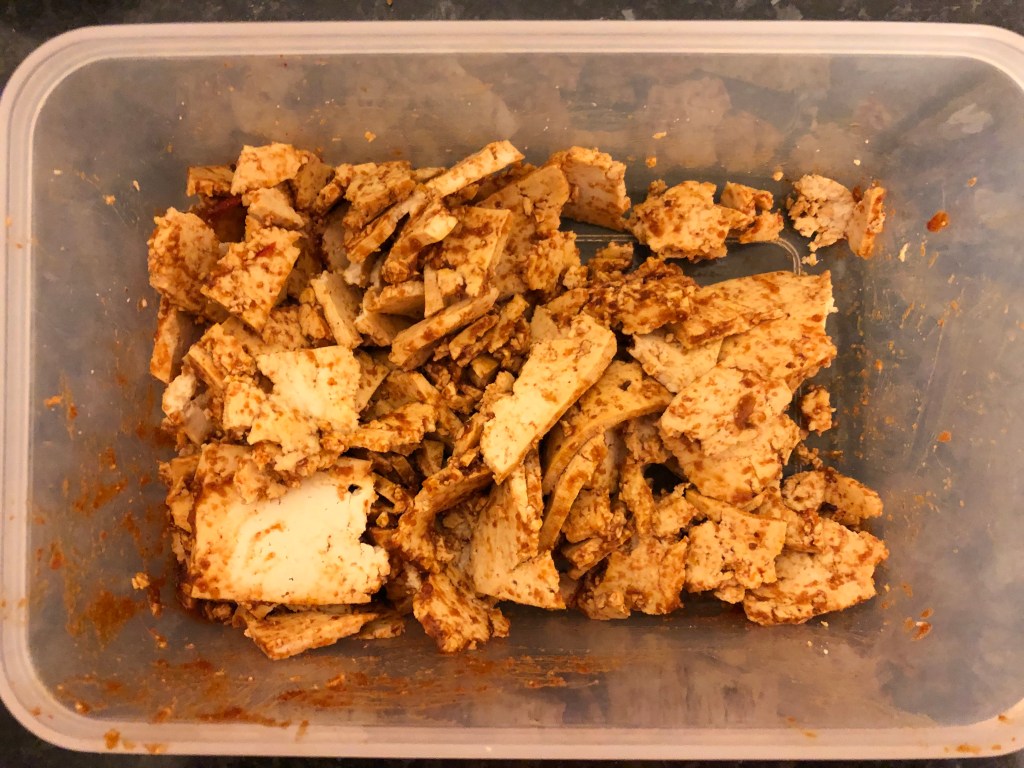
Next prepare your marinade, chuck everything into a large Tupperware – lunchbox sized is ideal for me but a mixing bowl will also do the trick. Give your marinade ingredients a really good stir until your marinade is all the same colour and the nutritional yeast, garlic and onion powders aren’t really visible. This recipe has a spicy kick, if that isn’t for you I suggest swapping the sriracha for some tomato puree.

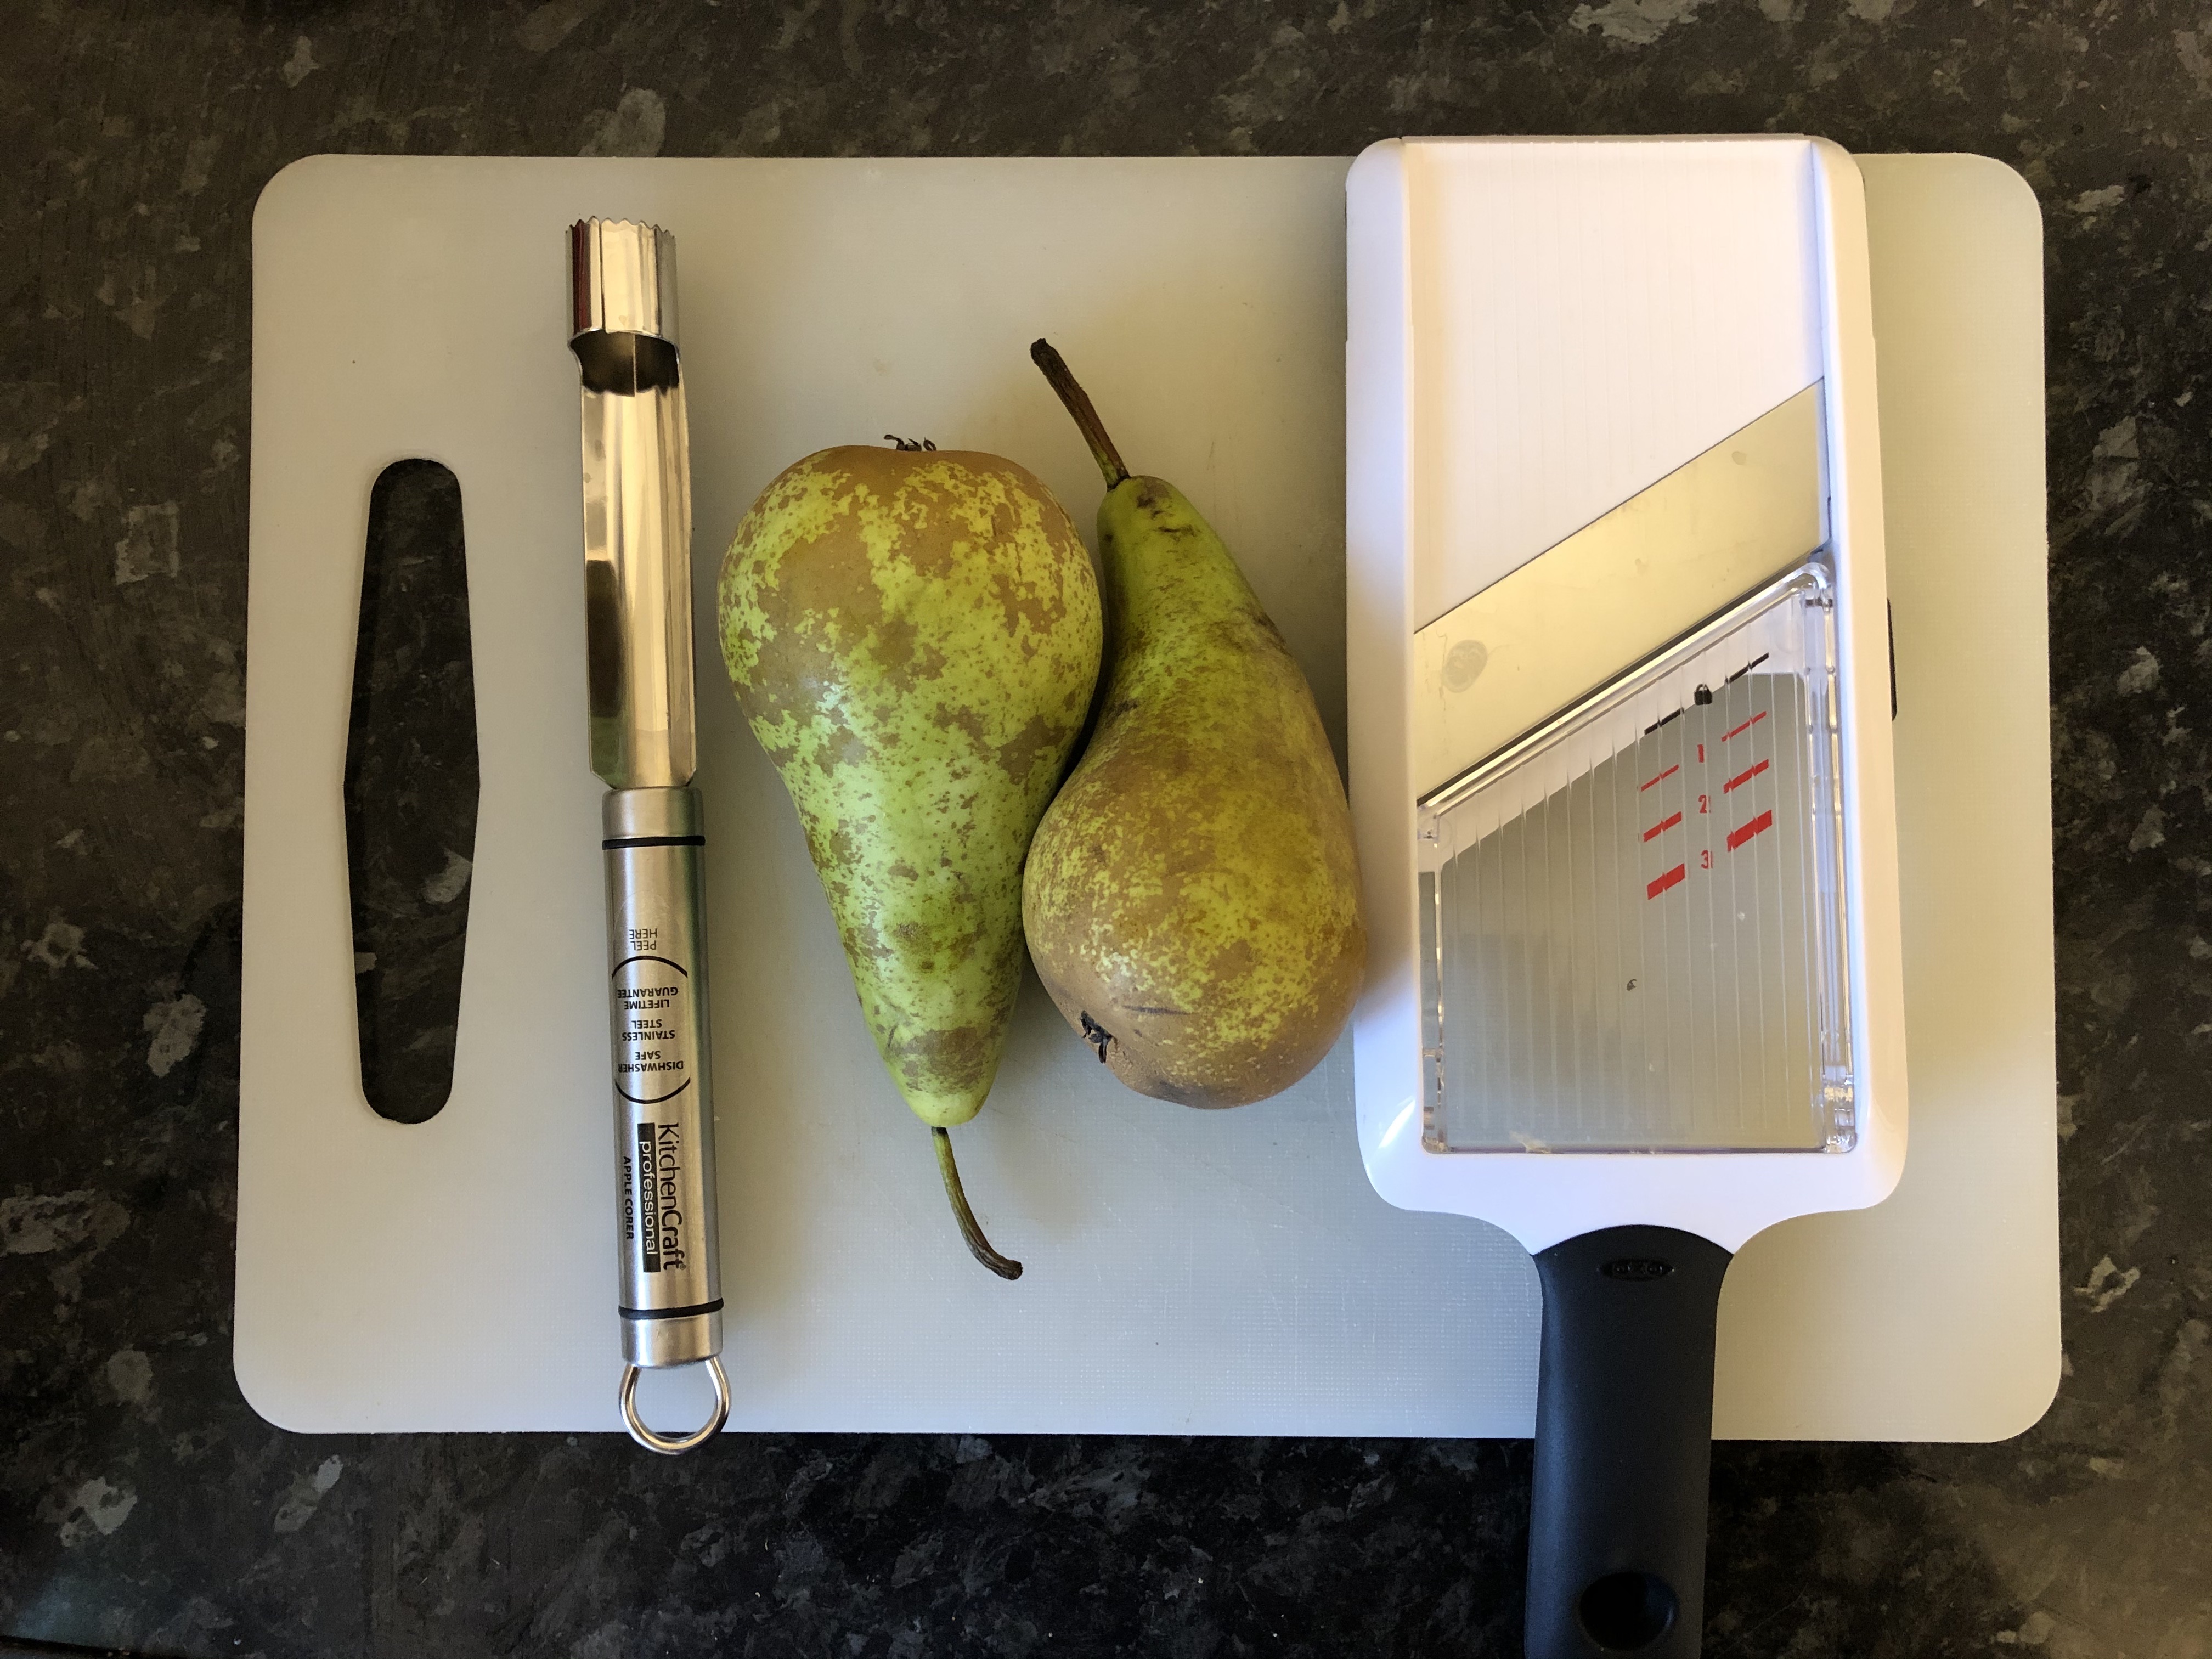
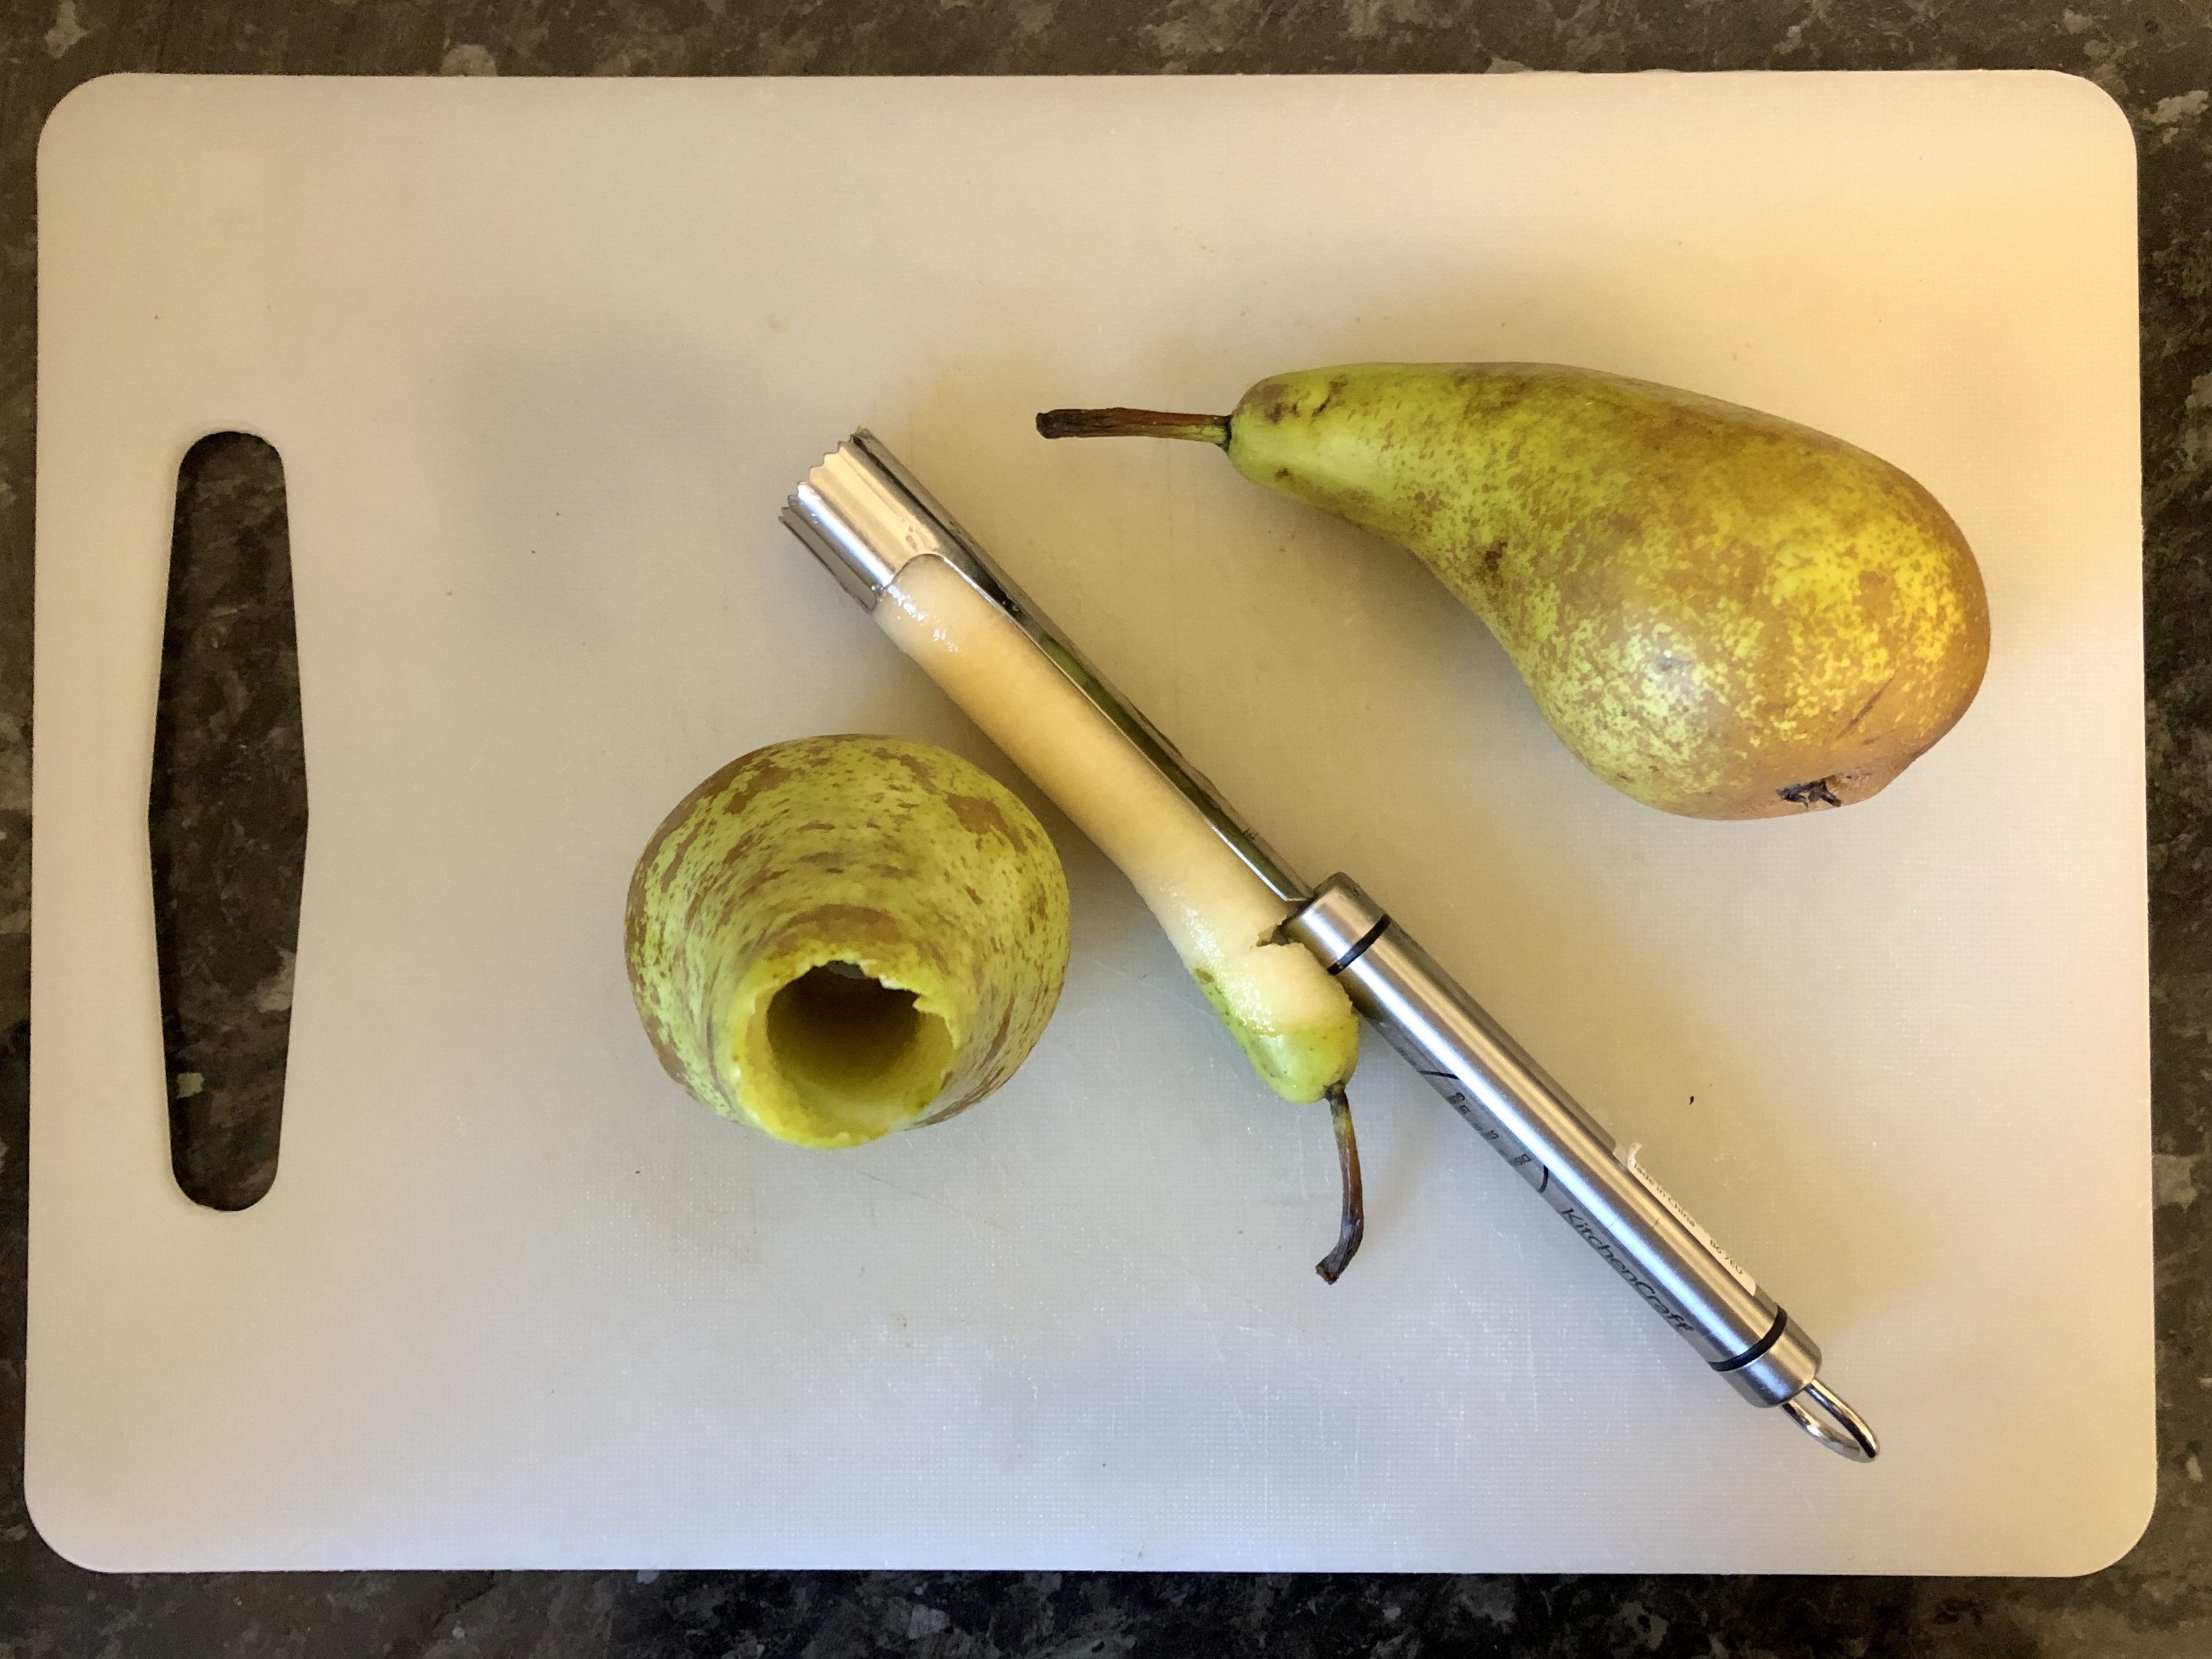
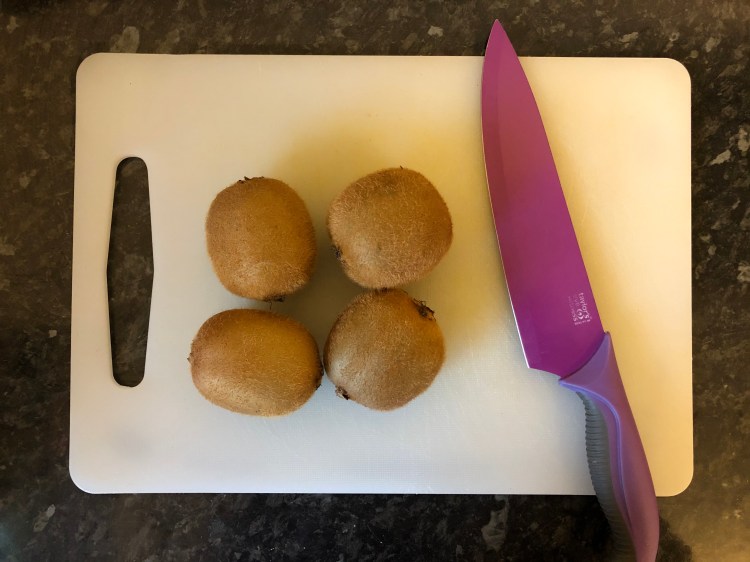
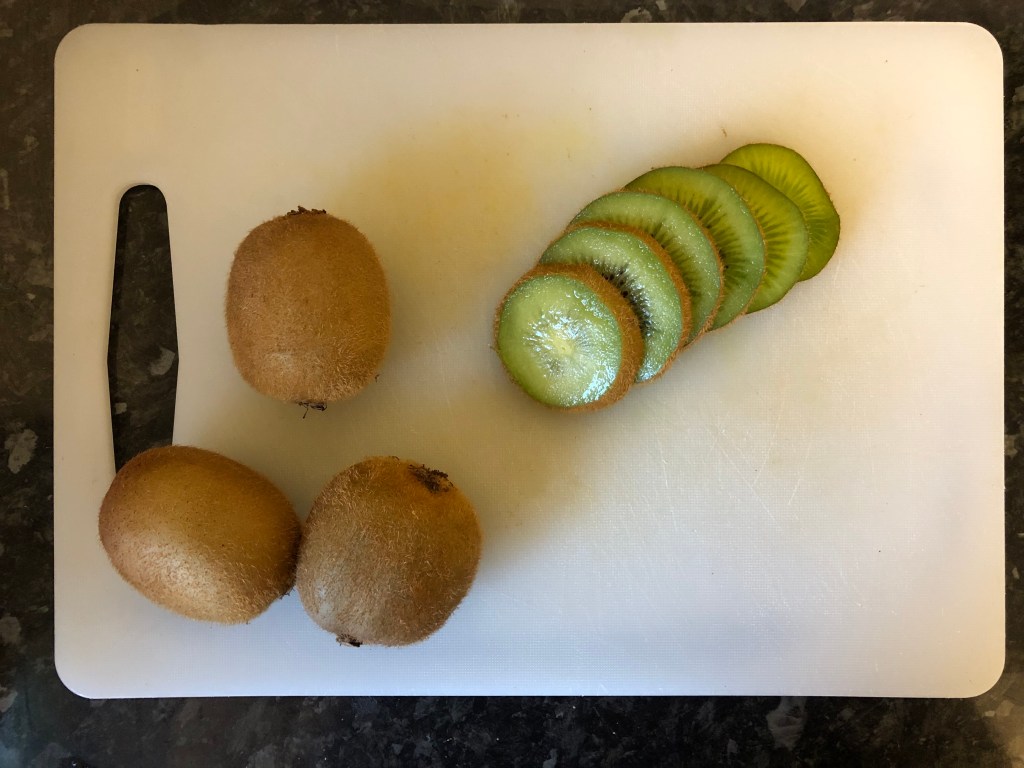
Next up, one of my ‘best buys’ as a companion utensil for my dehydrator, the mandolin! You don’t really need one of these, it usually speeds the process up although you do need to be a bit more careful with the tofu to prevent crumblage… The 3mm setting is great, or you can do it the old fashioned way and use a knife. Be your own boss!

Once you’ve sliced up all your tofu, add it to the container with your marinade. Carefully mix it with your hand. It will still crumble at this stage and that is okay but you want to try not to agitate it too much. I have wondered with this recipe whether just breaking the tofu up into chunks might be better anyway? Maybe I will have to add it to the trial list.

Who said tofu couldn’t be tasty?

If you have the time, you can leave your tofu to marinade over night. This will allow the tofu to really soak up all those tasty flavours. If you don’t have time for that you’ll still end up with tasty jerky, although you might find that the sauces crust on the outside as you dehydrate so adjust your temperature and timings accordingly.

Spread that tofu out, I used my grid inlay to catch the smaller bits that might have fallen down into the dehydrator.

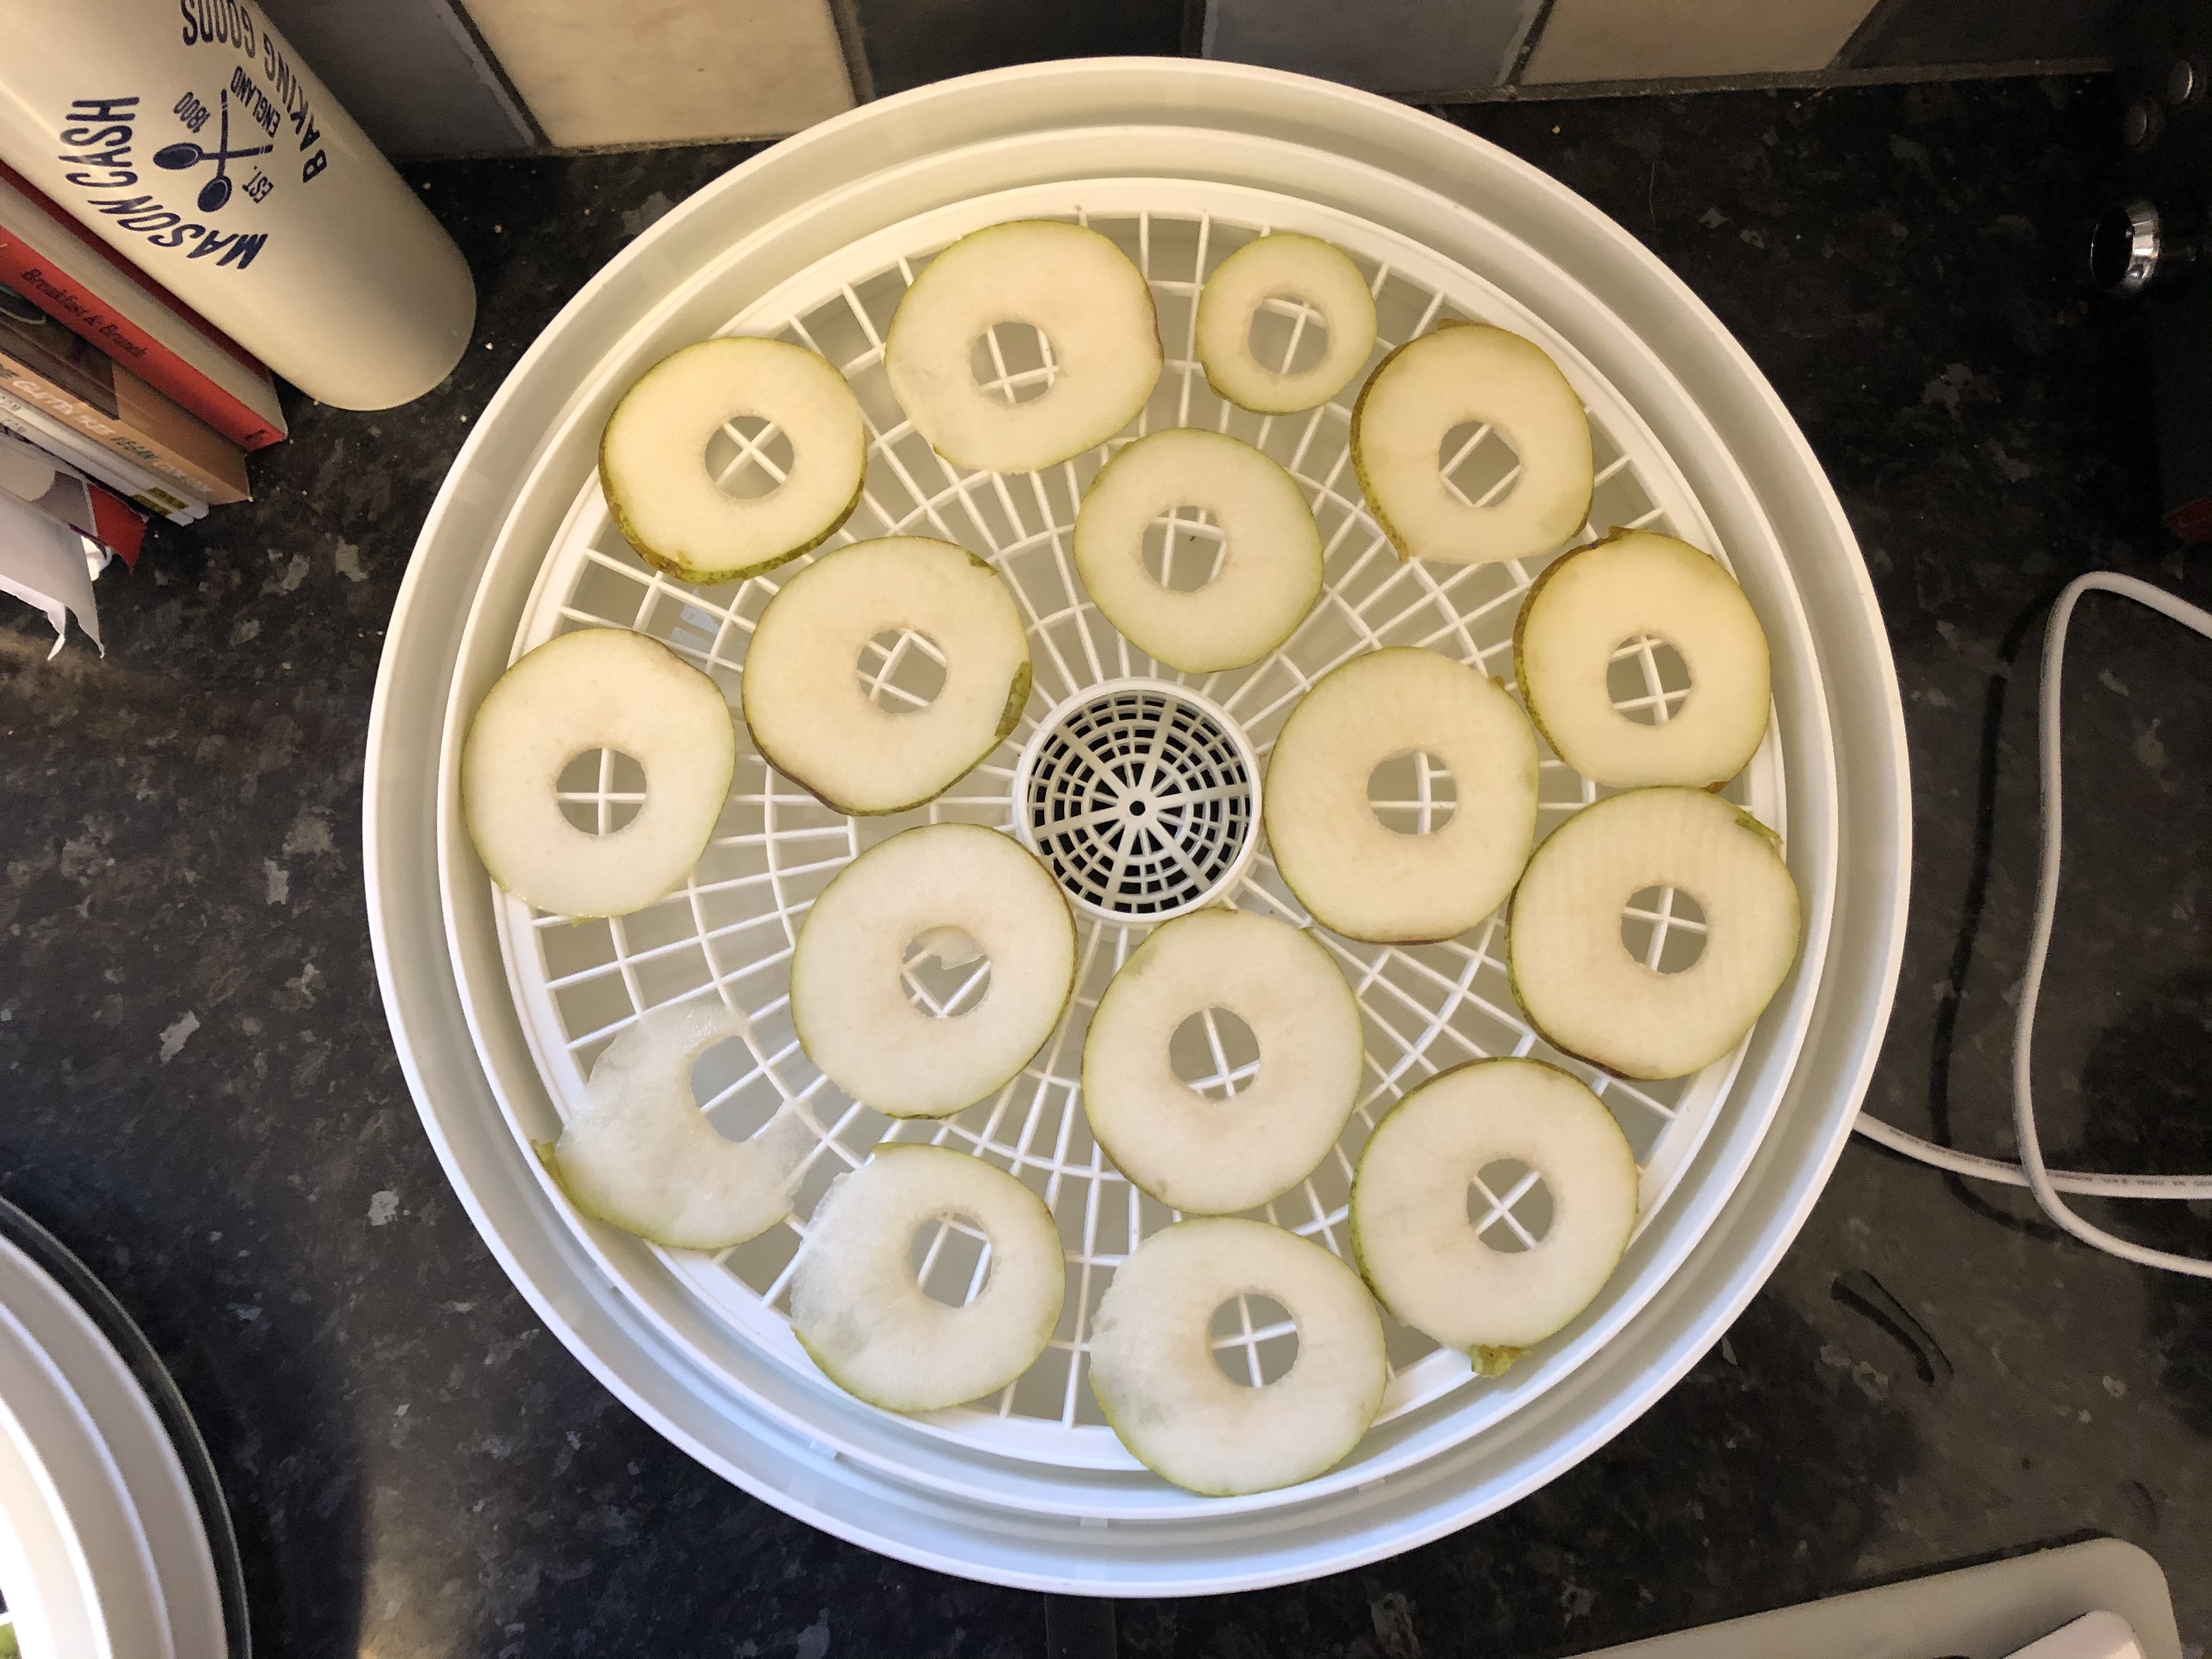
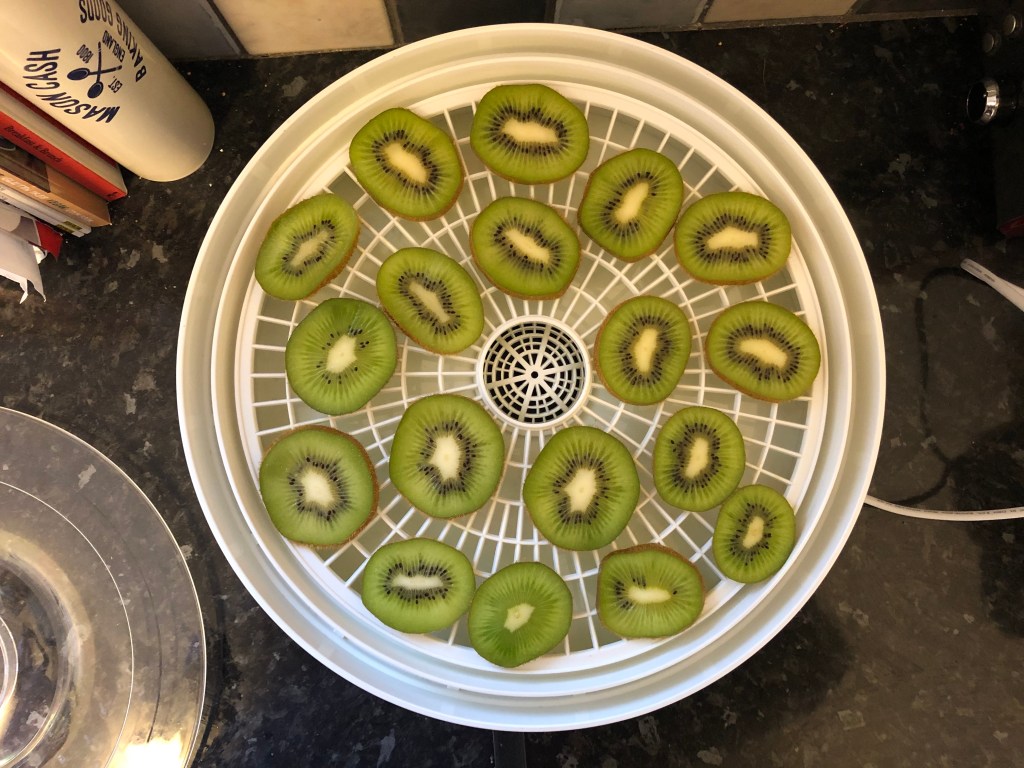
Spread your tofu out across your dehydrator. If your tofu crumbled a lot while your were mixing it with the marinade, use the dehydrator inlays or cut some baking paper to fit your trays and spread your tofu out on that.

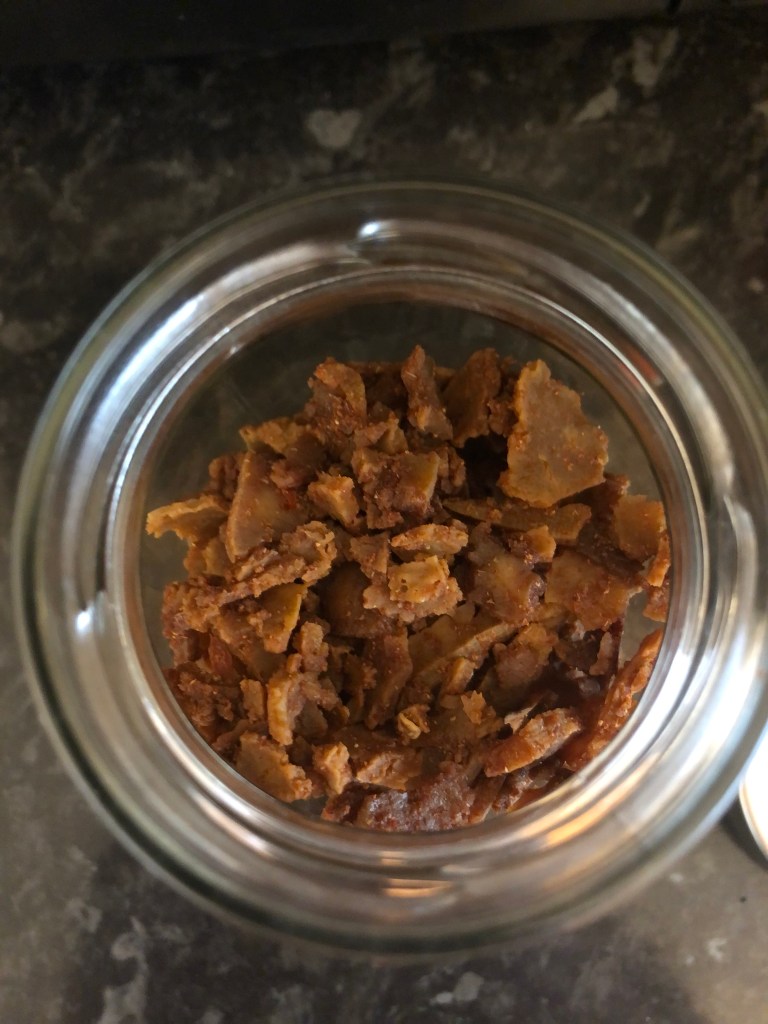
Depending on how thick you cut/crumbled your tofu depends on how long you’re going to want to dehydrate your tofu for. It also depends on your desired outcome, I like my jerky firm but chewy. I dehydrate my tofu jerky strips at 70°c for two and a half to three hours. Keep checking in near the end. I also make use of the fact that mine is a stacking dehydrator and allegedly the products at the top of the stack dehydrate slightly slower than those nearest the heat source. (The science obviously checks out and there is a variation but it’s not a huge one.) In light of this, I fill the lower trays with the chunkier slices of tofu and work my way up to the smallest pieces.

Mmmm, delicious chunks of spicy tofu jerky!

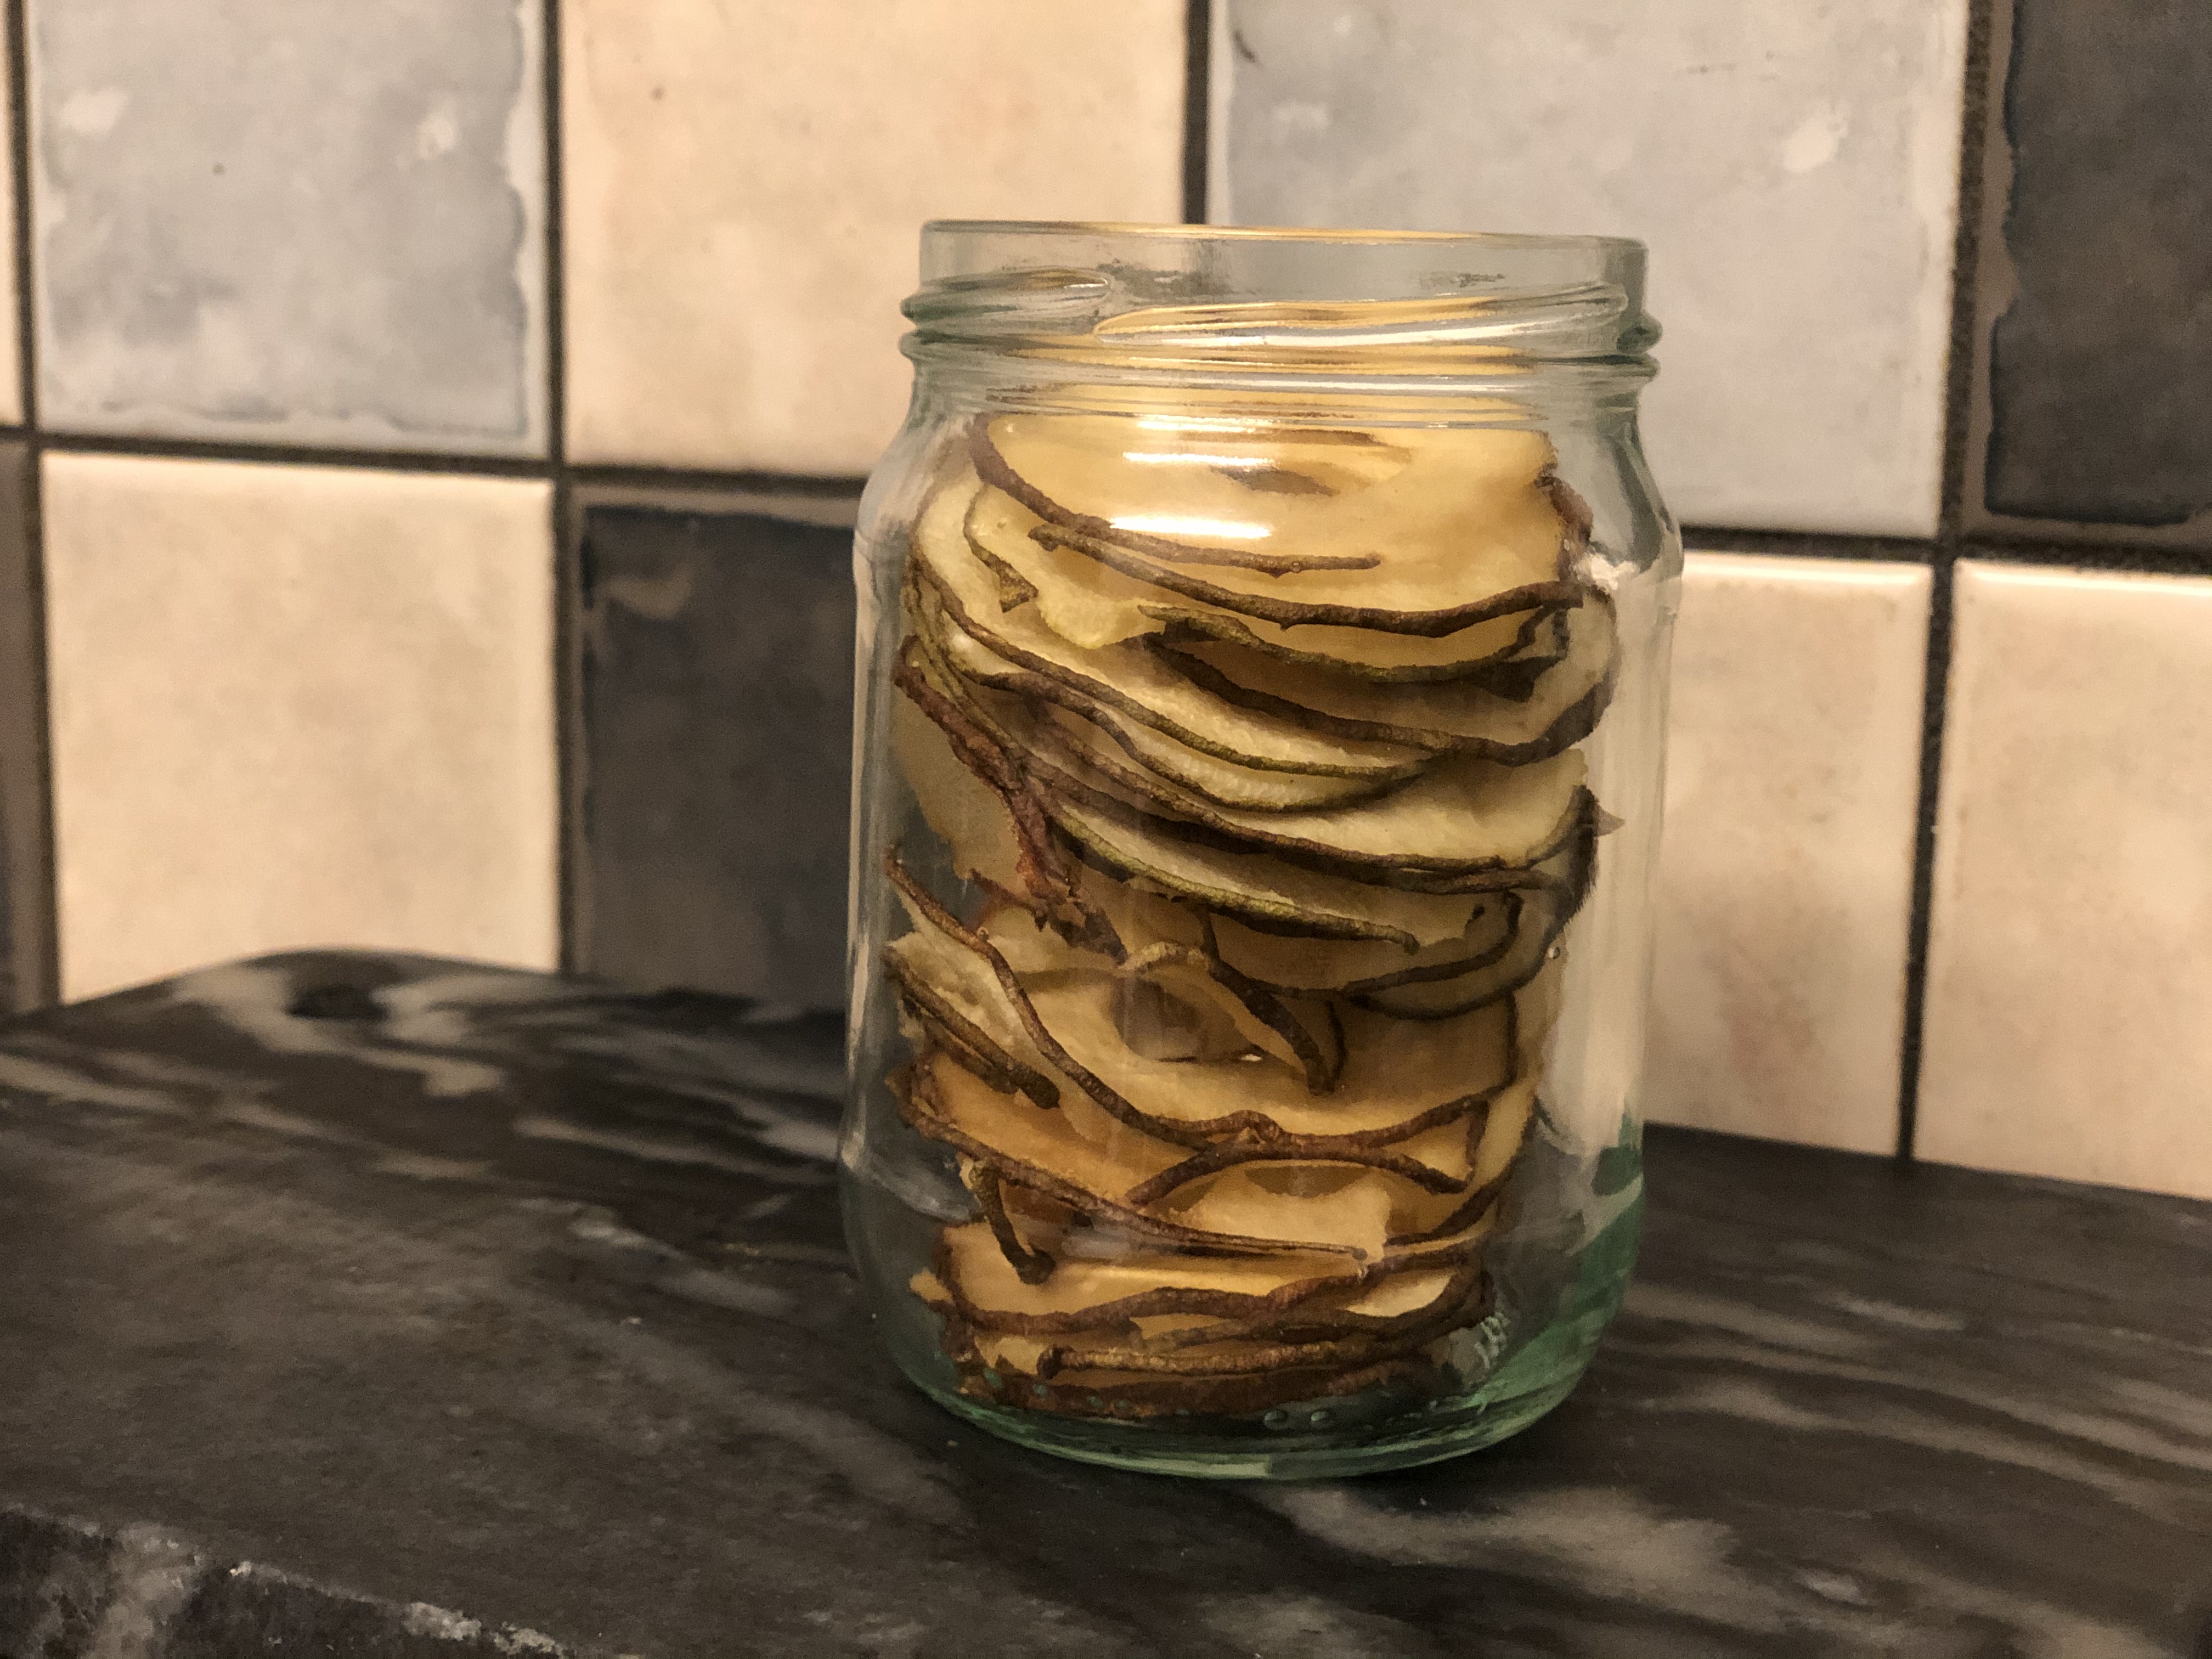
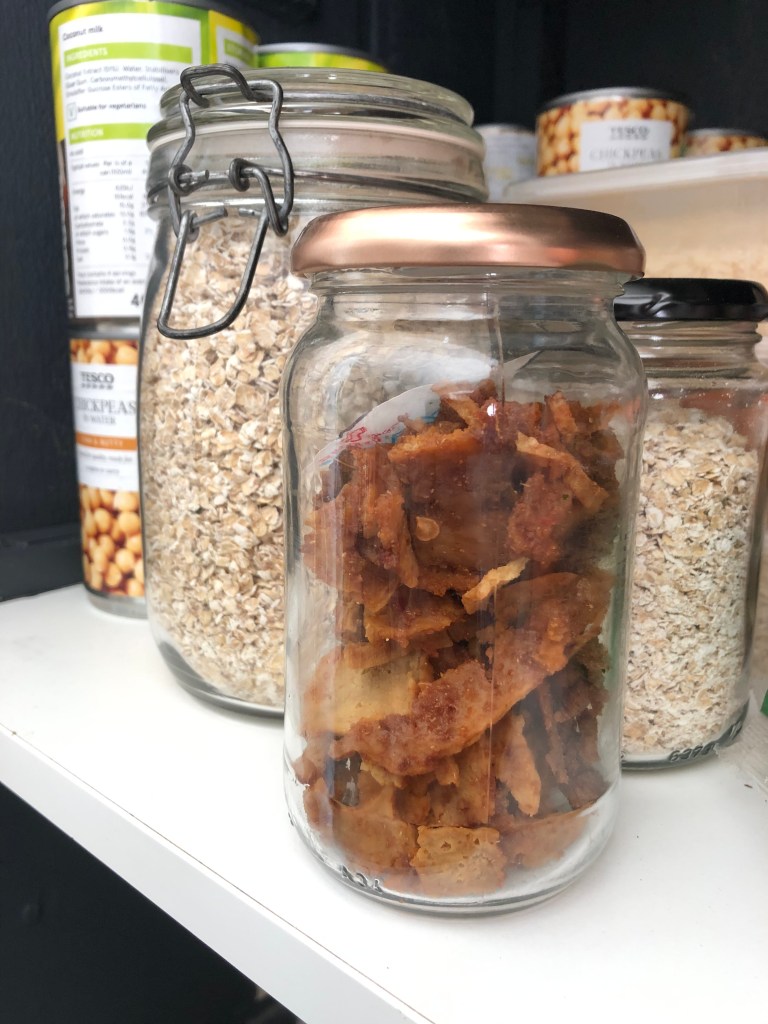
It really is that simple and it is super tasty. It should keep for a while but don’t worry about that, you won’t see it in your cupboard for longer than a week if you have the same kinds of snack monsters living in your house that I do. If you are a fan of foods like dried seaweed sheets or other foods that come with a desiccant packet in them, you could always save them and stick them in with your dehydrated goods. As always, make sure that you have cleaned your jars out between each batch of snacks and sterilised them with boiling water.

That tasty, tofu temptress won’t stay on the shelf for long.

If you do try this recipe for Sweet and Smoky Tofu Jerky, do take a snap and tag me on Instagram. I would love to know how you find it and if you make any substitutions!

Snackalina out. x

Vegan Dippy Egg

What a breakfast! Cruelty-free, vegan, gluten-free and nearly as fast as a bowl of cereal (honestly!). Just to be clear, we aren’t constructing an entire egg, just making the hot, gloopy centre that we can dip some hot buttered toast into.

It’s basically a whisk it all together job, the only ingredient that you might not have in your cupboard is a foxy little salt called Kala Namak. It isn’t too hard to come by and its sulphurous odour makes it a great option whenever you want to give something that eggy taste without using eggs.

Ingredients

  • 1 cup water
  • 1 tbsp + 1 tsp cornflour
  • 2 tbsp oil
  • 2 tsp nutritional yeast
  • 3/4 tsp kala namak
  • 1/4 tsp turmeric

Pour the water into a small sauce pan and add the cornflour. Whisk the two together until smooth with a hand whisk.

Whisk all those lumps out of the cornflour.

Then add the rest of the ingredients to the pan, at this point you probably want to stick your toast on – it’s all about to happen very quickly.

Stick the heat on and keep whisking, it will soon thicken up. Once it’s thickened, it’s ready to serve! (Pro-tip, boil the kettle for cups of tea, pour the left over water into an empty bowl to warm it up. Chuck out the water and put your dippy egg straight into the bowl to keep it warmer for longer.)

Keep on whisking while you heat up the mixture.

That is literally all there is to it, your dippy egg is complete!

Serve with hot toast, the bread in the picture is some gluten-free, vegan bread that I have been working on. The recipe will be online soon. I have found it a real struggle to find bread that is gluten-free, vegan and affordable! Most gluten-free breads use egg whites to help substitute the missing proteins found in wheat. If you have any top tips for finding gluten-free, vegan bread in the supermarket, let me know!

Snackalina out. x

Easy Eggless Meringue

There are some things that seem impossible and this recipe is one of them. How on earth could you possibly make meringues without egg?! Well, some genius discovered that by whisking the murky water from a can of chickpeas you end up with an impossibly good, vegan egg substitute.

Ingredients

This recipe only requires three ingredients, chickpea brine (aquafaba), caster sugar and some patience.

Rather than give you exact measurements and worry about wasting any chickpea related goodness, here is how I measure. (I tend to have a jar of aquafaba in the fridge at any given moment so…) Pour your aquafaba into a measuring jug, now you’re going to need the same amount of sugar plus about 20% in grams. Sometimes in baking you need to be super accurate with your measurements, this isn’t one of those times. Today I started with 100ml of aquafaba, so I measured out 100g of caster sugar and added a couple more generous spoons (which worked out to roughly 120g). It really is that simple.

Now if you’re a dab hand at this I am going to leave you to it, preheat your oven to 100°c, line a couple of baking trays with greaseproof paper. Whisk up your aquafaba, add sugar, bake for about an hour and ten minutes then turn off the oven, pop the door open a little and leave to cool.

If it’s your first time on the aquafaba rodeo, have a quick scroll before you start to get some hints and tips to ensure instant, sweet success!

This is how your aquafaba will look, straight out of the can – fear not, your stiff, white peaks are a few minutes away.

The third ingredient in the recipe was patience for a good reason, you really do need to keep on whisking. Unlike egg whites, you cannot over do it with aquafaba (I haven’t managed to yet!). The other thing that you need is a very clean bowl, oil is the enemy here. If you do have a glass bowl use that, I don’t so I just make sure it’s had a good slosh with some boiling water to lift any oil residue away before I start.

After about a minute of whisking…

Keep whisking, it seems like it isn’t going to do anything to start off with except go white and frothy on top. Trust me, the magic is about to happen. Stick on your favourite tunes and dance around. Depending on your whisk and how much aquafaba you are using, you should be expecting to whisk for five minutes, minimum!

Nearly there…

Don’t stop yet, remember you can’t over do it with aquafaba. When you think you’re done, keep on whisking until the end of the next song. You won’t regret the extra couple of minutes you’ve spent and your oven needs to heat up anyway!

That’s more like it!

Just like with egg whites, you’re looking for a glossy mixture that holds its shape. You can always have some fun, holding the bowl over the nearest human’s head to see if your aquafaba is ready!

Next you need to add the sugar, add it slowly, one spoon at a time and keep on whisking vigorously. You should end up with a glossier version of your stiff peaks!

Spoon your mixture onto your trays, leave some space between them as they will expand in the oven. If you’re feeling particularly fancy you could pipe the meringues onto the tray. For pro-level meringue, try dripping some food colouring down the side of your piping bag for a colour pop.

Carefully slide your trays into the oven and set a timer for an hour and ten minutes. Depending on the size of your meringues, you may need to alter your timings. (I made sixteen meringues, each one was a good, dessert spoon sized dollop onto the tray.)

When your timer goes off, run to the oven! Switch it off, open the door a little and let the hot air out. Once the oven has cooled down significantly you can close the oven door again. Don’t take them out of the oven for a couple more hours if you can help it. You want to make sure they have enough time to carry on drying out.

Sweet, light, crisp on the outside, chewy on the inside, gluten-free and vegan. Who knew two ingredients could create such a treat?!

Once they have cooled down, carefully remove them from the tray and store them in an airtight container. They are great on their own but if you want an easy, DIY dessert idea, keep scrolling.

You could assemble this as individual portions or take all the parts out to the table and let your guests serve themselves. Open a can of coconut milk (don’t shake it, take it out of the fridge for bonus points) and scoop out the coconut cream. You’ll need your whisk again, whip it up into a light, fluffy cream. Then take some fruit, strawberries, blueberries, mango, melon slices, grapes, pomegranate seeds… whatever, go mad. Stick it all in bowls on the table and watch the battle for that last chunk of mango unfold before your very eyes.

Two meringues, a dollop of whipped coconut cream and some mango chunks (from the freezer!).

I hope you found these tips and tricks useful, aquafaba meringues are all the rage at the moment. If you do try any of these recipes out, make sure you snap a quick pic before it all disappears and tag me on Instagram @snackalinaeats so that I can see your wicked and wild creations.

Snackalina out. x

Dehydrated Pear Slices

These may have eclipsed bananas in the race to be the sweetest treat in the cupboard. Dehydrating fruit intensifies the flavour profile, pear’s natural sweetness makes these slices taste like more like pudding than a healthy, nutritious snack.

If you have a corer and a mandoline, the prep for this will take no time at all and you’ll end up with beautiful rings. Obviously, they don’t have to be rings, they could just be sliced but keep a close eye on them as they dehydrate. Different surface area or thickness will mean a different drying time.

Step 1

Prep your pears for slicing by carefully using the corer to take out the middle. Pears are usually juicier and a bit softer than apples so be careful!

Step 2

Set your mandoline to 3 and gently slice your pears into rings. Lay them out across your dehydrator trays, they can be close together but they shouldn’t overlap.

Step 3

Set your dehydrator to 57°c and 6 hours, let it do its thing but check in on it towards the end. Mine were dry but flexible, a sweet chewy treat! But, if you fancy something a bit crispier you can keep it on for another hour or so.

As always, store in an airtight, sterile container (and hide them from the rest of the snack monsters in your house).

Remember, if you try anything from the blog you can tell me here or head over to Instagram and tag @snackalinaeats. Until next time, snackers!

Snackalina out. x

Possibly the Fastest, Easiest Ice Cream Recipe in the World.

This ice cream is a doddle to make, you can satisfy your creamy cravings in less than ten minutes with this tasty snack. If like me, you love a banana and tend to over buy then this recipe is perfect for you. When your bananas are on the turn and you don’t have time to turn them into banana bread, simply peel them, break them into a few pieces and store them in the freezer.

Ingredients

  • 2 frozen bananas
  • A handful of leftover blueberries
  • A dollop of coconut cream (the stuff that collects at the top of a can of full fat coconut milk)

Step 1

Take two bananas out of the freezer and set them on the side to acclimatise. You probably want them out of the freezer for ten minutes to give them a chance to soften a little. Unless you have a monster food processor or nerves of steel, this step is a sensible one. (It’s worth noting at this stage that the blueberries can also be frozen if you’ve saved them from the brink.)

Step 2

Fill your food processor and pulse, once the fruit is in bits you can start adding your coconut cream. You probably won’t need more than a couple of tablespoons – it just helps to loosen up that frozen banana (and it’s delicious!). Add it a little at a time until you achieve the desired consistency.

Step 3

Blend until smooth, then scoop out into a bowl and enjoy!

It really was that simple. Now, if you’re feeling a little bit antsy about the coconut milk or you don’t have any in the cupboard, you can always try subbing it for a splash of plant-based milk. Don’t go mad though, you want to loosen your mixture without turning it into a smoothie.

You could probably try this recipe with any berries, so go forth and turn your leftovers into ice cream! If you do try it out, share some pics with me on instagram @snackalinaeats – I would love to see your results.

This recipe makes a whole bowl full which is easily enough for two snackers or one very hungry person, you could comfortably scale this recipe up to feed more people but scaling it down might make it hard work for your blender. Have a go and let me know how you get on in the comments below.

Snackalina out. x

Dehydrated Kiwi Slices

I love my dehydrator (probably don’t need to start every dehydrator recipe with that, but I might anyway). Dehydrated snacks are great, they are easy to prep, easy to make and easy to store. Properly dried fruit will keep for as long as you need it to in an airtight container, if your house is anything like mine – snacks don’t last long.

Step 1

Cut your kiwi into slices about the thickness of a pound coin, slightly thicker is fine, around 4mm. If you want to peel it you can, especially good if you have fussy eaters but in my house we just want snacks, ASAP.

Step 2

Spread your kiwi slices evenly across your dehydrator tray. My COSORI is round, so sometimes you have to be a little creative. Your fruit is always going to shrink so you can lay them as close together as you like – just make sure the pieces aren’t touching.

Step 3

Set your dehydrator to 57°C and let it do it’s thing for six and a half hours. Keep checking in on your fruit, depending on your dehydrator you might want to switch the trays half way through. (Mine is a set of stackable trays with the fan at the bottom and this tends to help juicier fruits dry evenly.) You might need to run your machine for slightly longer or shorter depending on how ripe your fruit is, the humidity and how efficient your dehydrator is.

Step 4

Check your fruit… snacks for the chef! If it needs a little longer, go ahead and do that now – otherwise, leave your kiwi alone on the trays to cool completely before you try and store it. This is a really important step in the process, if you try and pack up your kiwi slices while they are still warm you will almost definitely end up with condensation inside your container. This is bad, keeping the fruit dry means we can store it safely!

Et voila! It really is that simple, all in all, prepping your kiwi will probably only take five minutes. Maybe ten if you decide you’re going to be fancy today and peel it – the rest of the time is just being patient.

Kiwi is a delicious, nutritious fruit, rich in vitamin C. These dehydrated slices are tangy and not too sweet. I can often be found with a pair of scissors chopping up the last slices of dehydrated fruit to throw into flapjack recipes. Watch this space for more gluten-free, vegan treats. I hope you enjoy!

Snackalina out. x

Welcome to SnackalinaEATS

SnackalinaEATS is the new kid on the block, vegan and gluten-free recipes will be pouring out of your eyeballs before you know it.

Welcome to my new little corner of the internet, I will be filling these pages with vegan, gluten-free recipes. From cakes and bakes to dehydrated snacks – you’ll find something mouth-watering amongst these pages.

What will you find here?

  • Delicious treats
  • Easy to follow recipes
  • Pictures of what you can expect along the way
  • An honest account of the baking pitfalls/shortfalls/shortcomings and other errors to avoid along the way

When I converted to a vegan diet a couple of years ago, I loved the experience of cooking with new ingredients. It was a lot of fun discovering new ways to make old classics vegan, as well as unearthing a whole host of new (and sometimes unpronounceable) ingredients.

Soon after, disaster struck! About six months after my initial switch to a completely vegan diet I was really ill, I came down with a sickness bug that wiped me out for a whole week. I didn’t really recover from it, everytime I tried to eat I was ill again. My body was basically rejecting everything I tried to feed it. After three months of barely eating, being in very close proximity to a toilet any time food was one the cards and some rather frustrating conversations with my GP, I managed to work out through an exclusion diet that gluten was public enemy number one. I was so relieved to have control of my body again and so frustrated at the lack of easy options available to me (I love a carb, bread and pasta were at the centre of most of my meals) that I fell off of the vegan bandwagon.

I slowly meandered my way back to veganism, but now I have to own up to being the “gluten-free, vegan” at any event involving food – which is rather embarrassing. Anyway, my propensity for baking tasty treats and generally loving all things kitchen-based gave rise to a nickname from my boyfriend… Snackalina! So here, on SnackalinaEATS, you will find plenty of my tastiest, go-to-food options. Sometimes they will be fancy schmancy for all your dinner party dreams, sometimes they will be speedy snackettes for those hunger pangs late at night.

Join me on my journey to a kinder, tastier world. Subscribe if you want recipes straight to your inbox, and/or follow me on instagram @snackalinaeats to keep up with the latest from my kitchen.

Snackalina out. x

Design a site like this with WordPress.com
Get started